
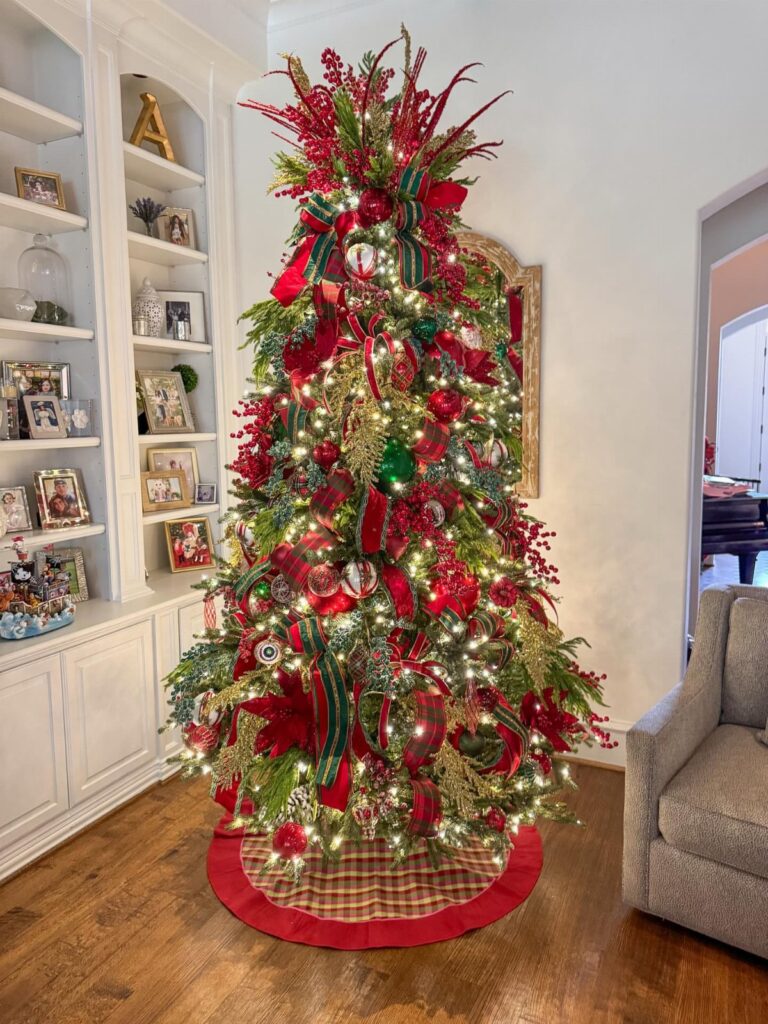
The ideas below run from a plaid ribbon accent that costs pocket change to green velvet ribbon that tied a whole room together, and the deciding factor is how much of the weekend you want to spend making versus arranging.
Anyone who would rather twist wire than bake pinecones low and slow has a clear match in the floral picks section, and that four-inch wired plaid from Joann Fabrics that sells out by mid-December is the first detail to grab early.
1. Traditional Color Palette

Red and green together on a Christmas tree still reads as Christmas before anything else, which is exactly what some people want and others have grown tired of.
I keep coming back to it when the rest of the house feels scattered; the tree becomes the anchor that pulls everything together.
Commit fully enough that it looks intentional, not like leftover ornaments. I’d pick one red and one green shade rather than mixing burgundy with cherry and hunter with lime.
Gold bells or a simple ribbon help bridge the two colors so the eye moves around instead of settling in one zone.
This suits anyone who wants the tree to feel finished fast. It asks for less hunting than a mismatched look, and it photographs well for the memory books.
2. Plaid Ribbon Accents
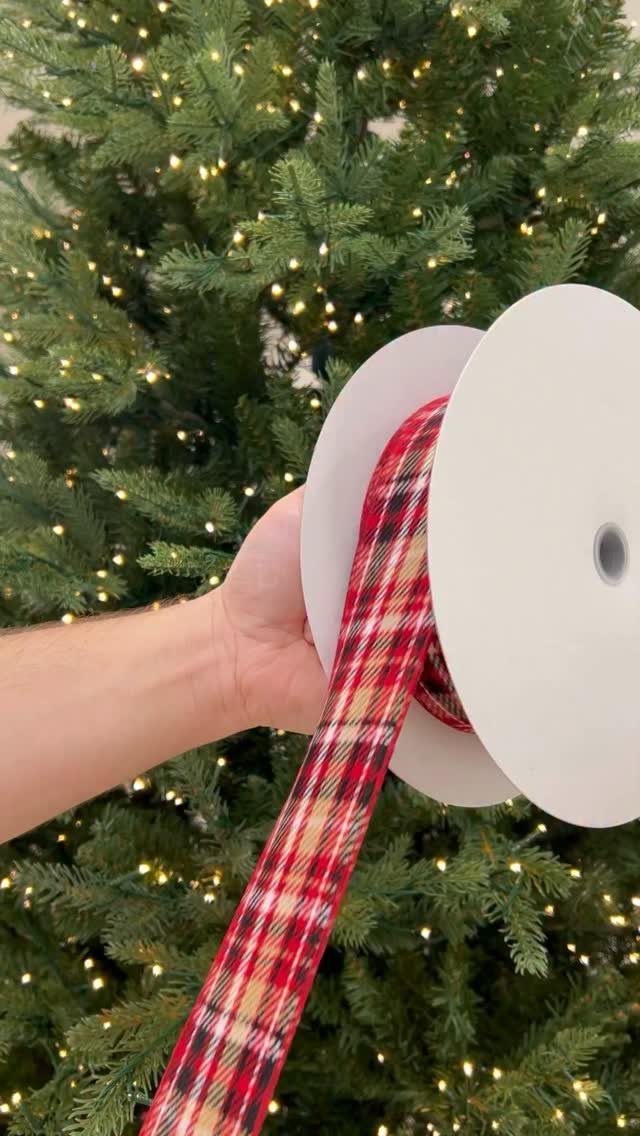
A wired plaid ribbon holds its shape when you twist it into the branches, which matters more than the pattern itself. I’ve tried soft ribbon and spent half the season retying droops.
Four-inch width works on a full-size tree; anything narrower gets lost. The wire lets you tuck one end deep, loop it out, and anchor the next section farther down without it looking forced.
I spiral mine rather than circling the tree; the crossing lines add depth that a single band of color can’t manage.
Joann Fabrics usually carries the heavier wired stuff in November, though it sells out by mid-December. I’d grab it early and store it with the lights.
This is the entry point for anyone nervous about ribbon. Plaid forgives uneven loops in a way that solid satin never does.
3. Layered Ornaments
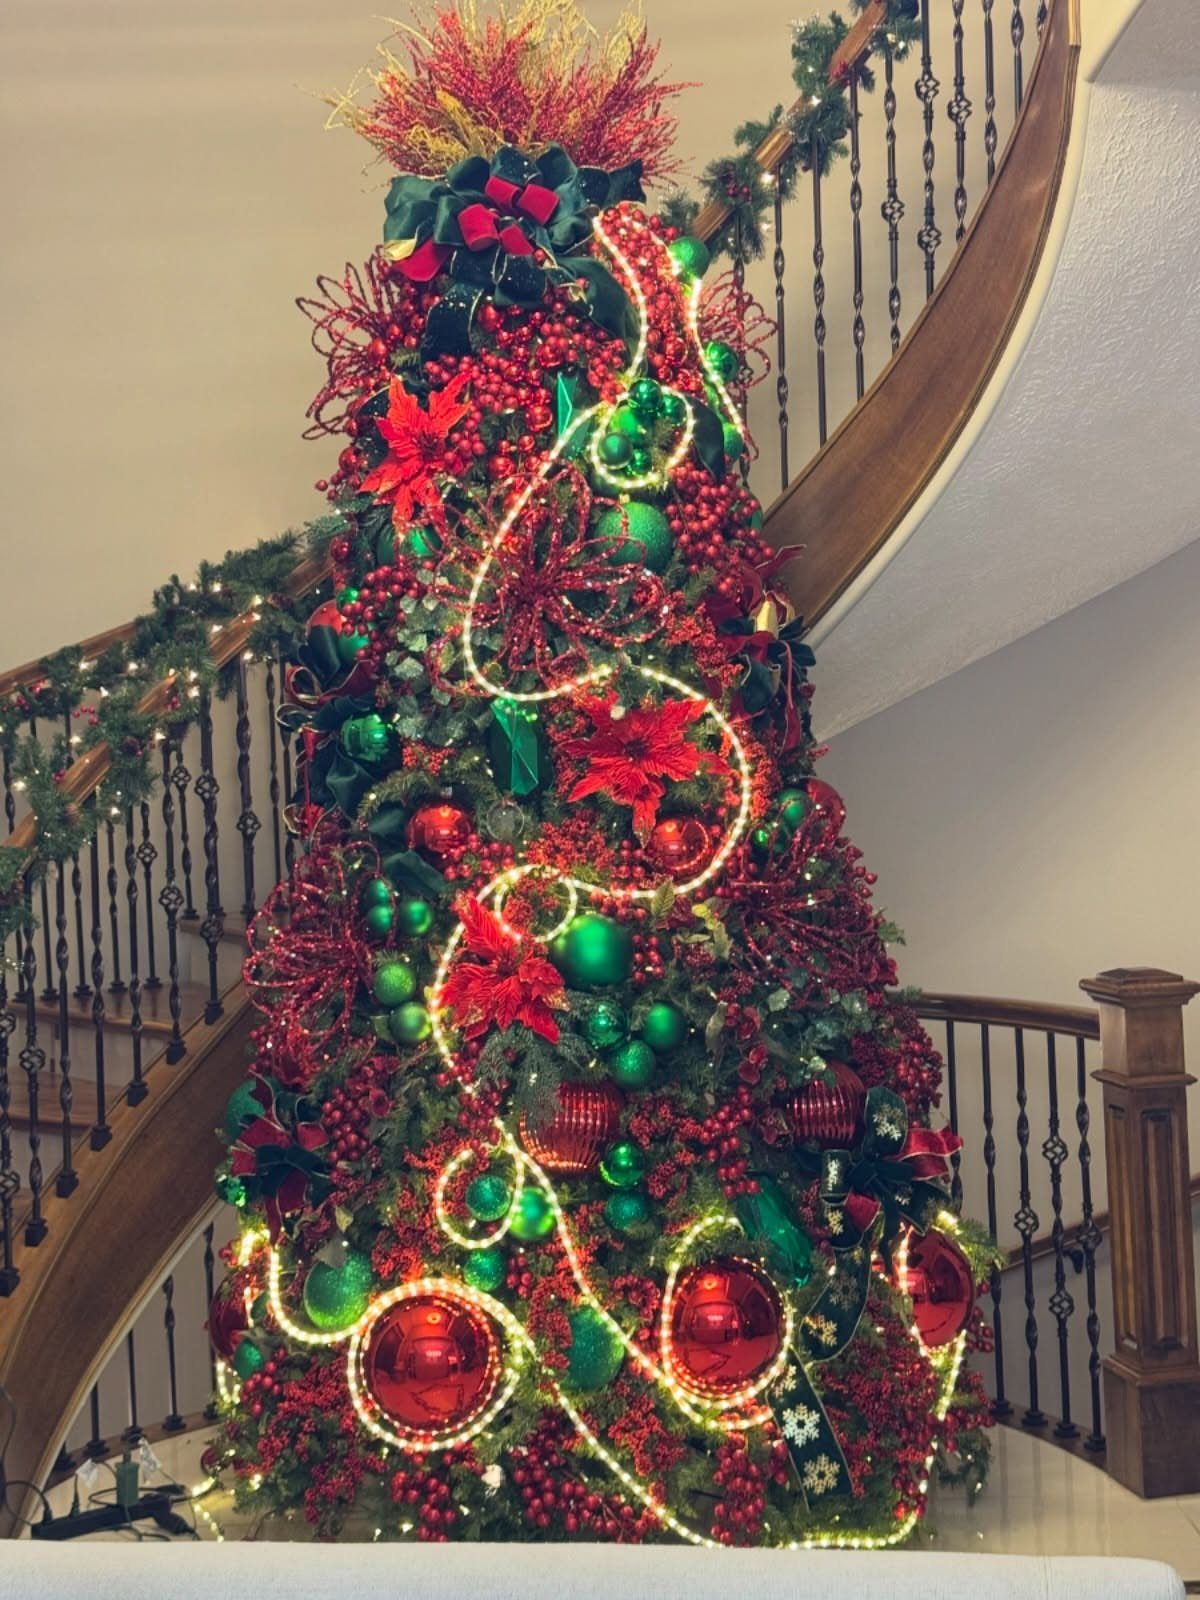
Size variation does the work that expensive ornaments can’t. I start with large pieces first, the kind that sit on the outer branches and catch light from across the room.
Medium ornaments fill the middle zones, and small ones tuck into the gaps where the tree still looks green.
The cardinal rule is stepping back every few minutes to see where the eye sticks. If one area reads as a single color blob, I break it up with a different size or texture.
Berries and small poinsettia picks help here; they read as ornament and filler at once.
A dollar store set in dark red and green, mixed with whatever gold or silver you already own, gets you most of the way there. The neutral bits keep it from looking like a department store display.
4. Velvet Ribbon
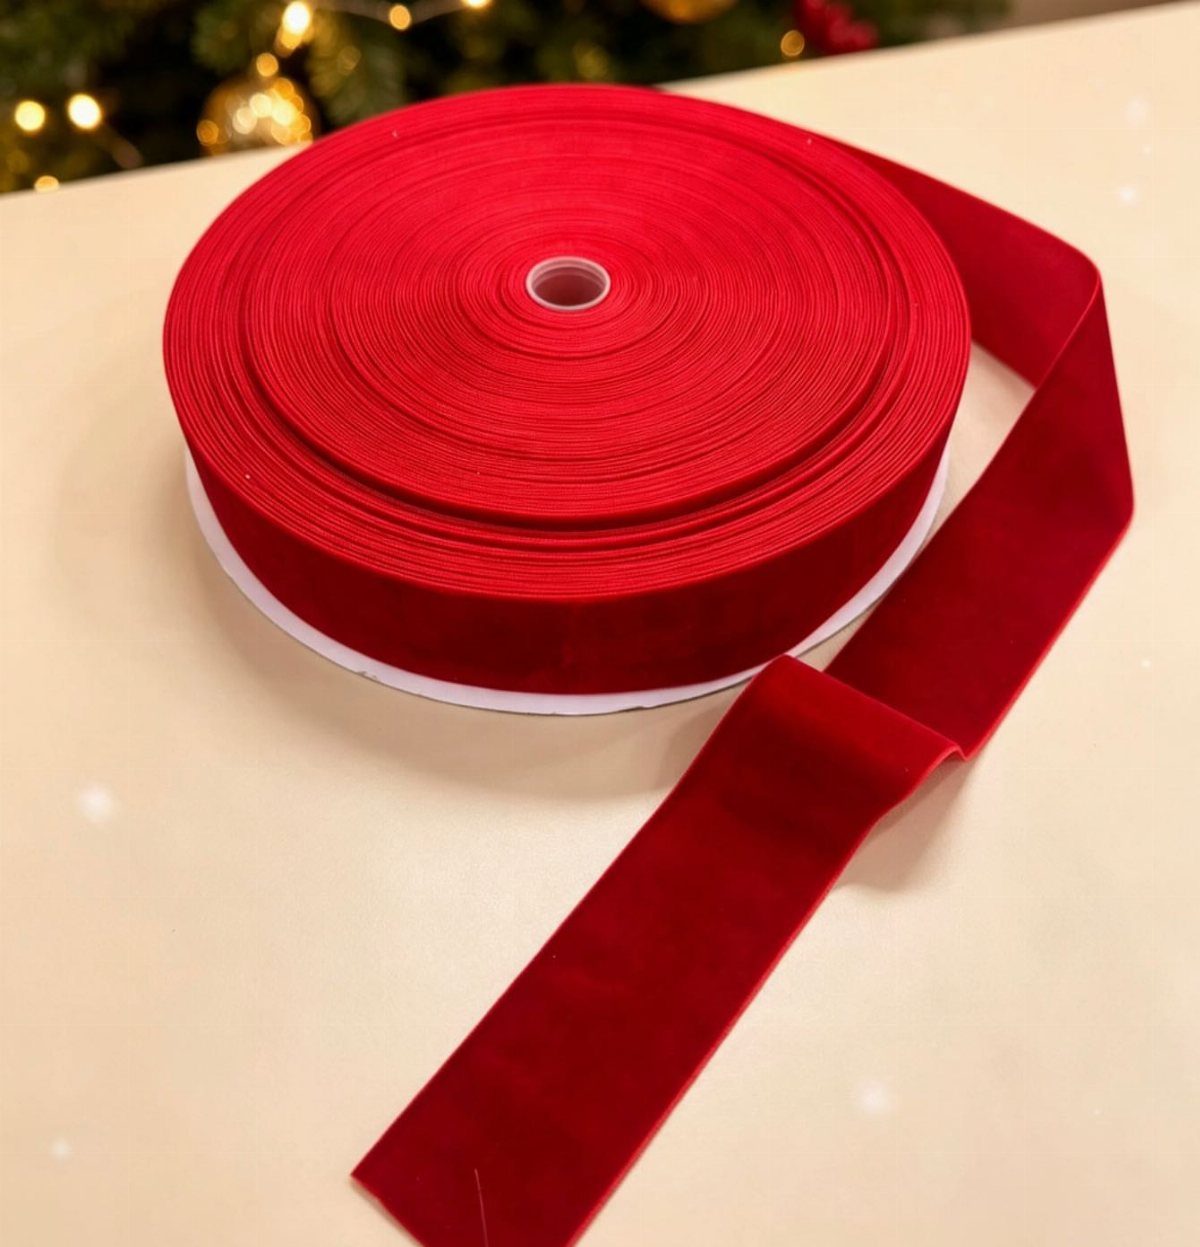
Green velvet ribbon was the single choice that pulled my whole living room together last year.
The matte surface absorbs light instead of reflecting it, which sounds like a loss until you see how the tree gains weight and presence against a wall.
I let it hang in loose spirals, tucking sections into the branches so it looks like the ribbon grew there rather than being draped on top.
The same roll wrapped our mantel stockings and a few gifts, which tied the room together without matching too hard.
A two-and-a-half inch width stays visible without adding bulk. Wider can look like upholstery; narrower disappears.
I’d avoid red velvet unless your tree is already heavy on green ornaments, since two rich textures in the same color family compete.
5. DIY Ornaments
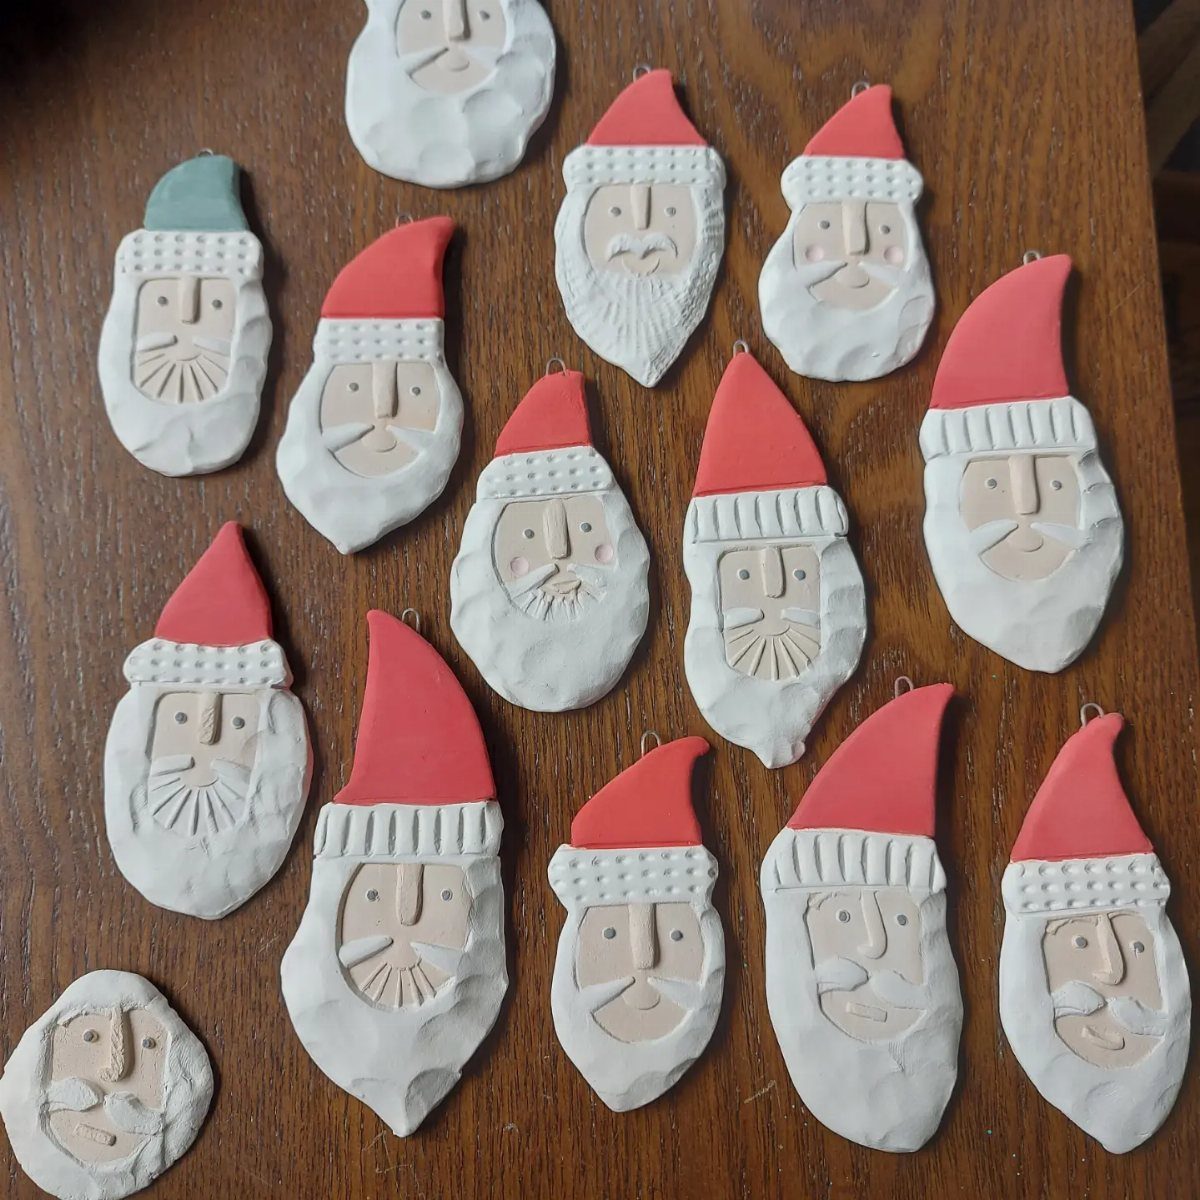
Cheap ball ornaments take paint and glue better than their price suggests.
I buy the shatterproof kind by the dozen, usually in a finish that will hold acrylic, and spend an evening adding stripes, dots, or simple shapes in the opposite color.
Clay ornaments are another route if you want something flatter and more handmade-looking. A little scoring for detail and the right matte glaze turns basic shapes into something worth a second look.
Fimo or Sculpey runs a few dollars a block, and a cookie cutter keeps the shapes consistent.
The time investment is real. I’d only go this route for a small tree or a specific zone of a large one, unless you genuinely enjoy the making.
For anyone who does, the result beats store-bought sentiment every time.
6. Natural Elements
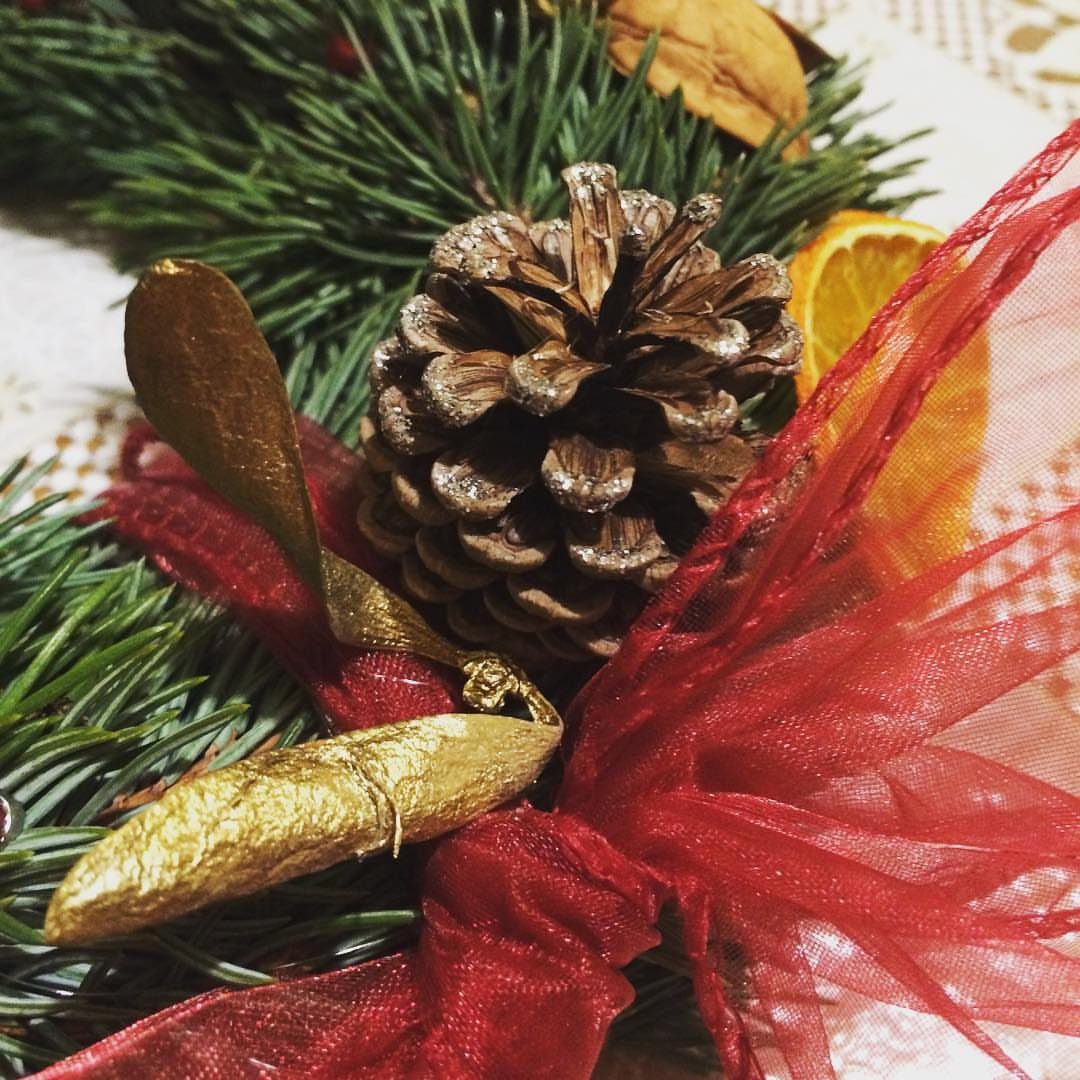
Pinecones, dried orange slices, and red ribbon together hit a note that manufactured ornaments rarely reach. The contrast between rough organic stuff and the tree’s regular geometry is what makes it work.
I collect pinecones in late fall and bake them low and slow to set the sap and kill any passengers.
A few drops of cinnamon oil on the cones before they go in the oven means the tree smells like something even before the lights warm up.
Dried oranges take longer; I slice them thin and leave them on a rack for a week, or cheat with a dehydrator if I planned badly.
Tuck these deep, where the branches hold them without wire. A pinecone on the outer tips looks like it fell there.
This suits anyone whose style runs rustic and who doesn’t mind a little prep.
7. Use of Floral Picks

Floral picks fill the gaps that older trees always seem to develop near the trunk and along the back.
I wedge pinecone picks and frosted berry branches deep into the interior, where the lights catch the texture but the stems stay hidden.
Floral picks from the after-holiday clearance rack at the craft store hold up year after year, and the price makes them easy to replace if one breaks.
Berry sprays with a little flocking read as snow against red ornaments; plain pinecones warm up a green-dominant scheme. Either way, the picks do the work of extra branches without the weight of garland.
This suits anyone whose tree is a hand-me-down or bought on clearance. A paper bag of sticks slides flat behind the water heater or under a bed, out of the way until you need them again.
8. Gift Wrapping Coordination
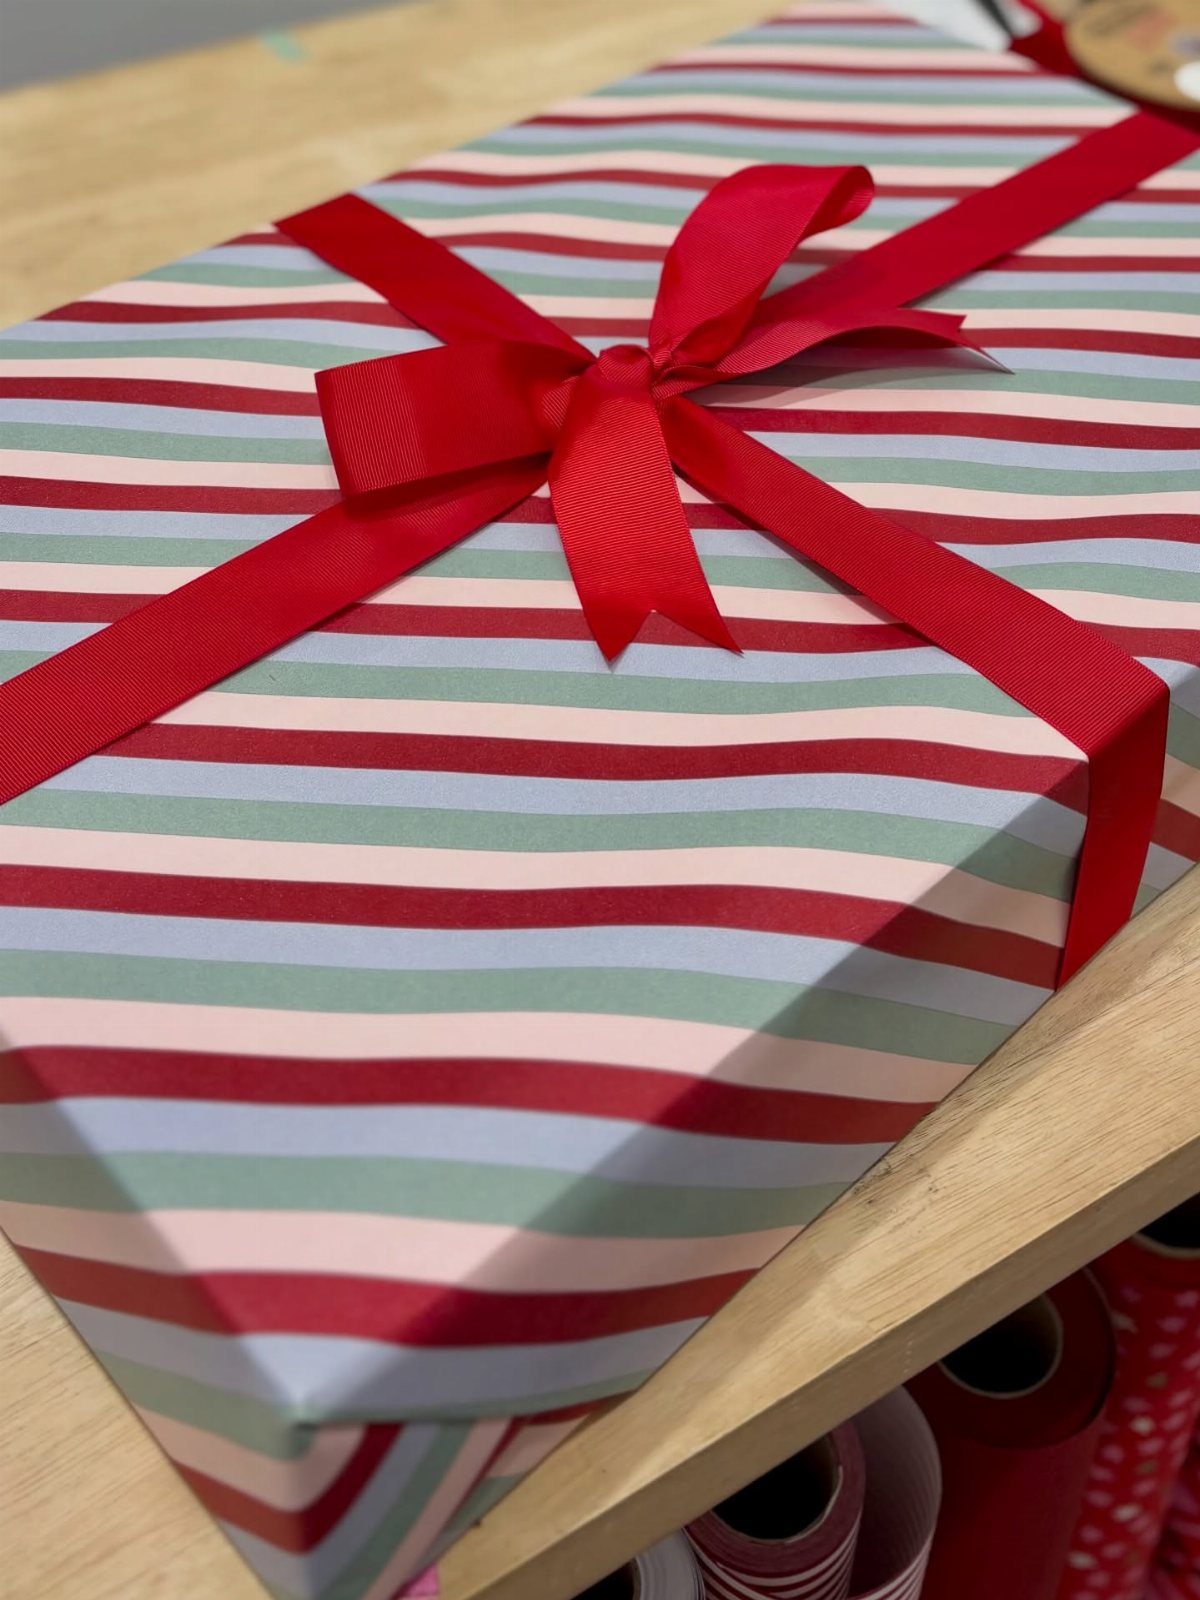
Gifts in matching paper turn the floor space under the tree into part of the display instead of a clutter buffer.
I wrap in red and green stripes, or solid red with a wide twill ribbon, and pile them where the lowest branches frame them.
The paper does not need to match the ornaments exactly. A shade lighter or darker than the tree’s green reads as intentional; velvet ribbon picks up the gold stars without copying them.
I buy two rolls after Christmas for the next year and ration them across birthdays.
This works best if you have more than three gifts to show. With one or two boxes, the effect is thin, and a single oversized bow in the wrong red can throw the whole palette off.
In that case, plain brown paper with a green velvet ribbon is safer and still reads as planned.
Creating a Cohesive Look
Cohesion comes from carrying the same materials across every surface, not from matching everything exactly.
I run the same green velvet ribbon from the tree down to the mantel stockings, then use the same red on gift wrap and a small vase of flocked stems tucked beside the tree skirt.
The eye catches the repeat and reads it as intention.
Floral picks help here too. A few frosted berry branches or pinecone stems, bought after the holiday on clearance, slide into gaps in the tree and can reappear in a mantel arrangement or a side-table vase.
The same picks used two ways do double duty without extra cost.
If the tree has a bare spot near the trunk, a roll of the tree’s wrapping paper propped against the stand fills it and reads as part of the plan.
I’d rather reuse a material three times than introduce a fourth color that fights the rest.
Using Existing Decorations
Most people own more ornaments than they think. I pull everything out before buying anything new, sort by color, and usually find a box of red or green I had forgotten.
A few years of after-Christmas clearance adds up to a full palette without a single trip in November.
Old ornaments gain new life with placement. The ones that read too shiny or too dated hung alone look fine tucked deep into the tree, where lights soften them and outer layers of newer pieces do the front-facing work.
A piece that sits awkwardly on an outer branch can disappear into the filler zone if you move it inward and surround it with better matches.
Wire hangers bent into hooks let me hang lightweight pinecones or dried slices from branches that already carry enough. No new hardware needed; the pliers and wire you own for picture hanging do the job.
Lighting the Tree
Every tree looks better lit. The question is how much light and what kind.
I start with the strands on the tree itself, working from the trunk outward so the glow has depth rather than sitting on the surface. Warm white, not cool, against red and green reads as firelight rather than office.
Dense artificial trees need fewer lights than sparse real ones, since the branches themselves block or carry light differently.
Beyond the tree, a few extra strands draped low over a mantel garland or across a window behind the tree double the glow without adding more to the tree itself.
The reflection in the glass behind the tree matters as much as the tree from the front. Candles on the windowsill, if your setup allows them safely, add the kind of light no strand quite matches.
Choosing the Right Tree
The tree itself sets limits you decorate inside, not around.
A real tree gives scent and irregular branch angles that hold heavy ornaments better, but it needs daily water and drops needles that vacuum up fine until they don’t.
I’d only go real if I have the floor space to sweep and the evenings to enjoy it; a tree you actually sit near rewards the work more than one you pass on the way out the door.
Artificial trees, especially older or clearance ones, develop gaps near the trunk and flat zones in back. Floral picks and interior lighting matter more here; the tree won’t fill itself in with new growth.
A slim pencil tree in a small apartment can look deliberate rather than cramped if you treat the narrow silhouette as modern and keep ornament size consistent rather than fighting the scale.
Either way, measure your ceiling and your stand’s footprint before you buy. Plenty of clearance above and around the base saves the rearranging that kills a Saturday.
Frequently Asked Questions
What is the significance of red and green at Christmas?
Red and green together on a Christmas tree still reads as Christmas before anything else, which is exactly what some people want and others have grown tired of.
For a room that feels scattered, a fully committed red and green tree can pull everything together and give the eye one place to rest.
What is the Christmas tree trend for 2026?
I can’t speak to 2026 specifically, since my experience stops at what’s worked year after year in my own living room.
Traditional red and green palettes, plaid ribbon, velvet textures, and natural elements like pinecones and dried oranges tend to outlast single-season trends.
I’d pick one red and one green shade rather than chasing whatever color the magazines are pushing this December.
What is the color of the year 2026 Christmas tree?
I don’t track color-of-the-year announcements from paint companies or trend forecasters. A red and green tree photographs well for memory books and needs less ornament hunting than a mismatched look.
What does a red Christmas tree symbolize?
A red Christmas tree, or a tree heavy on red ornaments, reads as warmth and energy against the green branches. Red works as one half of a two-color scheme that turns the tree into an anchor for the whole room.
The matte surface of green velvet ribbon or the gloss of shatterproof ball ornaments both give red different weights, so I’d pick the texture based on whether you want the color to advance or settle back.