
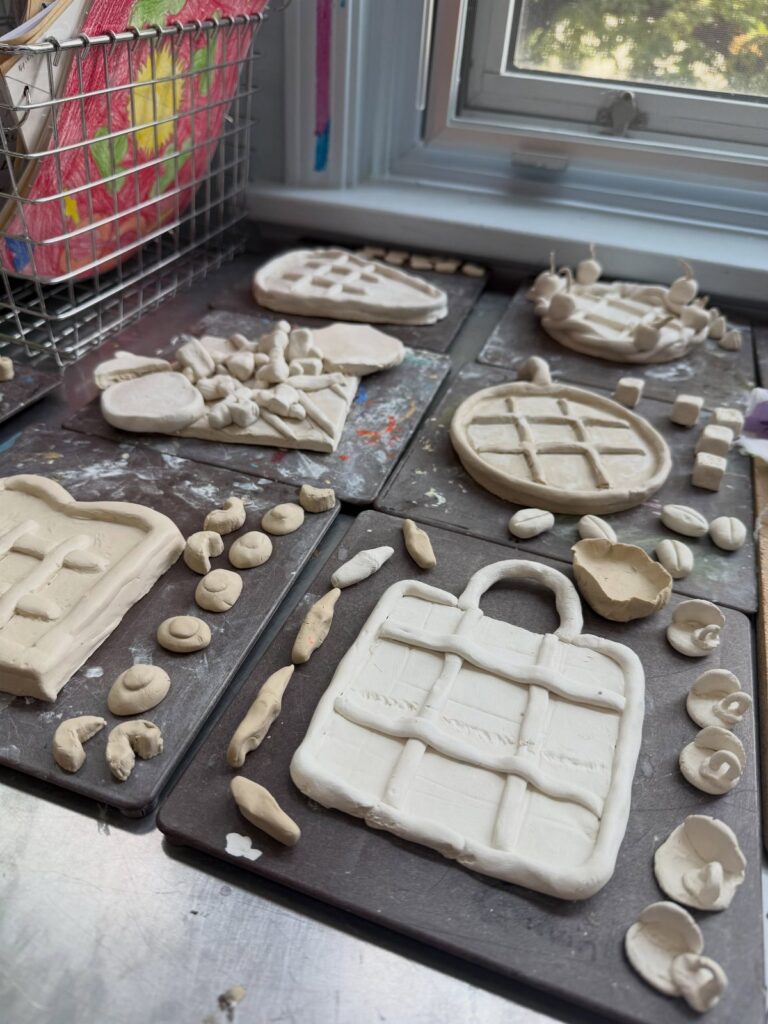
The projects below range from rolling and cutting shapes in one evening to pressing, drying, and painting across a full weekend, depending on how much hands-on time you actually have before the holiday.
Drying time sits between you and the finished piece, so plan your start accordingly.
1. Christmas Ornament to Make
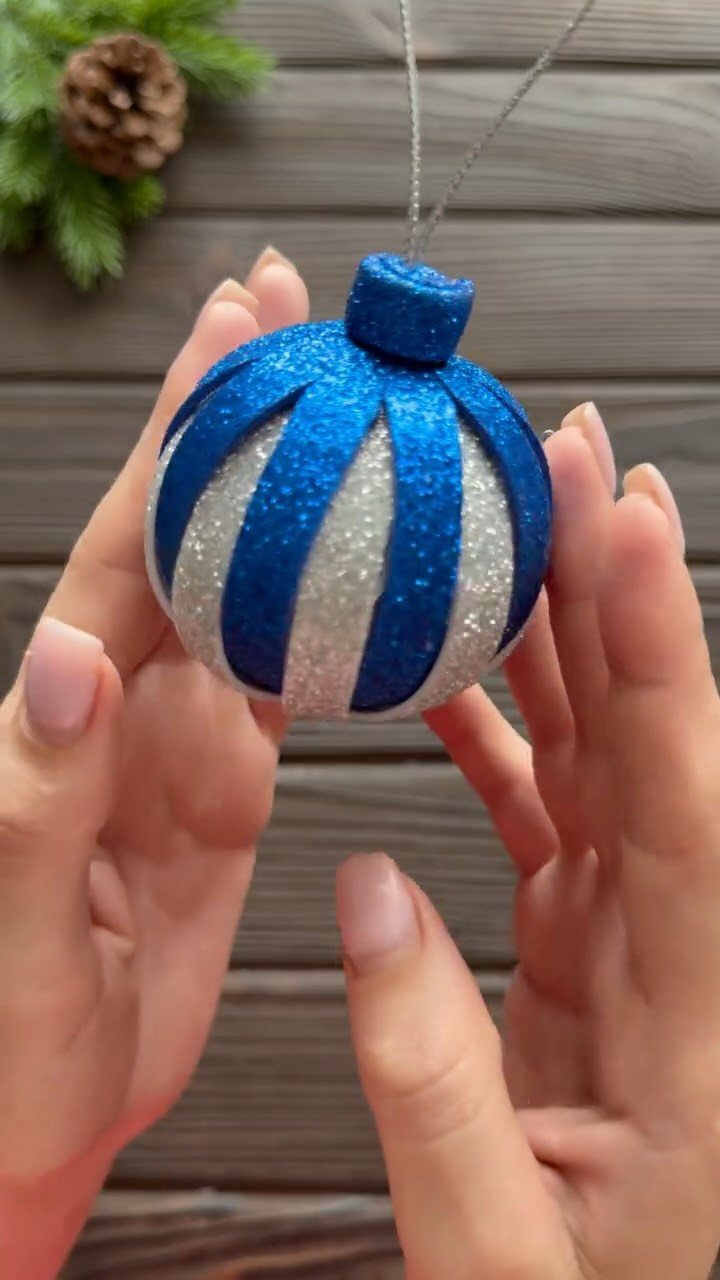
A single evening of rolling and cutting clay yields ornaments that look like brushed porcelain once the white clay dries.
Cookie cutters handle the shaping, and the flat surface takes stamps or pressed objects better than any baked dough recipe I have tried.
The real gift is the timing. These set up while you wash dishes, and by morning they are ready for paint or ribbon.
I would hand these to neighbors or the person who watches your dog; they read as intentional without the weight of something store-bought.
Kids can manage the pressing and cutting, though an adult should roll to even thickness or the thin spots crack.
Create an Air Dry Clay DIY Ornament with the imprint from a winter hat. Hang on your holiday tree, use as a homemade holiday decoration, or give as a gift!
— Crayola
2. Drying Time
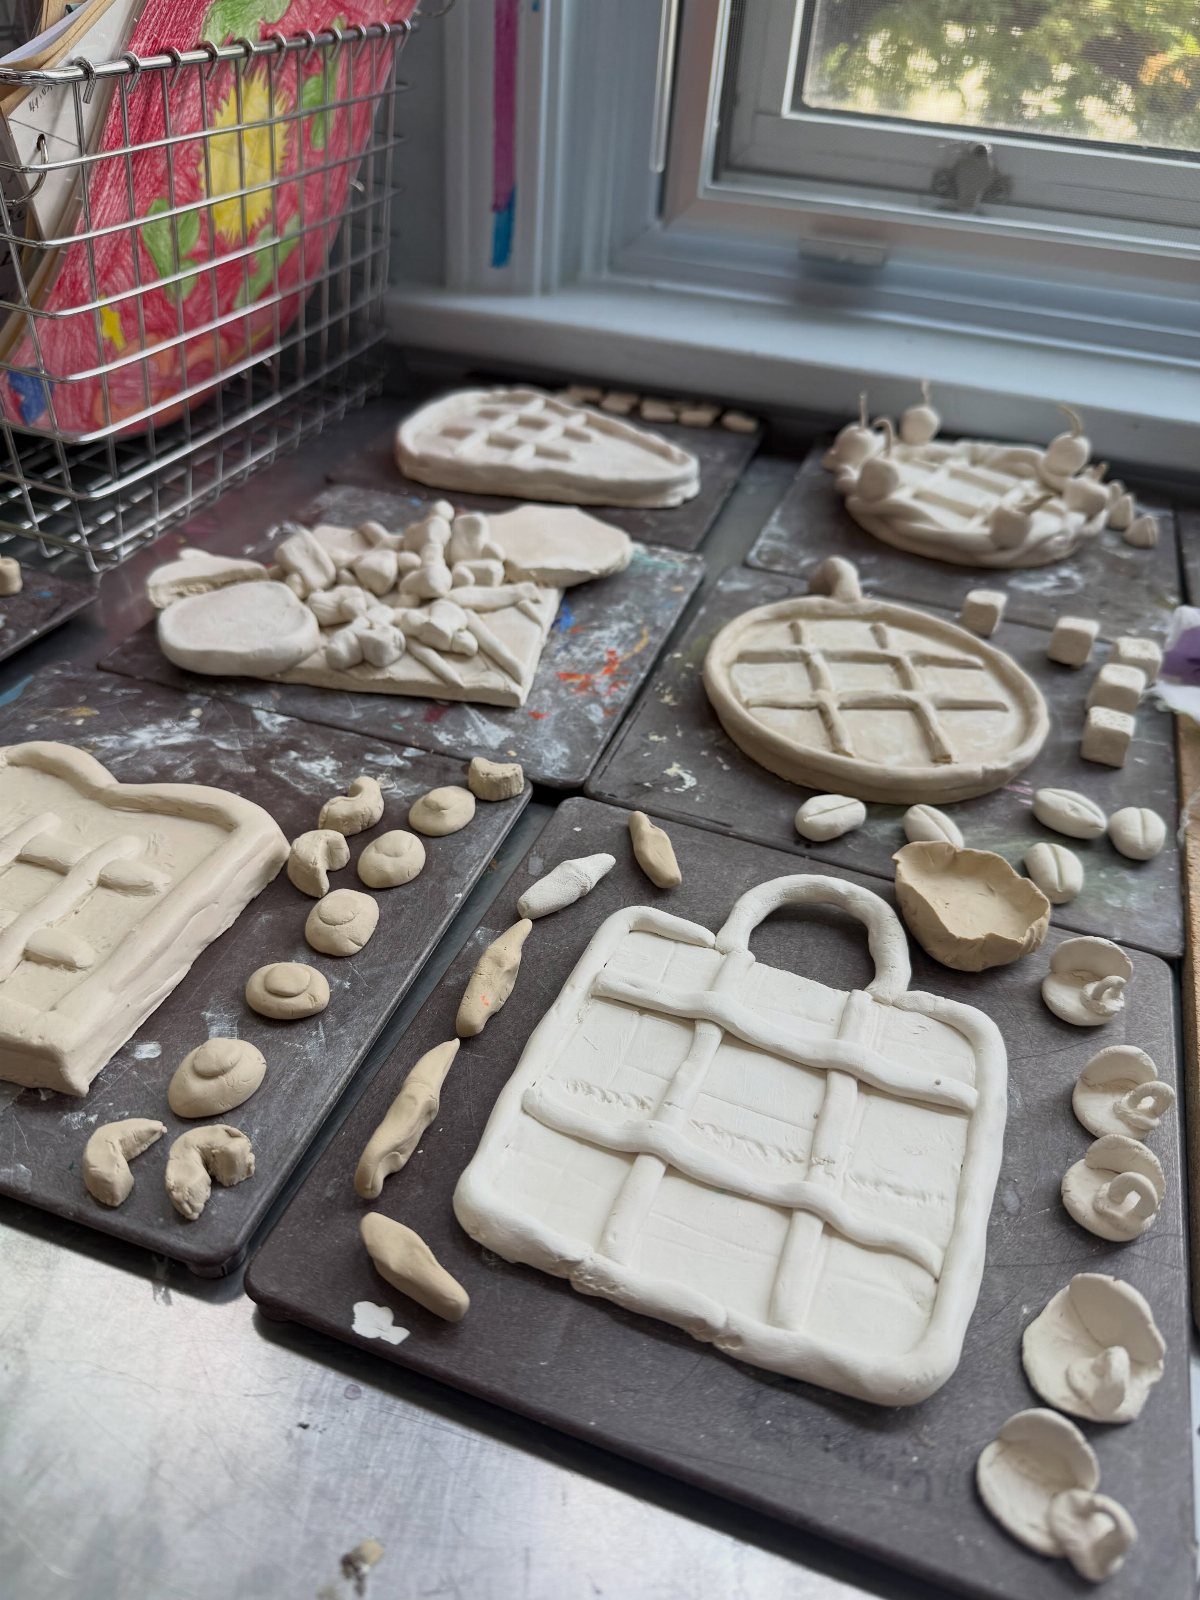
Air dry clay needs patience, not heat. A hairdryer will crack the surface; the material wants slow evaporation from both sides.
Lay shapes on parchment and flip them every few hours. The edges lighten first, and that is your signal to check for curling.
Press the curl flat while the clay still yields; once fully hardened, the shape is set.
Twelve to twenty-four hours is the usual window, though thick pieces sit at the longer end. A warm windowsill speeds things slightly, but direct sun risks warping.
I check at bedtime and again at breakfast; twice is usually enough to catch trouble.
3. Painting Ornaments
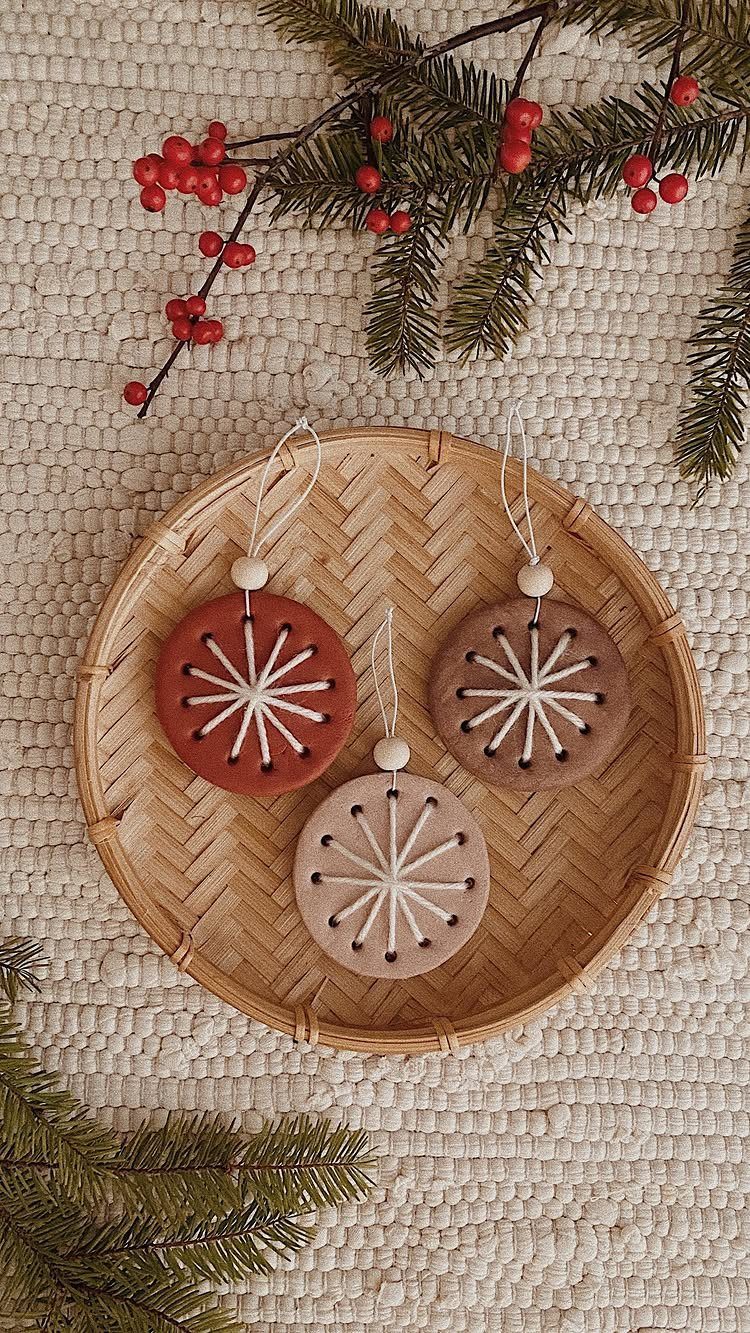
Acrylic paint goes on after the clay is bone dry, not before. Terracotta and cream tones read as earth and milk; you can mix to that range from a basic set or buy them straight.
Dab excess off your brush for a dry-brushed look that lets the texture show through. The starburst impressions catch paint differently than the flat surface, which gives the variation you see.
Mod Podge is optional. I skip it for a matte, chalky finish that feels closer to real pottery; a coat does add durability if these will hang where hands reach.
No sealant needed otherwise.
4. Stamps for Impressions
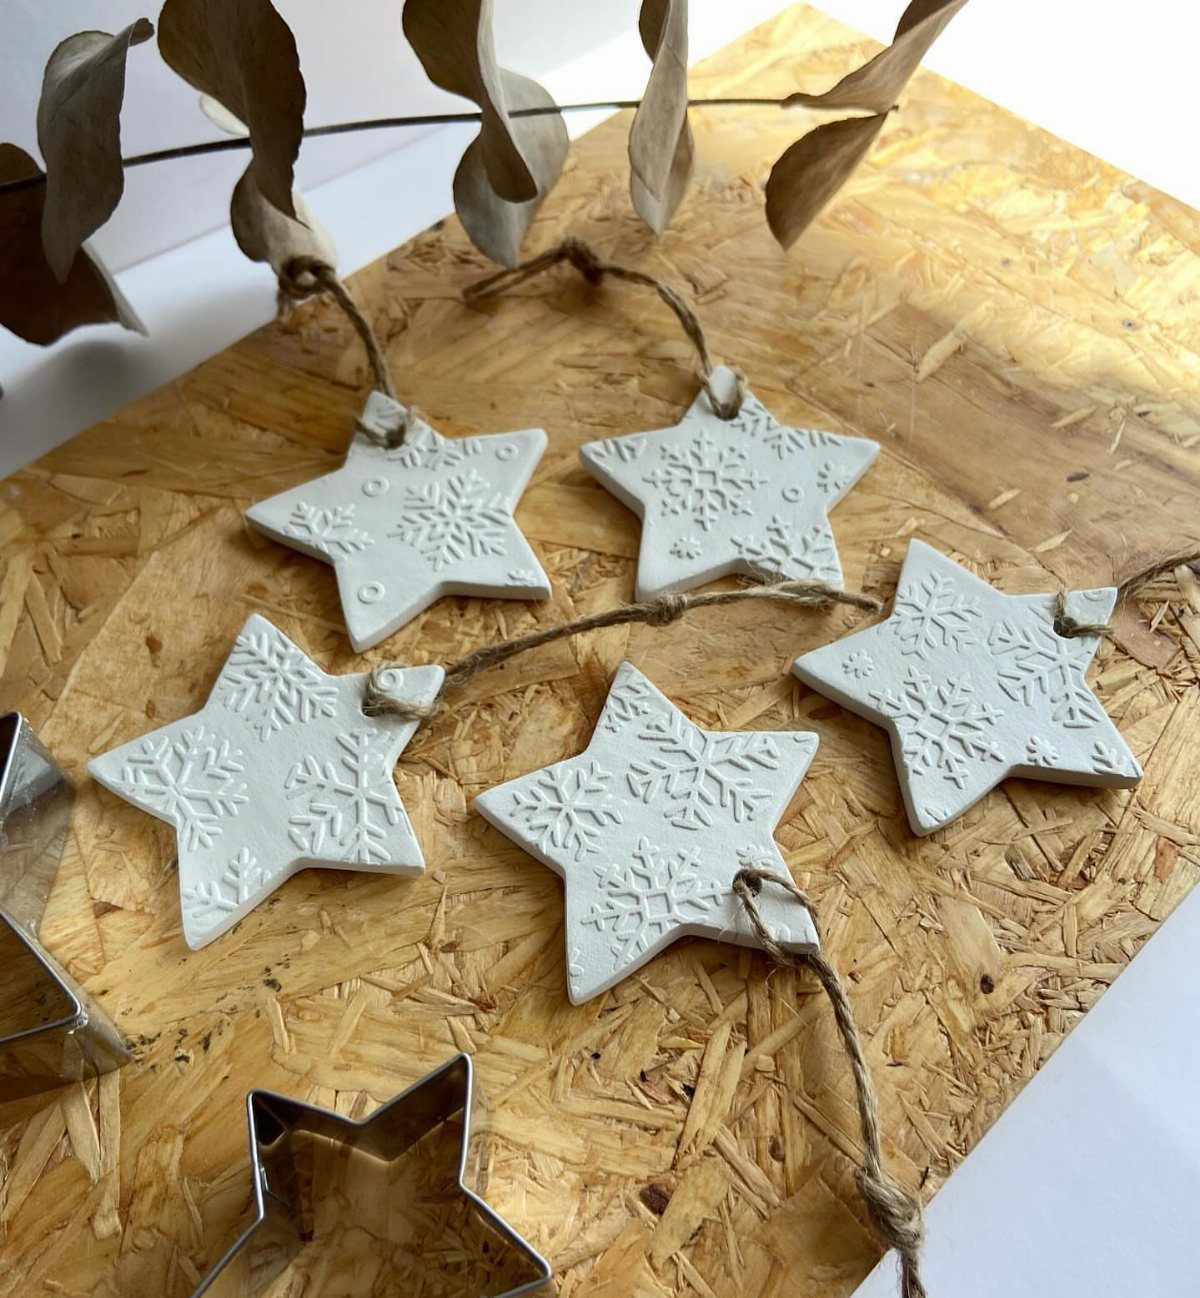
Stamps leave a cleaner impression than freehand carving, and the clay stays thick enough to hold it. Press straight down without wiggling; any sideways shift smears the detail.
A rolling pin over the stamp back, corners included, evens the pressure.
Short words work best. Six letters or a tight rubber band around your alphabet stamps keeps the spacing honest.
Too much force and the stamp edge leaves its own outline; practice on a scrap piece first.
Cookie cutters come after stamping, not before. Cut through the impressed clay and the design lands centered every time.
5. Making Holes for Hanging
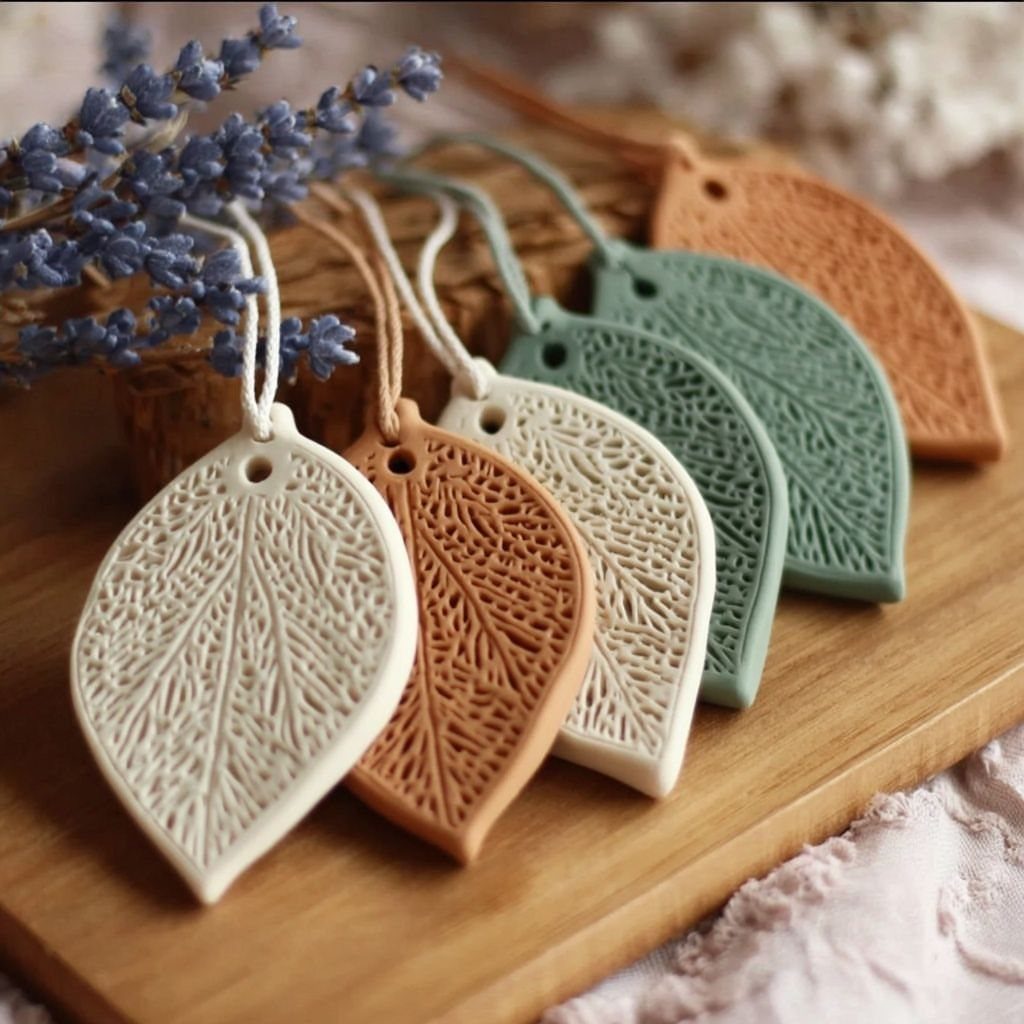
The hole has to go in while the clay is wet, and a drinking straw punches cleaner than a pencil. The cut rim compresses slightly; run a damp finger around it to smooth the fray.
A skewer works in a pinch, though the hole walls dry rougher and the twine catches. The straw’s circular plug pops out the top, which I flick back into the scrap pile.
Place the hole at least half an inch from any edge; thin clay tears under ornament weight. I have lost one to aggressive ribbon pulling, so thread gently and knot with slack, not force.
6. Using Twine or Ribbon
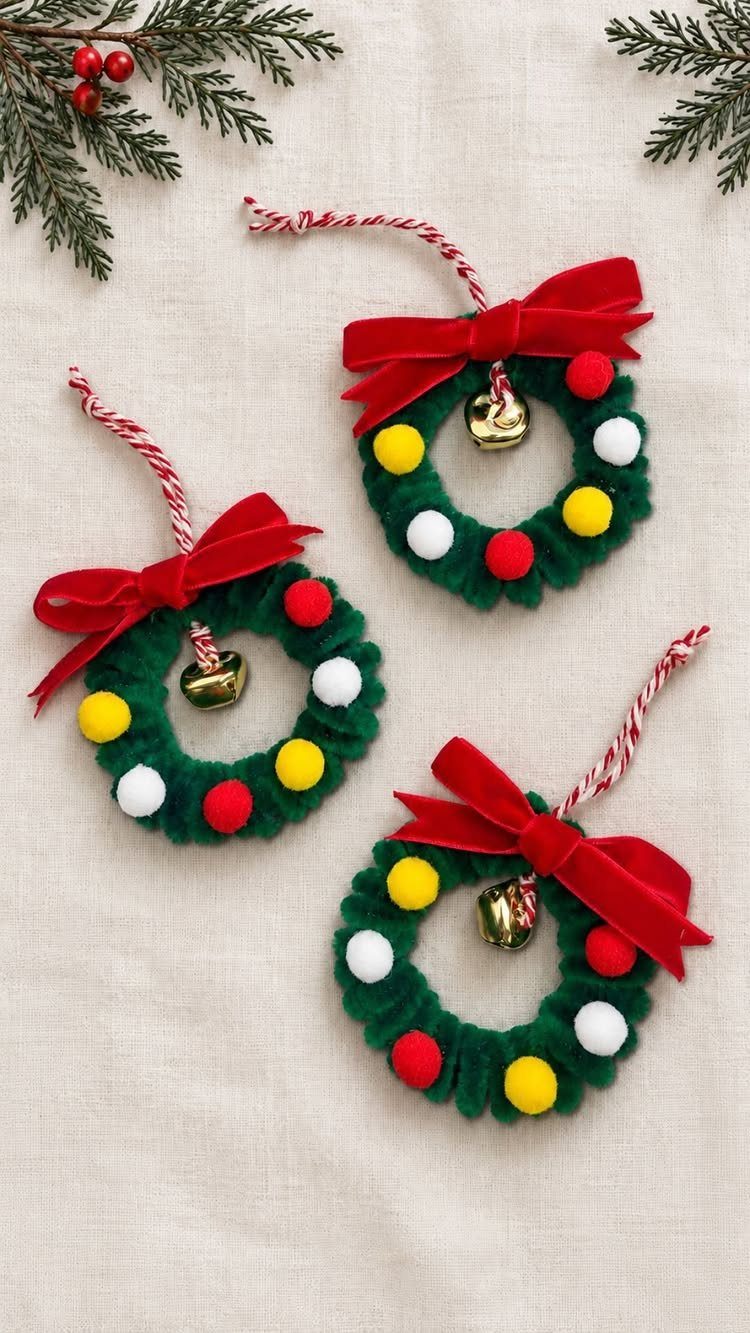
Jute string, baker’s twine, or ribbon each read differently against white clay. A red and white striped cord carries a peppermint energy that plain twine does not; choose to match the tree or the gift wrap.
Cut about ten inches, fold to double, and thread the loop through from back to front. Run the ends back through the loop and pull to snug, not yank.
The clay hanger is strong enough for its own weight but not for a tug-of-war.
Wooden beads on the string add a folk touch and a stopper that keeps the knot from pulling through the hole. I would add them for a kid’s gift, skip them for minimalists.
7. Nature Print Decorations
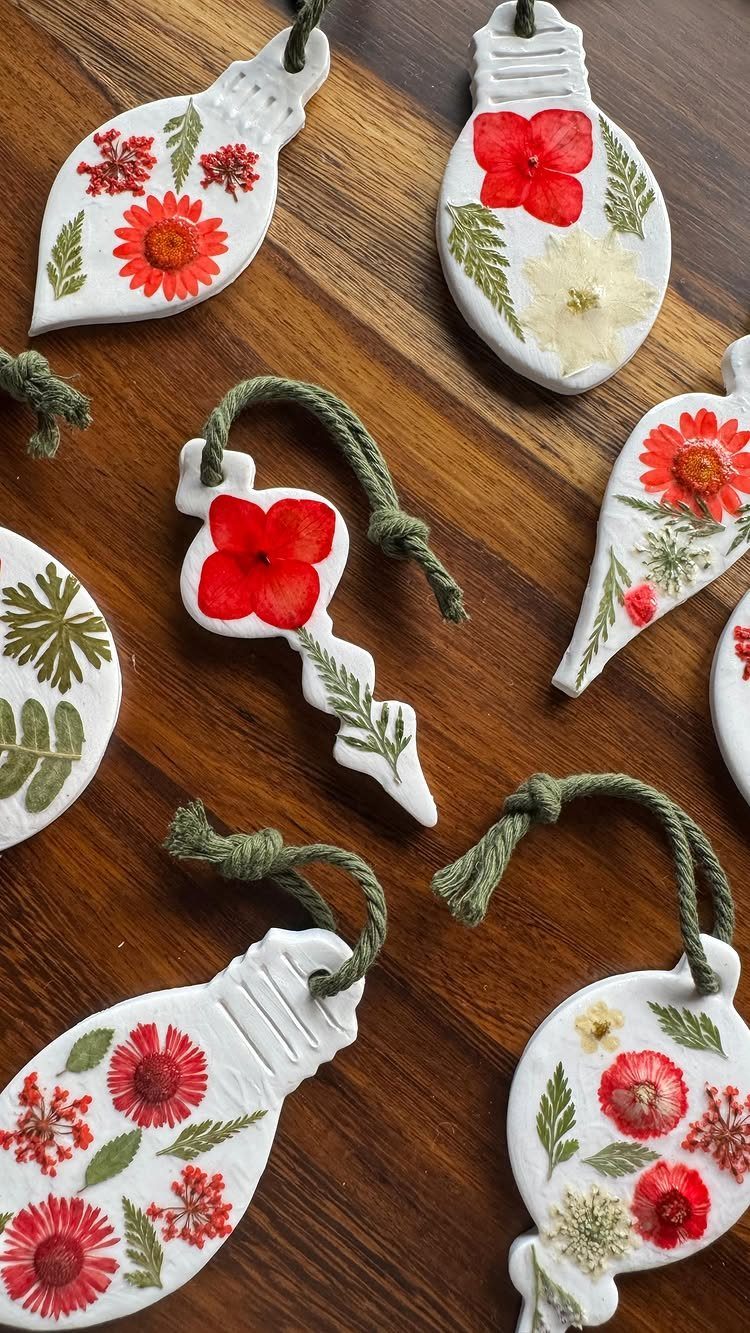
Pressed leaves and conifer needles leave a crisp, fossil-like imprint in soft clay that catches light beautifully against a Christmas bulb shape.
The reader working with kids or a tight weekend will like that nothing here needs firing; the plant does the decorative work, so painting is optional.
Roll clay to roughly quarter-inch thickness, press foliage firmly into the surface, then cut around or through with a cookie cutter. Denise Hope, who made a set with her family, notes that young makers handle this part easily.
Peel the plant away slowly; veins and edges transfer best when the clay is still moist. Dry flat on baking paper, turning once when edges whiten and curl, which usually takes a few hours.
A green twine loop suits the botanical mood and hangs neatly on branch hooks. These suit anyone who collects leaves on autumn walks and wants that memory in December.
Air dry clay chips if knocked, so pack these in tissue if you gift them.
Tips for Working with Air Dry Clay
Wet fingertips keep clay from fighting back. An old hand towel stays damp on the counter next to me, and a sponge in a glass of water handles the quick dabs between rolls so nothing sticks where it should not.
The clay looks gray in the packet; it turns white as it dries, so don’t let that first impression talk you out of it.
Wax paper under the rolling pin saves the work. The clay sticks to any surface, and lifting a cut shape off a counter tears the edge every time.
If hands still grab, a thin layer of hand lotion before starting changes the texture enough to help.
Best Practices for Drying
Turning pieces over every couple of hours keeps them from warping against the surface underneath. Press it flat while it still bends; once the center matches the edge in color, the shape is locked.
A fingertip wet with water smooths rough edges before the clay hardens, while the material still listens to pressure. A quick smooth now beats sanding later.
Leftover clay goes back in its original wrapper, elastic band tight, then into a glass jar with a seal. Air is the enemy; the jar buys time for the next batch.
Sealing and Finishing
A clear coat over paint adds durability where hands reach. Mod Podge works; so does a basic varnish.
I skip both for a matte, chalky surface that reads closer to real pottery, but the option is there for kid-height branches or gift bags that get jostled.
Sandpaper on fully dry clay removes rough edges before any top coat goes on. Gold acrylic at the rim adds a dressed-up note that reads vintage against white clay, if that suits the tree.
A few drops of essential oil soak into dry clay and hold scent. The ornament then works as a small air freshener in a car or closet, though the smell fades and needs refresh.