
The effort ranges from a ten-minute soil check to a full afternoon with a core aerator, and the deciding factor is whether your ground is frozen solid or still workable.
Soil biology keeps breaking down compost and leaf mold even when top growth has stopped, but only if you add that organic matter before the ground locks up with cold.
A layer of mulch spread after the first hard frost keeps roots from desiccating in winter wind, yet dump it onto frozen earth and you have wasted your afternoon.
1. Add Organic Matter to Your Soil
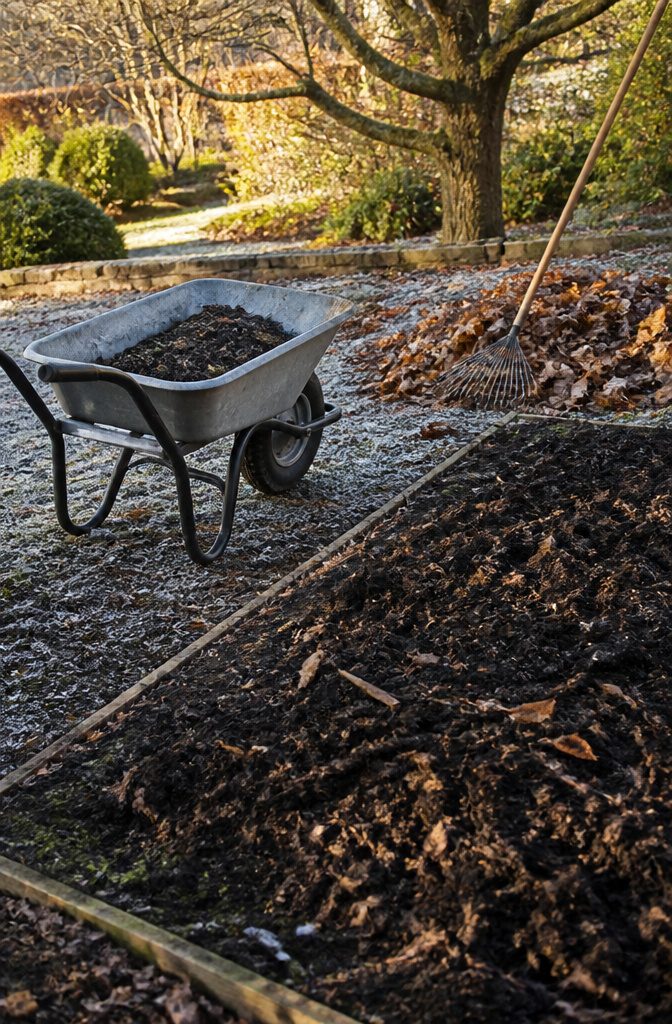
Compost, leaf mold, or well-rotted manure added in late fall keeps working even when the garden looks asleep.
Soil biology doesn’t shut down the way top growth does; the bacteria and fungi stay active enough to break down organic matter through the cold months, and that slow processing builds better structure than dumping it all on in spring.
Organic matter improves texture and helps soil hold water longer. Heavy clay loosens as material integrates, and sandy ground finally holds moisture long enough for roots to find it.
Two inches of compost worked into the top few inches of soil is usually enough to see a difference by planting time without burying the dormant crowns of perennials or overloading beds that sit wet all winter.
Leaf mold costs nothing if you stockpiled autumn rakes; manure needs to be well-rotted or the salts and ammonia will do more harm than the organic content does good.
2. Water to the Root Zone
Roots follow oxygen in the presence of water, which means the goal of winter watering is to keep that relationship intact rather than drown it.
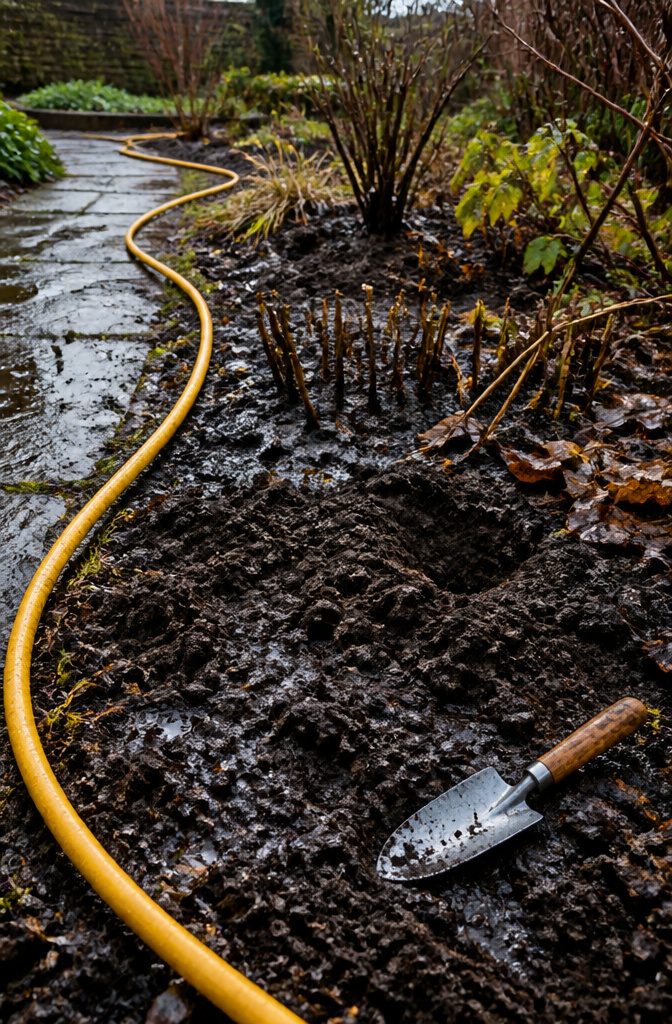
I water less often than in summer, but when I do, I run the hose long enough to soak the root zone rather than wet the foliage.
Surface leaves dry out fast and do nothing for the plant; moisture needs to reach down to where the roots actually live.
Too much water drives out the air pockets in soil and creates an anaerobic environment. Roots suffocate in that condition, and soil biota, the living organisms that feed your plants, collapse right along with them.
Check soil moisture with your finger a few inches down before you add water; if it still feels damp, skip the session entirely.
Dormant plants need even less, and the quickest way to kill one in winter is to treat it like it is still actively growing.
3. Mulch to Retain Moisture
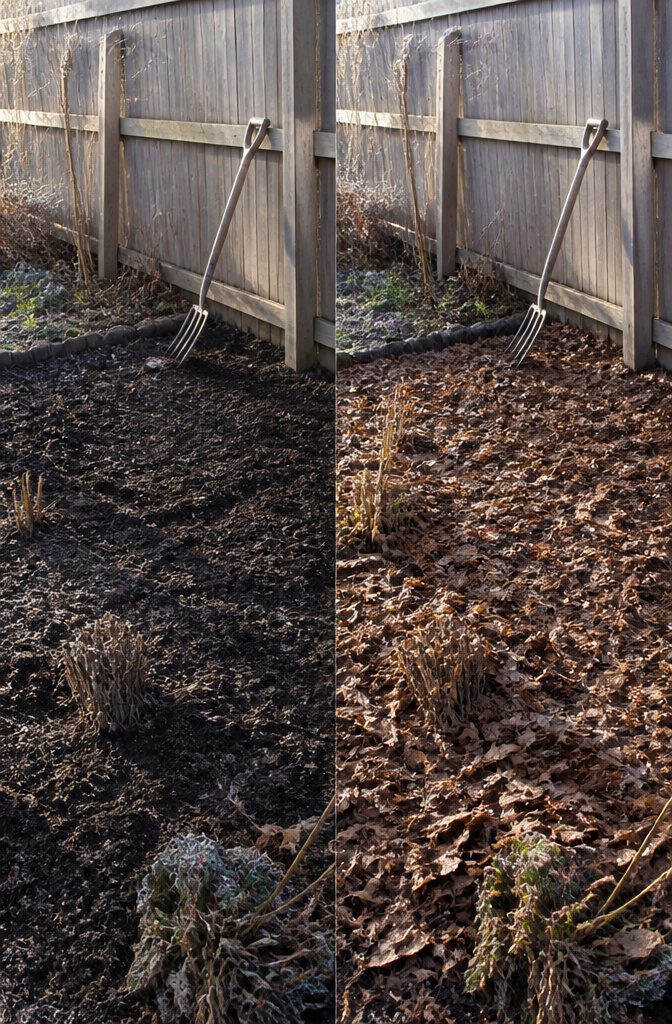
A layer of mulch before the ground freezes works harder than most people expect.
Straw, shredded leaves, or wood chips all do the job, though I have settled on shredded leaves because they are already in the yard and they break down by spring.
Keep the layer two to four inches deep and spread it after the first hard frost but before the soil locks up with cold.
The timing matters because you want the ground cold enough that rodents are not tempted to nest, but not so late that you are dumping mulch onto frozen earth.
Mulch keeps moisture in the ground where plants can use it. Bare soil dries in winter wind the same way it does in July sun, and roots that desiccate in February do not recover in April.
Mulch also buffers temperature swings so the freeze-thaw cycle does not heave shallow-rooted plants out of the ground.
Leave a gap of a few inches between the mulch and any woody stem or tree trunk. Piling it right against the bark traps moisture and invites rot, which defeats the whole purpose of protecting the plant.
I learned that the hard way on a young dogwood that sat too damp through a wet winter and never leafed out again.
4. Choose Drought-Tolerant Plants
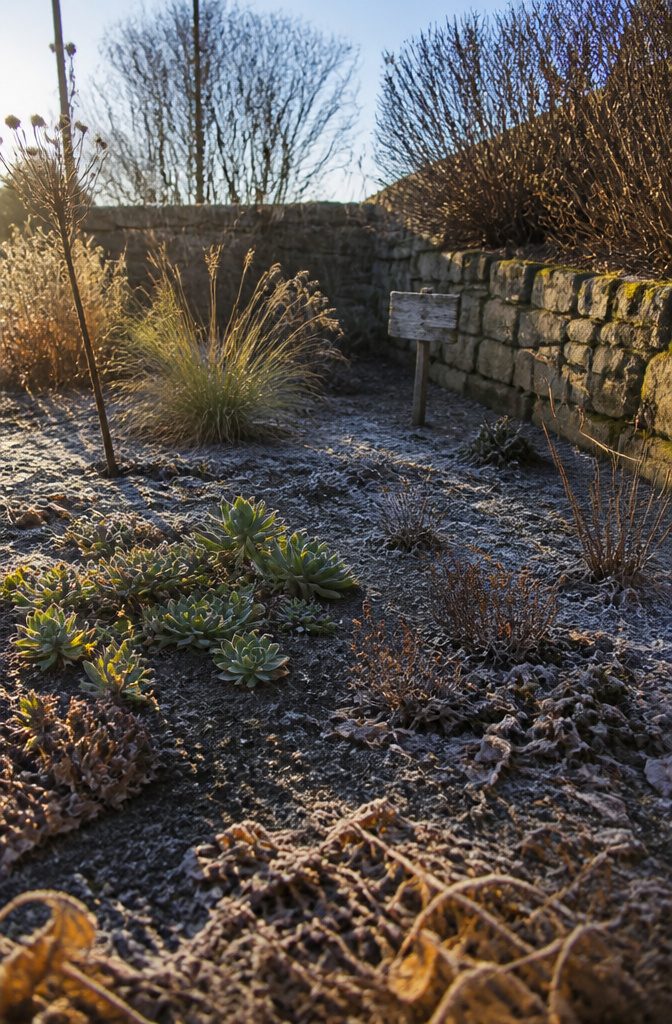
Winter rain in most parts of the country delivers enough moisture that drought-tolerant plants often need no supplemental watering at all from December through March. Match the plant to what actually falls in your yard.
I learned this the hard way after planting lavender in a bed that got winter drenching from roof runoff.
The roots rotted before spring. Lavender wants dry winters; it thrives in zones 5–9 only where soil drains fast and rain stays sparse.
Sedum and ornamental grasses handle similar conditions. For wetter winter climates, zones 6–8 with regular precipitation, yarrow and black-eyed Susan survive by going fully dormant and slowing their metabolism to near zero.
Check your county’s average winter precipitation against a plant’s listed water needs. Native plant societies and cooperative extension offices publish charts that pair rainfall zones with species.
If your winter months total under two inches, Mediterranean herbs and Southwest natives suit you. If you’re closer to six or eight inches, lean toward prairie plants that expect spring soaking, not winter dryness.
The mismatch between what a plant expects and what your sky delivers determines whether winter garden maintenance means doing nothing or doing rescue work.
5. Prime Your Lawn
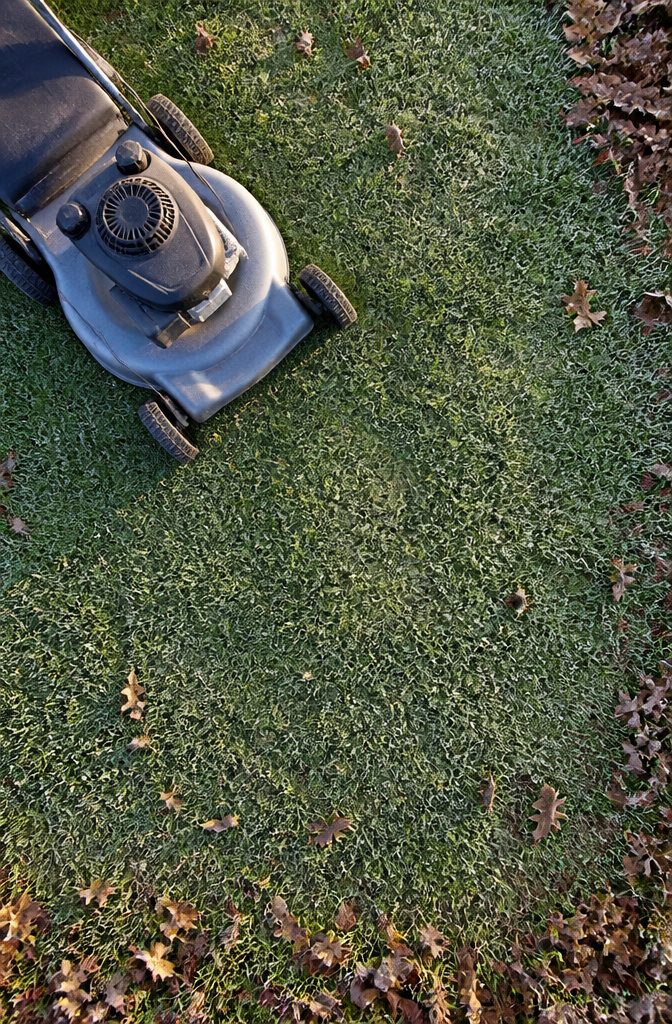
Set the mower deck lower for that last cut before winter than you did all summer.
Two and a half inches is the cutoff for most cool-season lawns; anything taller mats under snow and breeds mold, anything shorter starves the crown.
My Kentucky bluegrass went in shaggy one year and I spent spring raking out gray patches where the blades had fused into a thatch pancake.
Aeration is the step renters skip because it looks like a pro move.
A half-day rental on a core aerator runs about the same as a bag of quality seed, and the holes let whatever fertilizer you put down actually reach the roots instead of sitting on top.
I pull plugs in late October, when the soil is still workable but the grass has slowed its sprint.
Overseeding thin spots right after aeration gives cool-season types a last shot at filling in.
Warm-season grasses like Bermuda or zoysia won’t take seed in fall; they are already shutting down, and the timing would just feed the birds. Save that repair for spring.
A light feeding goes down after the last mow, before the ground freezes hard. The roots keep drinking slowly through winter dormancy, and the stored nitrogen shows up as earlier green-up.
Skip the heavy application; you want a snack, not a feast, and anything that pushes tender growth before a hard freeze is wasted money.
6. Maintain Healthy Plants
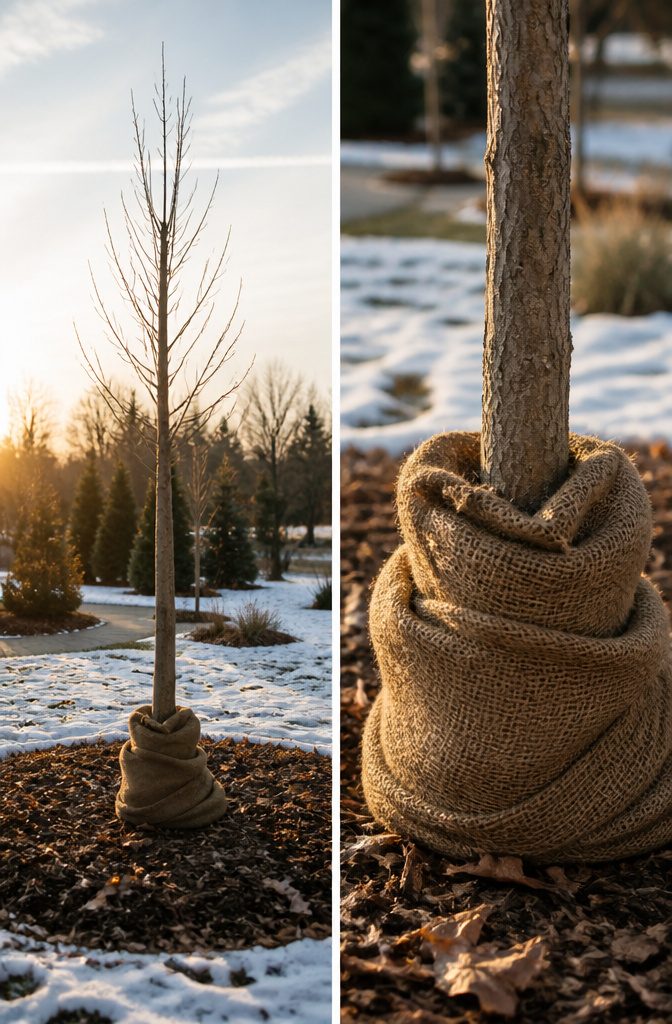
Thin-barked trees like maple or young cherry will tell you when winter is getting to them.
The southwest side of the trunk warms in afternoon sun, then freezes hard after dark, and the bark splits from the temperature swing. That is sunscald, and it looks like someone took a knife to the wood.
Burlap wrap or a commercial tree guard breaks that cycle by keeping the trunk in shadow, though I have seen gardeners skip the wrap and paint trunks white instead, which reflects the light.
Either works; the wrap is cheaper, the paint lasts longer.
Desiccation is harder to spot until the damage is done.
Evergreen needles turn brown at the tips when wind pulls moisture faster than frozen roots can replace it. An anti-desiccant spray, basically a thin wax coating, slows that loss.
I would use it on a newly planted arborvitae hedge that has not rooted deep yet, but skip it on a fifteen-foot spruce that has handled twenty winters without help. Established plants have their own chemistry for this.
Salt is the one stress you can almost always prevent.
Rock salt splashed from roads or walks dehydrates tissue and stunts spring growth. A burlap screen breaks the spray line, or you can cut what you spread with sand to stretch the salt and reduce its reach.
Switching to sand or kitty litter for traction instead of melting is the safer play near any planting you care about.
Animal browsing is where I let nature take more of its own course.
A rabbit ring-barking a young tree is worth a hardware cloth collar; deer stripping a hedge to the snowline is not, not if the plant is otherwise healthy. The plant will fill back in by June.
7. Grow Frost-Hardy Vegetables
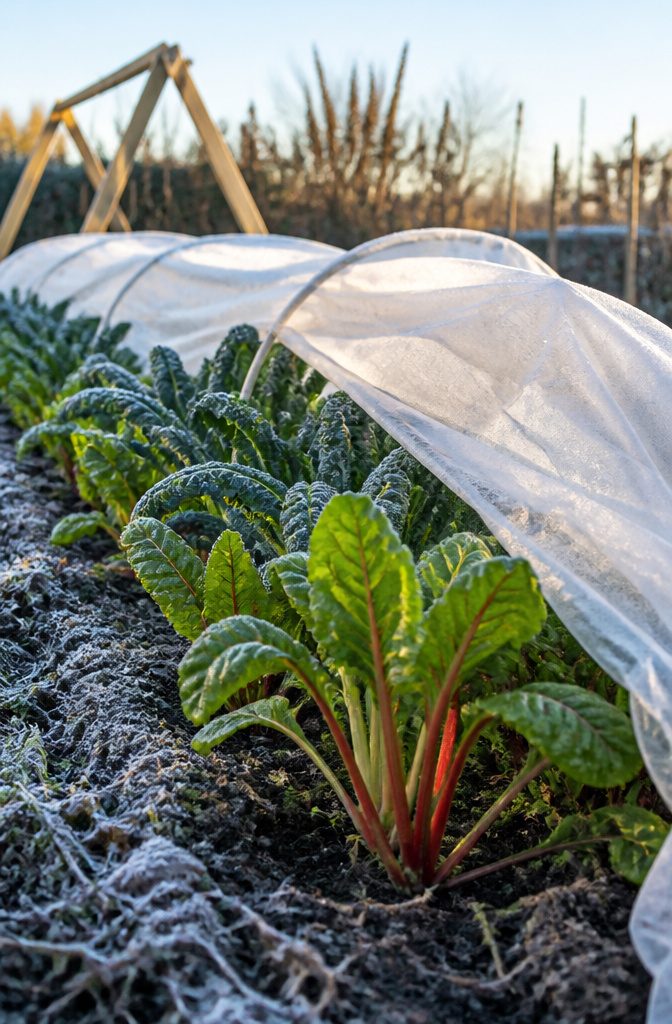
Brassicas, green peas, Swiss chard, and lettuce all survive hard frost once their roots are established, which means getting them in the ground during fall.
I missed this window my first year and watched a flat of lettuce seedlings turn to mush in a November snap; the ones planted six weeks earlier kept producing through January.
Grouping these plants close together matters because it lets you throw a single row cover or prop a cold frame over the whole patch when temperatures drop into the marginal range.
The protection does not keep them warm so much as it buffers the coldest hours and blocks drying wind, which is often what damages the tissue.
The real surprise is flavor.
A few nights below freezing trigger sugar production in these plants as natural antifreeze, so the kale or chard you harvest after a cold spell tastes noticeably sweeter than the same crop picked in mild October weather.
Those extra minutes spent hauling covers out of the shed buy you fresh harvests through hard frosts.
8. Plant Cover Crops
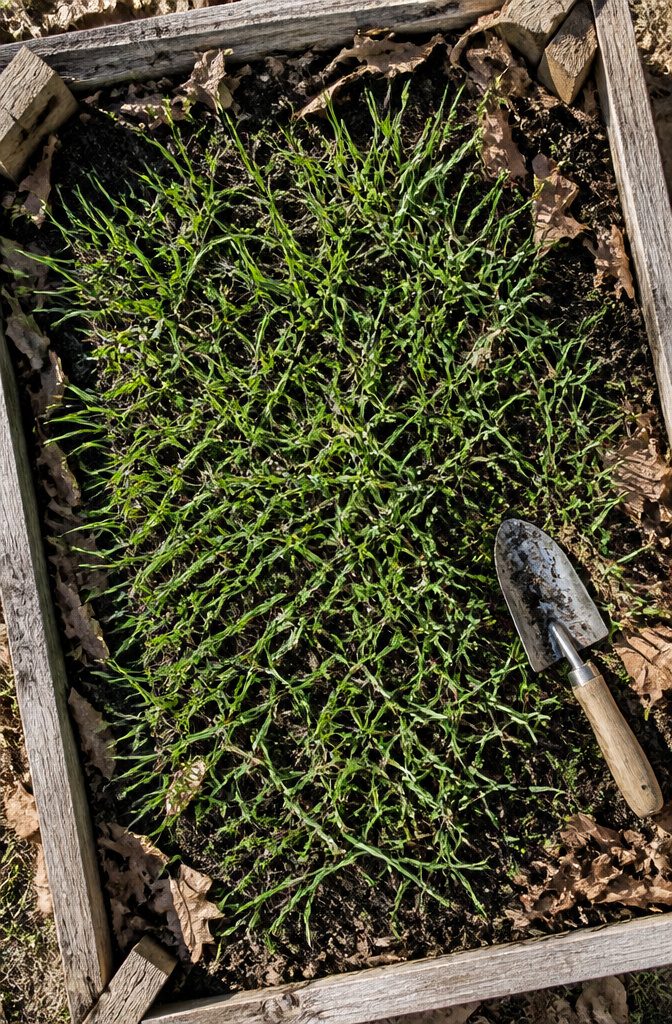
Cover crops turn empty beds into something useful through winter instead of letting weeds or compaction take over. Winter wheat and winter rye are both cold-hardy grasses that germinate in cool soil and put down roots before hard frost arrives.
The difference matters later: rye scavenges nitrogen already in the soil and holds it against leaching, while crimson clover is a legume that fixes nitrogen from the air through nodules on its roots and adds it to the ground.
I plant them in late fall, usually four to six weeks before the first expected frost, which gives seedlings enough time to establish before growth slows.
Termination is the part that trips people up. In spring, you have to kill the cover crop before it goes to seed and before you plant your vegetables.
Mowing and then tilling into the soil works for most home gardens; some gardeners cut it and leave the residue as mulch on top.
Rye can be tricky because it resprouts if not fully incorporated, while wheat tends to die back more readily. Clover breaks down fastest and releases nitrogen right when summer crops need it.
Daikon radish is another option the sources mention, though it serves more for aerating compacted soil than for nutrient management, and you can pull a few for winter eating if the ground isn’t frozen solid.
9. Prune Dormant Plants
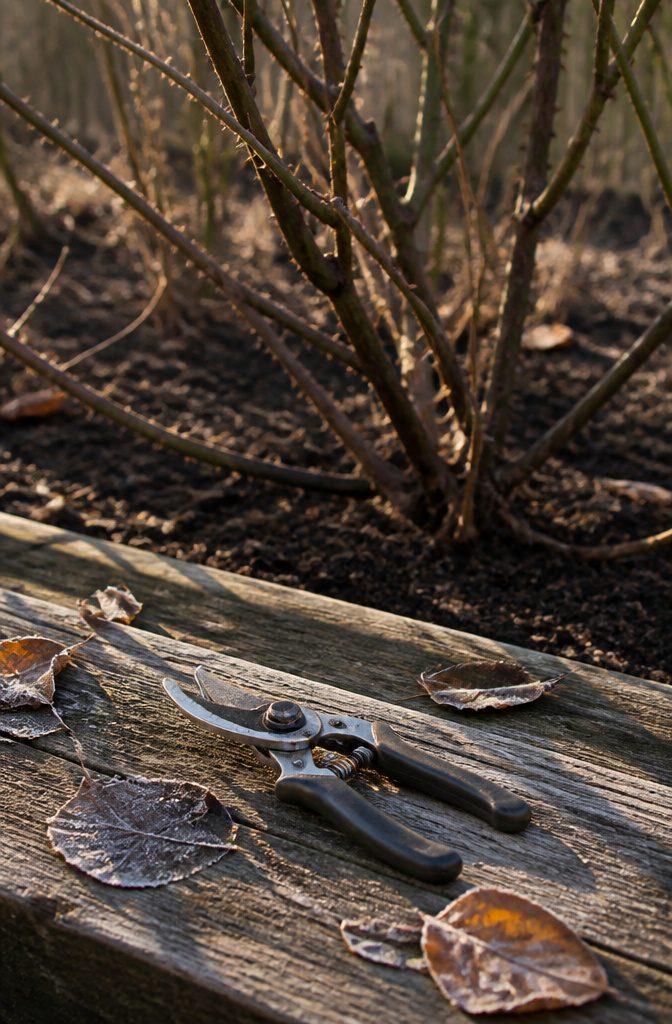
Winter is when the shears come out for anything that fruits on new wood. Fruit trees, roses, and deciduous shrubs all respond well to a hard cut while dormant, before buds break in early spring.
The plant is not pulling energy through the branches, so the wound heals cleaner and the shape you set holds.
Spring bloomers and sap-bleeders get a pass.
Maples and birches run too freely if cut now; the sap loss weakens the tree and invites disease. Wait until summer for those.
The same patience applies to lilacs, forsythia, and anything else flowering on old wood. Prune those in winter and you shear off the buds that were meant to open in April.
Sanitize blades between plants with a ten-percent bleach solution or rubbing alcohol.
I keep a spray bottle on the cart and hit the shears every time I move to a new tree. A clean cut matters more than a quick one.
Cut just outside the branch collar, the swollen ring where branch meets trunk. Flush cuts and stubs both rot; the collar is where the tree knows how to seal itself shut.
10. Feed Overwintering Birds
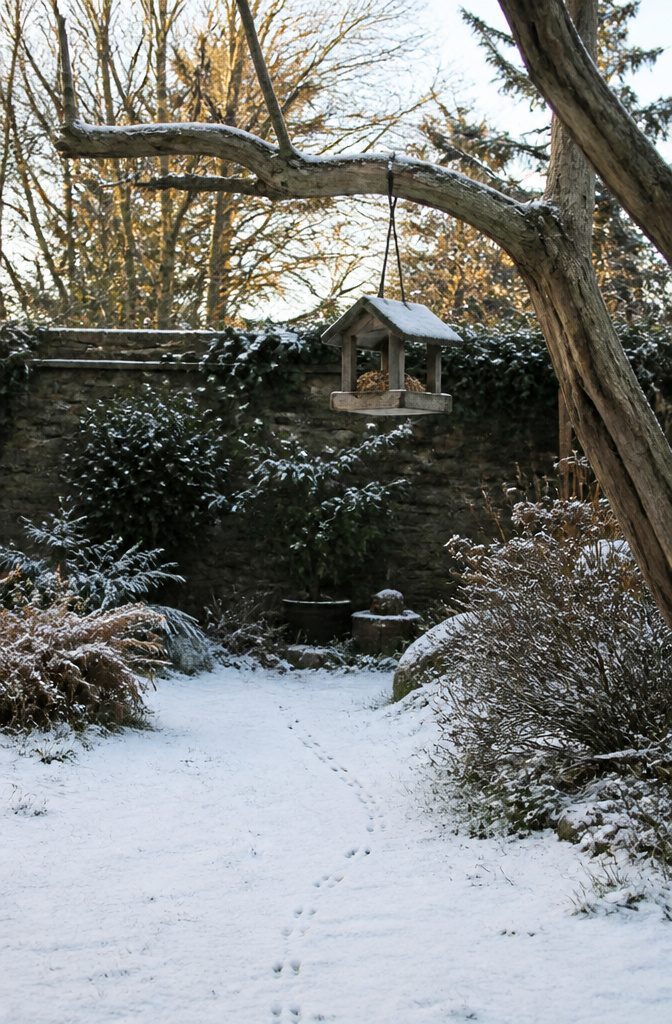
Birds that stay through winter run short of the seeds and insects they eat the rest of the year.
A feeder kept full through the cold months fills that gap, and in return those same birds pick off aphids, caterpillars and beetle larvae once spring growth starts again.
Placement matters more than the feeder style. A station set within ten feet of dense cover, a hedge or a brush pile, gives birds an escape route from hawks and lets them conserve energy on the coldest days.
I clean mine every two weeks with a weak bleach solution and let it dry completely before refilling. Wet seed molds fast, and sick birds at a crowded feeder spread disease quicker than most people notice.
Black oil sunflower draws the widest mix, nyjer seed keeps finches around, and suet blocks bring in woodpeckers and wrens that do real pest control work come April.
A heated birdbath is worth the small electric cost if your winter drops below freezing for stretches. Water is harder for birds to find than food, and a reliable source keeps them loyal to your yard.
11. Set Up Outdoor Heat
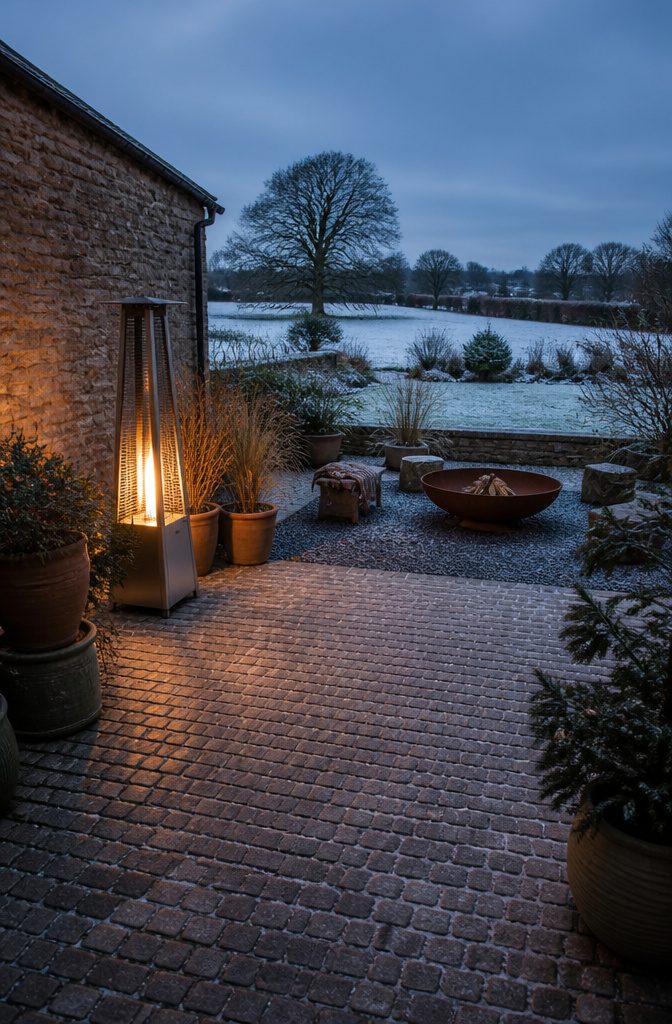
Fire pits, chimineas, and patio heaters each carry different fuel demands and different headaches with local burn ordinances.
Propane and natural gas heaters sidestep the ash and ember question entirely, which matters in tight yards where an errant spark finds dry mulch or the neighbor’s vinyl siding.
Wood-burning options put out more radiant heat for the dollar but need a non-combustible surface underneath and ten feet of clearance from structures and evergreens, minimum.
Evergreens are the ones people forget; their resinous needles go up fast and the tree holds that fuel straight through winter.
Checking the city or county fire code takes ten minutes online and saves a weekend of fines or worse. Some jurisdictions ban open burning entirely from November through March, others just restrict hours or require a permit for anything wood-fired.
Outdoor heat buys you time outside noticing what the garden actually needs.
A patio heater let me spot a rabbit-gnawed hydrangea in January that I would have missed from the kitchen window, and catching winter damage early beats discovering it at bud break.
The season stretches, and the maintenance stops being a chore list you race through and starts being something you watch unfold.
12. Start an Indoor Herb Garden
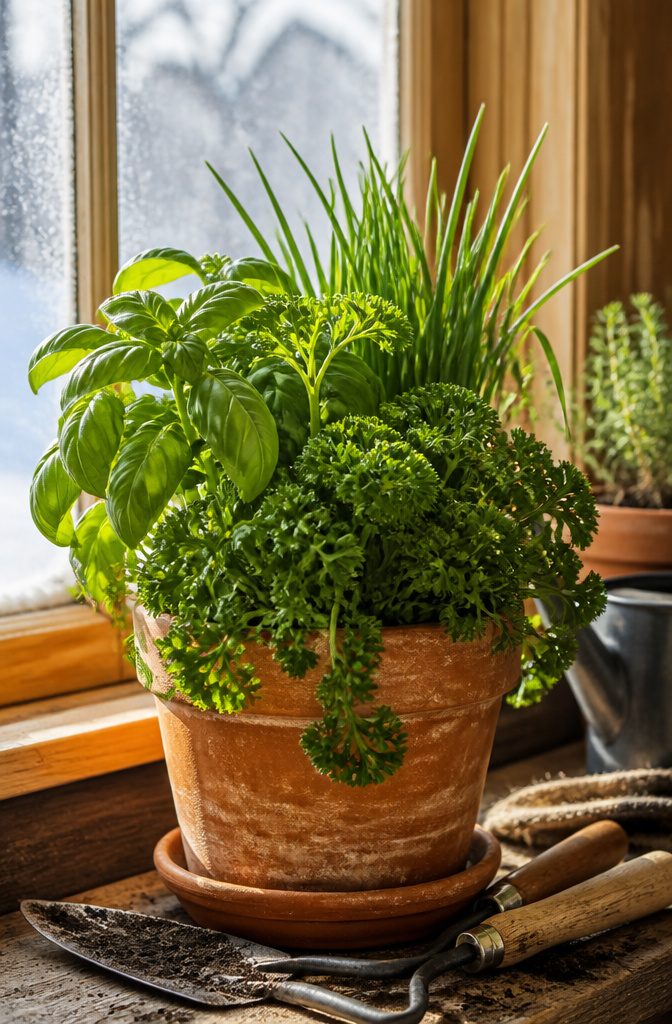
Fresh basil in February makes the grocery-store stuff taste like wet paper. I keep mine going on a south-facing windowsill, which is the bare minimum for anything that actually produces leaves you want to eat.
Most kitchens need a supplemental grow light clipped to a shelf or cabinet, especially once December shortens the daylight to a stub.
Drainage matters more than the container’s looks.
Terra cotta breathes and forgives overwatering, while anything glazed or plastic needs holes drilled in the bottom. I lost three pots of thyme before I stopped trusting that decorative outer pot without checking underneath.
Soil is simpler than hydroponic setups for a winter project.
The countertop systems work, but the nutrient solution and pump add cost and another thing to monitor. Standard potting mix with a little perlite keeps parsley, chives, and oregano alive through March with less fuss.
The herbs that transition easiest are the ones already accustomed to pots. Dig up and repot outdoor thyme, rosemary, and chives before the first hard freeze, cutting the root ball by about a third so it fits the indoor container.
Water thoroughly and let the plant sulk for a week; the leaves will crisp back up.
Harvest by pinching stems just above a leaf node, never stripping bare.
This forces branching and keeps the plant compact instead of leggy. Two or three stems every week from a mature pot sustains a cook without starving the plant.
13. Grow Microgreens Indoors
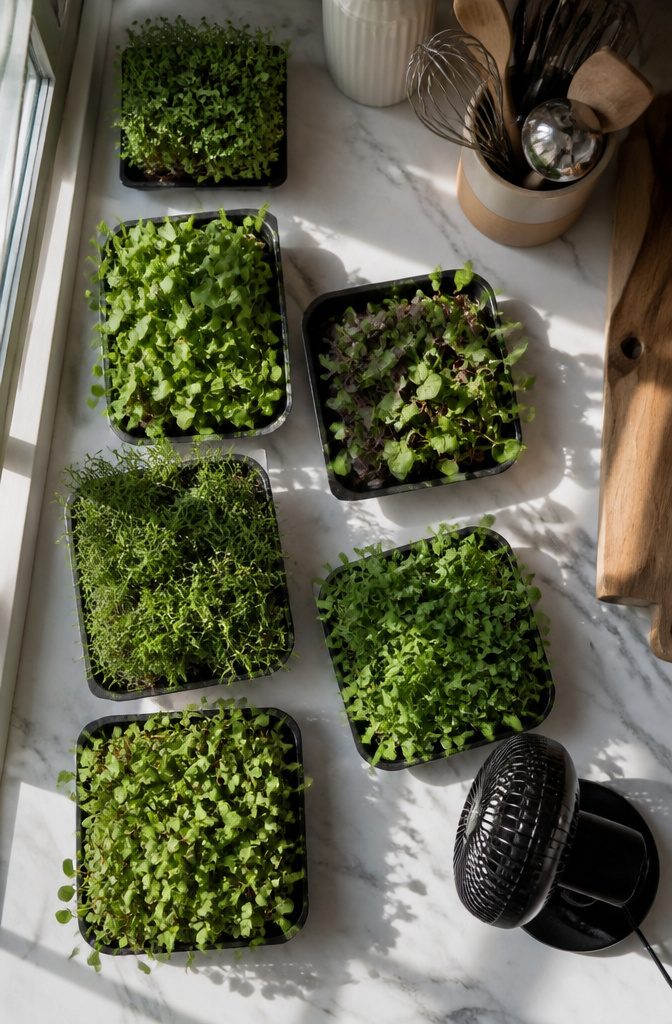
Microgreens are the closest thing to instant gratification in winter garden maintenance. A flat of trays, some seeds, and a south-facing window or a basic LED shop light will get you started for under $30.
Most varieties germinate in cool indoor air, around 60–65 degrees, though they won’t race the way they would on a heat mat.
Arugula, kale, and mustard greens are reliable in those conditions; basil and cilantro tend to stall unless your space runs warmer.
The growing medium matters more than the seeds. A soilless peat-based mix gives you some forgiveness on watering, since it holds moisture without turning to mud.
Hemp or coco mats look cleaner on the kitchen counter but dry out fast and can leave roots threadbare if you miss a day.
I have watched a tray of radish microgreens go from lush to fuzzy with mold in about forty-eight hours because the mat sat wet and the air in the room never moved.
A small fan on low, pointed anywhere but directly at the tray, fixes that.
Harvest comes at the first true leaf stage, usually seven to ten days after germination, when the flavor is still mild and the stems snap cleanly. Wait much longer and the greens turn leggy and bitter.
Overwatering, not underwatering, is the failure that kills most indoor microgreen attempts. The surface should feel barely damp, not slick, and any standing water in the tray below is a warning you are asking for rot.
14. Plan Next Season
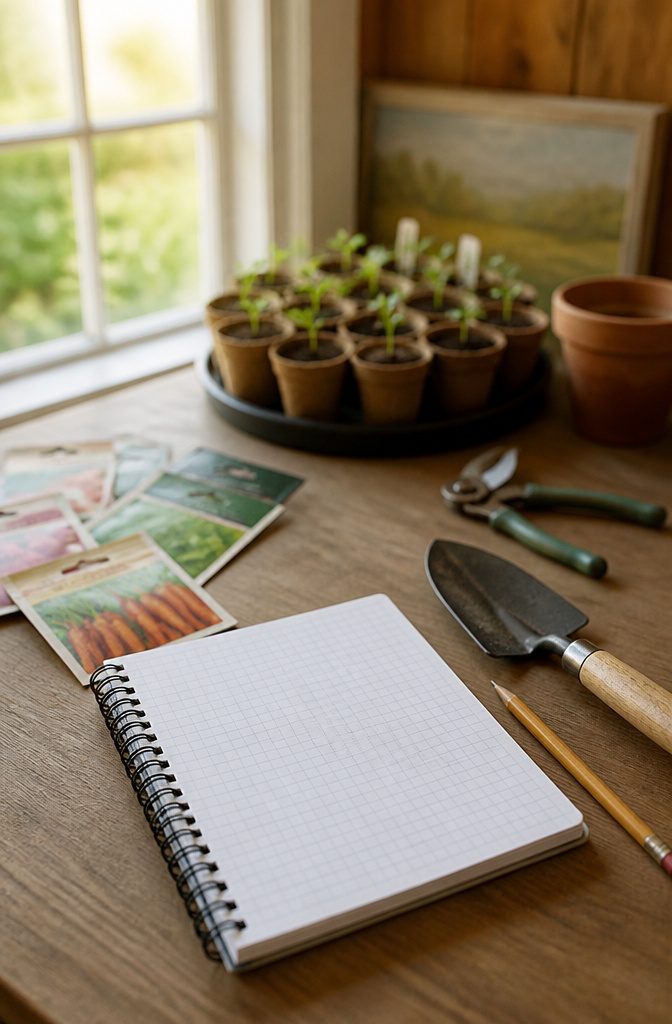
The quiet months between frosts are when graph paper beats any app for mapping out next year’s rotations.
I sketch the beds as they sat this season, pencil in what failed, and move whole families of plants to the opposite end of the yard.
Brassicas that struggled in the wet corner get dry ground next year. Green peas that never took might need a different fall planting window, or just better cover when the cold sets in.
Winter is also when I research varieties suited to the specific microclimates the summer revealed. That strip along the fence runs warmer than the rest, so I note which lettuce or Swiss chard might stretch the season there.
For tools, a basic hand fork and trowel are enough for most planning; I keep pruning scissors nearby for cutting samples or marking twine.
Some gardeners prefer apps for tracking rotations, but I have never found one that handles the odd shapes of a real rented yard. The paper stays honest about what actually fits.
15. Buy Seeds Early
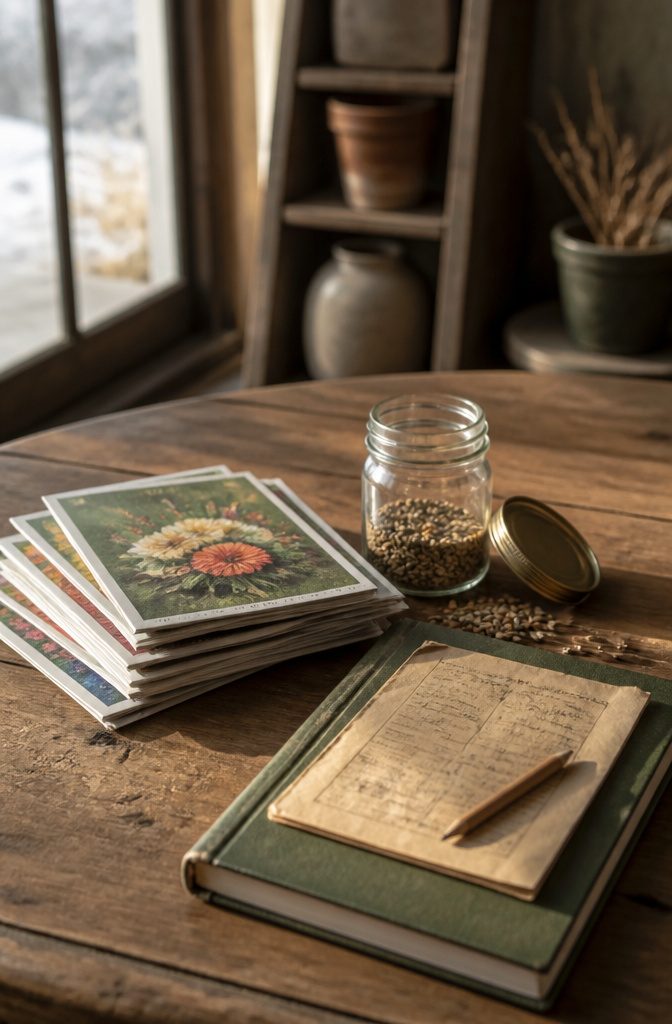
The seed catalogs start showing up in December, and by January the best varieties are already thinning out.
I learned this the hard way after waiting until mid-February to order tomato seeds and finding my first two picks sold out completely.
Popular varieties often sell out by February, especially the short-season heirlooms that northern gardeners need to beat the first frost.
Reading the packet matters more than the pretty photo. Days-to-maturity tells you how long that plant needs from transplant or direct sow to harvest, but only your last spring frost date tells you if that fits your season.
A pepper that needs 90 days might barely produce before fall if you start late. I keep a running note on my phone with both frost dates and do the subtraction while browsing.
Storing leftover seed properly saves you from repeating the rush next year. Cool, dry, and dark keeps most vegetable seed viable for two to three years, sometimes longer.
I use a mason jar with a desiccant packet in the back of a closet, not the drawer above the dishwasher where heat and humidity sneak in.
16. Swap Seeds With Gardeners
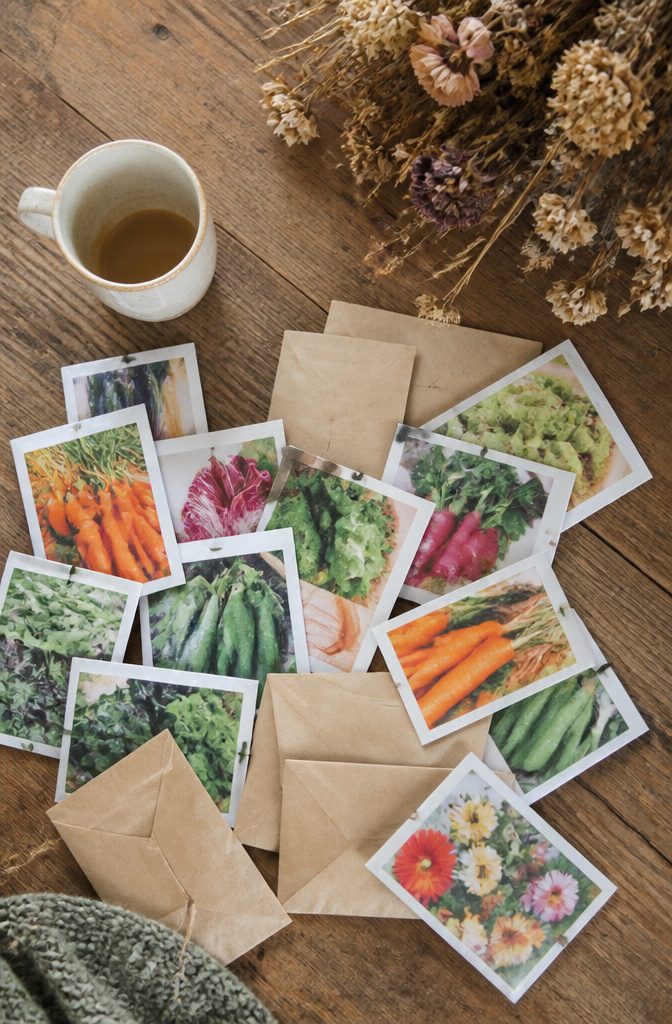
Seed swaps pick up steam right when the garden goes quiet, and winter garden maintenance is the perfect time to get in on them.
Local extension offices and public libraries usually host swaps in January and February, or keep a bulletin board where gardeners post what they have.
Facebook groups do the same thing without the drive; some stay active enough that you can trade through the mail while the ground is still frozen.
The seed you receive will grow better if the person who saved it knew what they were doing.
Dry tomato and pepper seed on a paper plate for about a week, then store it in an envelope marked with the variety and year.
Beans and peas need less fuss; let the pods brown on the vine, shell them, and they are ready to trade.
Home-saved seed is fair game at most swaps, but not everyone wants it.
Some traders only take commercial packets with the germination rate printed on them, especially for tomatoes and peppers where crossing can happen if plants were too close together. I ask before I offer.
A swap where everyone brings mystery seed is still a swap, but the gardeners who keep coming back are the ones who label honestly and know whether their squash was an open-pollinated variety or a hybrid that will not breed true next year.
17. Improve Existing Beds
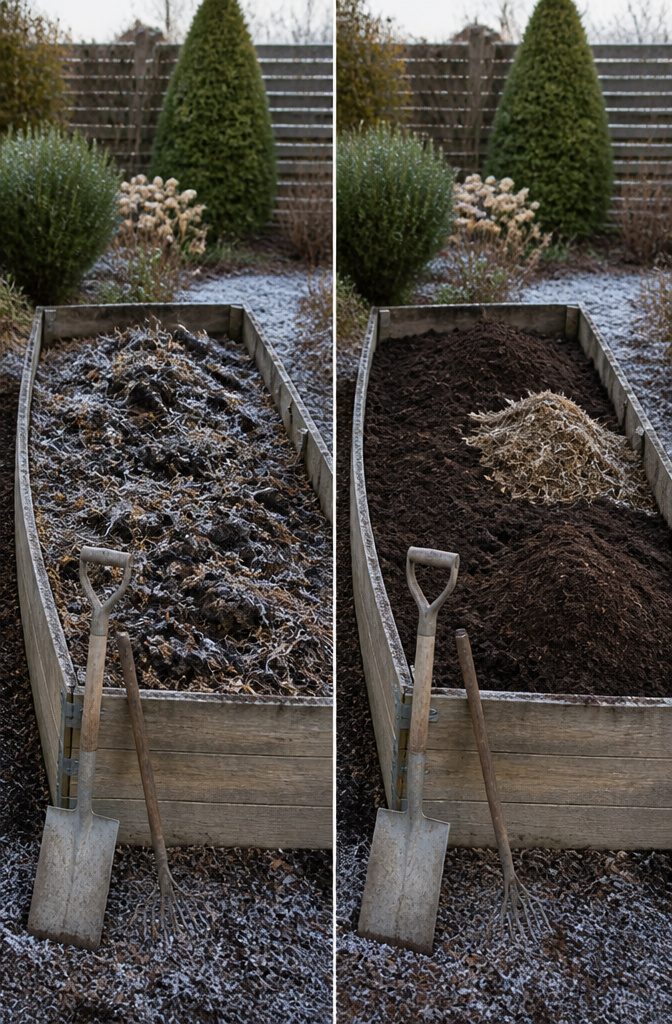
Soil settles in raised beds over the course of a season, and the off-season is when you notice the level has dropped two or three inches below the frame.
Winter is the right window to top that bed back up with a mix of fresh soil and compost, which gives the whole thing a head start once the ground warms.
If the bed sides have started to bow outward from the weight, now is also the time to drive in a stake or two to pull them square again before the freeze-thaw cycle makes it worse.
Working frozen soil is mostly wasted effort; the ground resists a shovel and the structure you break up will re-set into dense plates. Wait for a thaw, then get in with your amendments.
Beds you are not actively growing in over winter should get a layer of mulch or a tarp over the top to keep weed seeds from settling in and germinating early.
The same pause applies to any drip irrigation repairs; lines are easier to locate and patch when the soil is workable, and you will do less damage to the emitters.
If foot traffic has compressed the edges of a bed, laying a temporary path of scrap wood or flat stone now saves you from having to fork and loosen that compacted strip come spring.
18. Build New Garden Beds
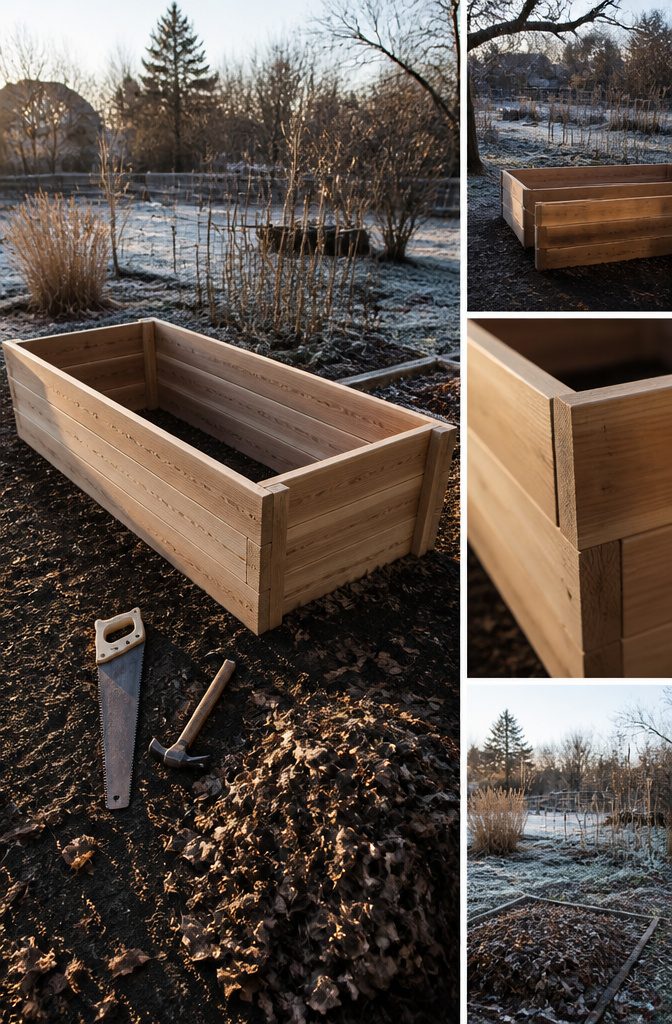
Lumber prices tend to drop in January and February when contractors slow down, so last winter I priced cedar at a local yard and came home with enough for two raised beds.
Cedar and juniper both hold up against soil moisture without chemical treatment, though juniper runs a bit harder to cut and the sawdust irritated my throat more than I expected.
Untreated pine works if you replace it every four or five years; I have done this for in-ground beds I knew I might reshape later.
Keep the width to four feet or less so you can reach the center without stepping into soft winter soil.
Length matters less, though eight-foot boards mean fewer cuts and less waste. I built mine twelve inches deep, which handles most vegetables fine.
Filling a new bed in winter means layering materials that break down before spring planting.
I stacked fallen leaves, small branches, and the last of my compost pile directly on the native soil, then topped with a few inches of purchased topsoil.
By April the layers had settled enough that I only needed a light rake to plant. The beds I built this way drained faster after spring rains than my older, fully-dug plots.
19. Take a Gardening Class

Extension services run their Master Gardener classes through the winter, which is the best window for getting region-specific training without competing against your own garden for attention.
I called my local office last January and found a twelve-week soil science series running $180; the same office also lists free one-off pruning clinics on their events page.
Botanical gardens in colder climates often follow the same calendar, though their fee-based programs tend to run higher and vary enough that checking three or four within driving distance pays off.
Online options like Abundance Academy or the joegardener Online Gardening Academy fill gaps when local schedules do not line up with yours.
These courses cover broad growing zones, so an instructor in Georgia walking through winter prep will assume a different frost line and pest load than what a Minnesota gardener faces.
I look for syllabi that name the instructor’s location or ask directly whether they adjust assignments by USDA zone.
A class that cannot answer that question is still useful for plant biology basics, but it will not solve the problem of whether to cut back your hydrangeas in October or March.
20. Create a Weekly Care Routine
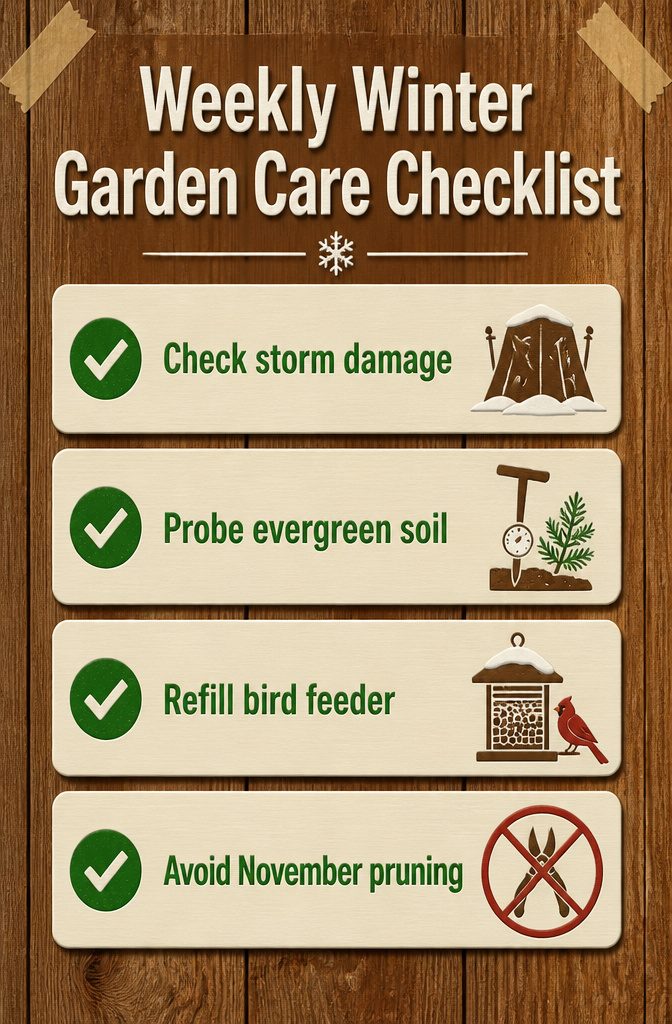
A weekly winter garden routine keeps the work small enough to finish before your coffee goes cold.
Mine runs to four checks: storm damage on covers and stakes, a quick probe of evergreen soil moisture if we have not had rain, and refilling the bird feeder before it sits empty long enough for squirrels to chew the ports.
Everything else waits. Pruning, mulching, weeding, pest patrol, those belong to spring when the plants are growing again and the work actually changes their behavior.
Winter maintenance is about survival, not improvement. The first hard frost taught me that.
Resist the urge to prune in November; plants are shutting down for the season and forced shaping does more harm than good. The plant survived; my schedule did not.
Now I keep a short list taped inside the shed door: look, water if needed, feed the birds, walk back inside. The garden stays healthier when I resist doing more.
Frequently Asked Questions
What are the best ways to maintain a winter garden?
Add organic matter like compost or leaf mold to keep soil biology active, water only when the root zone is dry, and spread two to four inches of mulch after the first hard frost to protect roots from drying winds and temperature swings.
Match your plant choices to your actual winter rainfall so you are not stuck doing rescue work.
How do I protect my plants from frost?
Mulch bare soil with straw, shredded leaves, or wood chips to prevent desiccation, and group frost-hardy vegetables close together so you can cover the whole patch with a row cover or cold frame when temperatures drop.
For thin-barked trees, wrap with burlap or paint trunks white to block afternoon sun that causes sunscald.
What can I grow in winter?
Brassicas, green peas, Swiss chard, and lettuce all survive hard frost once established, and their flavor sweetens after cold nights trigger natural antifreeze sugars.
You can also plant cover crops like winter rye, winter wheat, or crimson clover in empty beds to improve soil and suppress weeds.
How do I compost in winter?
Make a windrow by piling compost, food scraps, and worms on the ground and covering with a tarp or old carpet to hold moisture and heat, or dig a foot-deep trench in the garden and bury scraps under excavated soil as the bin fills.
Worms slow down but keep working; most decomposition finishes by early spring.
Are you supposed to cut back plants for winter?
Prune plants that fruit on new wood, like fruit trees, roses, and deciduous shrubs, while they are dormant and before buds break.
Leave spring bloomers and sap-bleeders such as maples, birches, lilacs, and forsythia alone until summer, since winter cuts remove next season’s flowers or cause damaging sap loss.
What maintenance should I do to my lawn before winter?
Mow cool-season lawns to two and a half inches, aerate in late October so fertilizer reaches roots, overseed thin spots right after aeration, and apply a light feeding after the final mow.
Anything taller than two and a half inches mats under snow and breeds mold; anything shorter starves the crown.