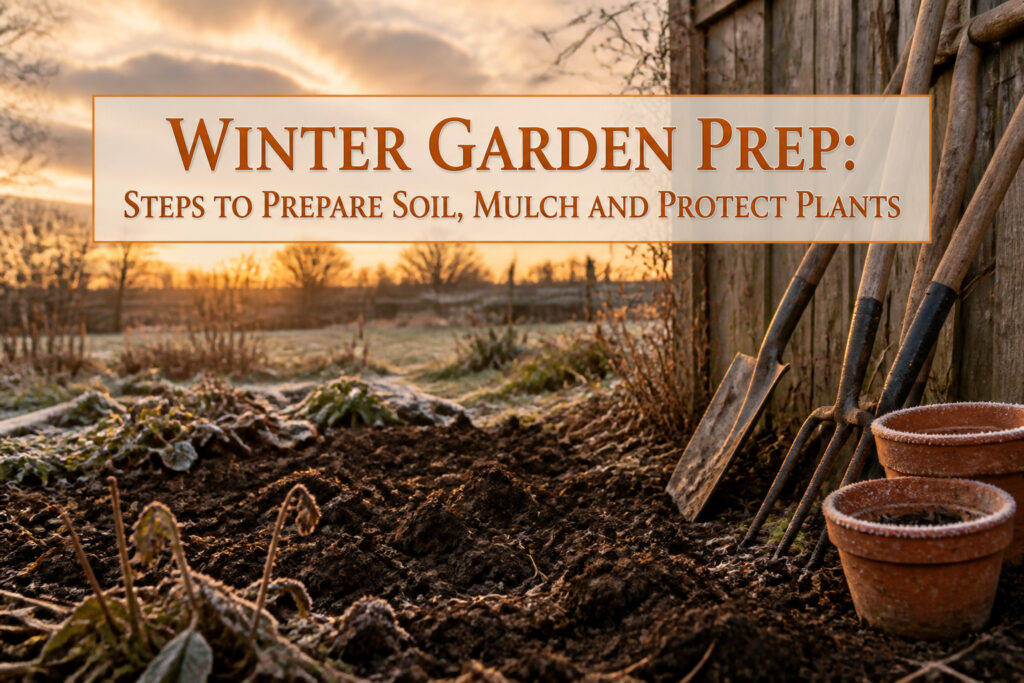
Winter garden prep is the set of tasks done after the last harvest and before hard freeze to protect soil, tools, and plants through cold months.
It only works if you time it to your ground’s condition; too early and cover crops bolt, too late and the ground is too frozen to work.
I learned that November lesson after skipping a single cleanup and finding blight spores waiting in rotting tomato vines I never pulled.
Clear Out Dead Plants and Debris
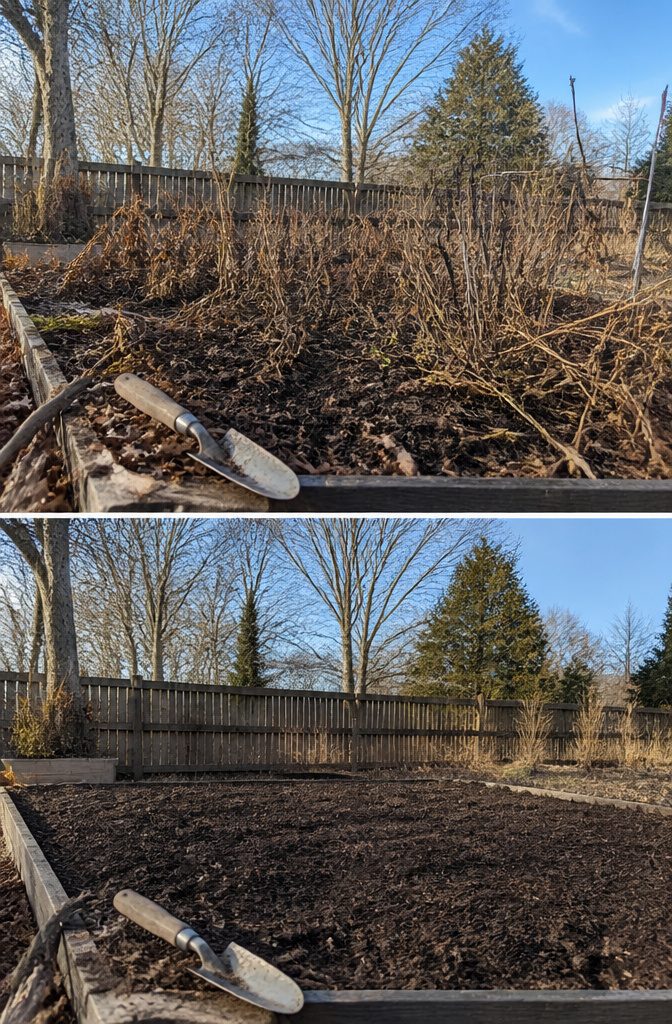
Dead stems and faded foliage left through winter give pests and diseases a place to wait out the cold.
I learned this the hard way after skipping cleanup one November and finding my tomato bed riddled with blight come spring. The spores had overwintered in the rotting vines I never pulled.
Diseased plant material belongs in the trash, not the compost. Healthy annuals and vegetable plants can go straight onto the pile, but anything spotted, slimy, or mildewed needs to be burned or bagged.
I used to toss powdery mildew in with the rest until I realized the compost never got hot enough to kill it.
Some perennials, like coneflowers and sedum, can stay standing. Their seed heads feed birds through winter and the stiff stems look decent against snow.
For the rest, cut back after a couple hard frosts knock them down, leaving a few inches above ground. The roots stay safe underground.
Pull trellises and cages while you’re at it. A quick rinse and dry storage beats rusted hardware in March.
Add Compost and Soil Amendments
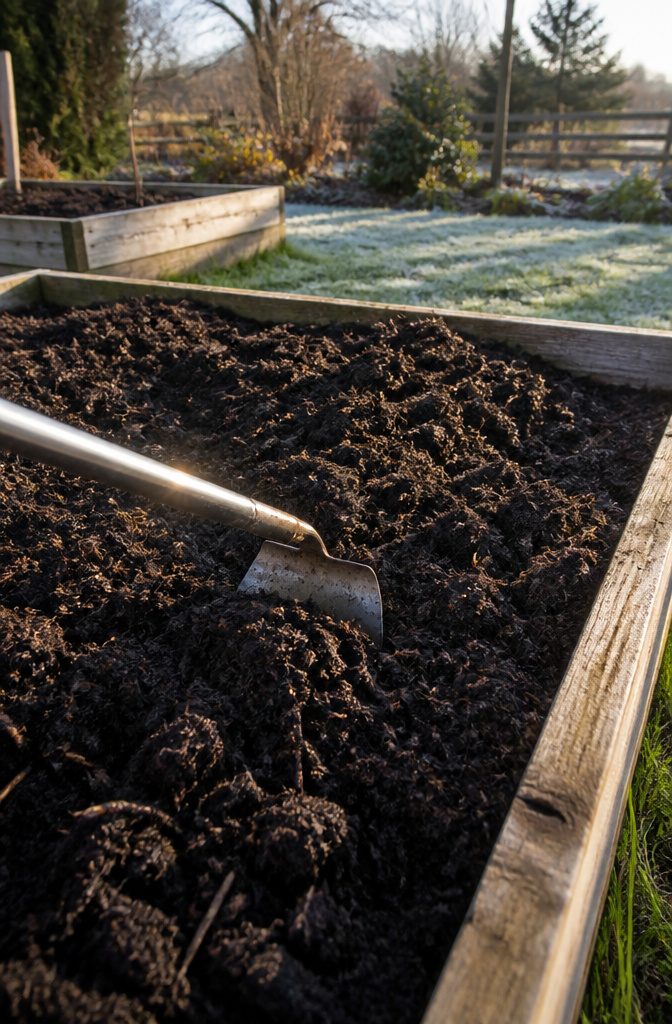
Compost spread in late fall has the winter months to break down, so the soil is already feeding by the time you plant.
I put down about an inch of finished compost across my raised beds after I pull the last tomatoes, then scratch it in shallowly with a hoe.
For a bed that grew heavy feeders like peppers or squash, I add a dusting of bone meal too, maybe a handful per square foot, to rebuild phosphorus that fruiting plants draw hard.
The timing matters more than the exact recipe. In most climates, organic amendments need those cooler weeks to start decomposing and become biologically active.
Wait until spring and you are asking microbes to work overtime while you are already trying to plant. One mistake I made early on was dumping fresh manure in November and planting into it in April.
The nitrogen was still locked in decomposition, the seedlings yellowed, and I learned that aged manure or finished compost only for fall application.
If you are not sure of your compost’s maturity, spread it now and cover the bed with mulch so winter rains do not wash nutrients below the root zone.
Raised beds drain faster than in-ground soil, so that cover is especially worth doing there.
Mulch Garden Beds
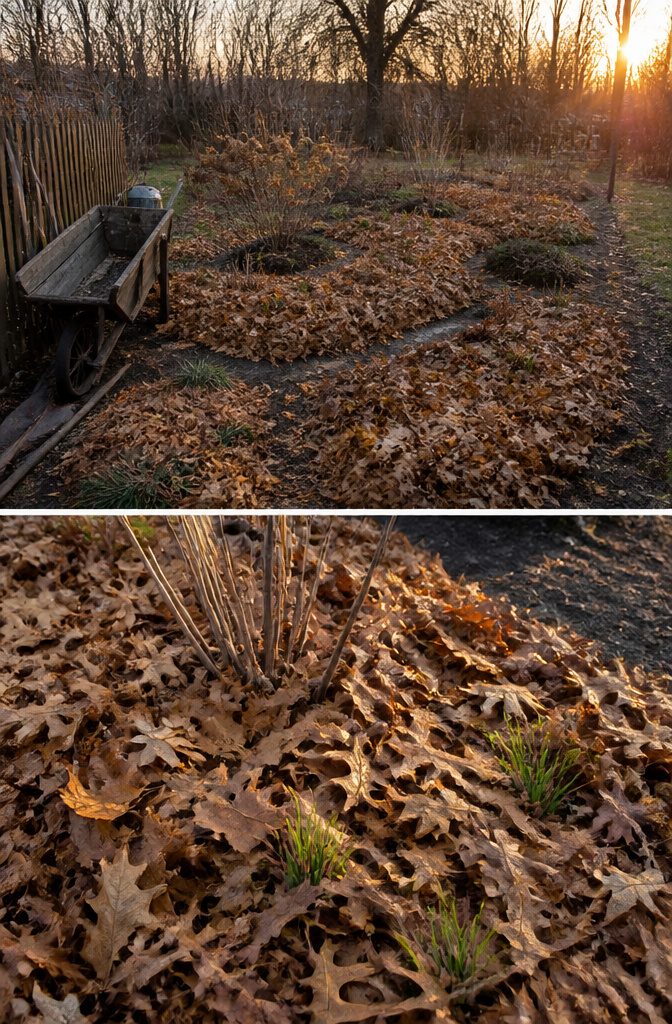
A 2- to 4-inch layer of mulch spread over clean garden beds does three jobs through winter: it holds moisture in the soil, keeps weeds from getting a head start, and buffers the ground against the freeze-thaw cycles that heave roots around.
Spread mulch four to six inches deep around perennials, or two to four inches for general beds. I tend toward the thinner layer on open soil and save the extra depth for plants staying in place.
Leaves are the free option if you have trees. Shredded with a mower, they break down faster, stay put in wind, and feed earthworms through the cold months.
Whole leaves work too, but they mat and blow. Straw is light and easy to move, though it can harbor rodents if piled thick against stems.
Wood chips last longest and look tidier, but they tie up nitrogen as they decompose, so pulling them back in spring before planting bare soil saves trouble.
The one rule all three share: keep mulch a few inches clear of plant stems and tree bark. Trapped moisture rots what it touches, and a packed ring invites chewing animals.
Plant Cover Crops
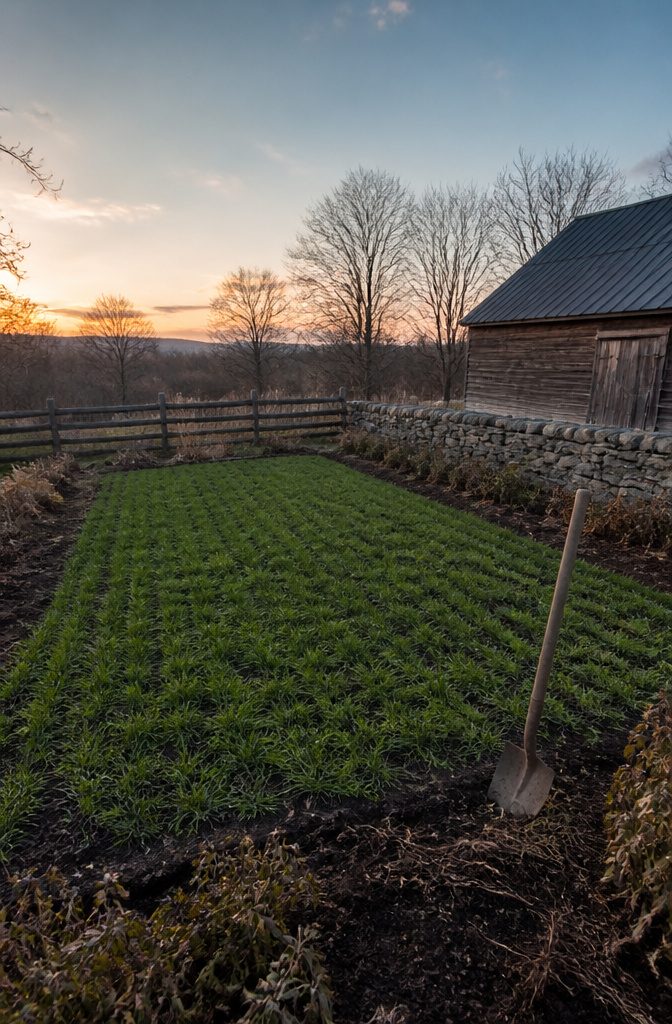
Winter rye was the first cover crop I actually managed to time right.
The seed went down about a month before our first hard freeze, which is the window that matters; too early and it bolts, too late and it never establishes.
That first year I used vetch instead and watched it die off in patches because I pushed past mid-October.
Come spring, you will see the difference in your soil. Around March, the rye was already six inches tall and thick enough to hold the soil against spring rains that usually wash my beds bare.
Turning it under takes a morning with a shovel or fork, and the green matter breaks down fast enough to plant two weeks later if the weather cooperates.
Legumes like clover or field peas add nitrogen you can actually measure the following season, though they rot slower and can delay planting by a week or two.
One practical note: mow or crimp the cover crop before tilling it under, or you end up with stringy rye residue wrapping around your tools.
Turn under cover crops before they get full-sized and woody, or the fork will just tangle in the stems.
Water Plants Deeply
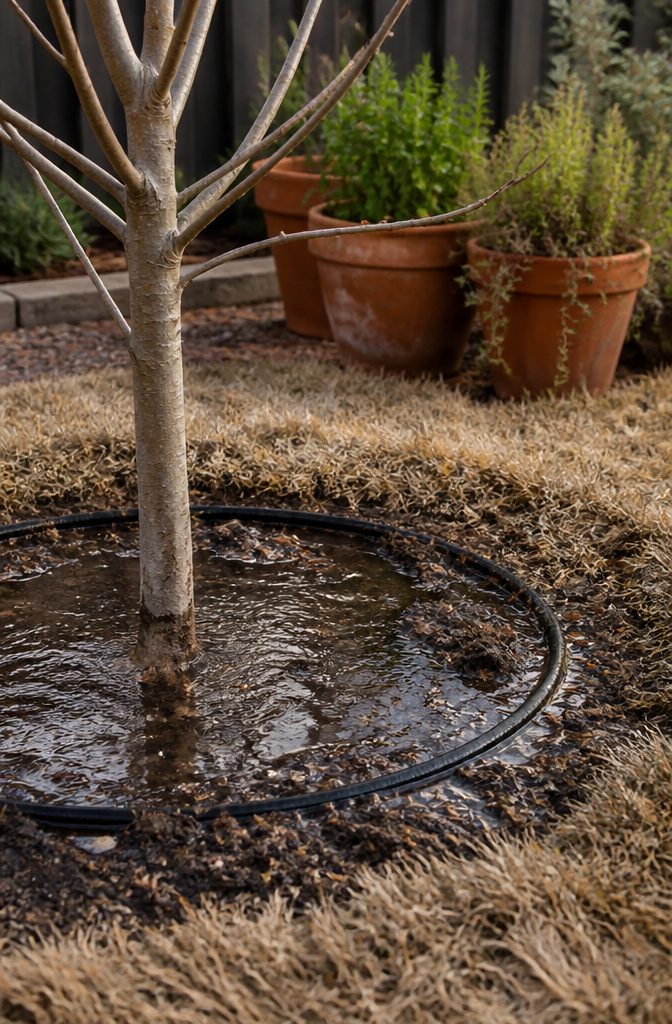
A tree that looks asleep is still losing water all winter through its bark and buds.
In dry climates like Denver, frozen ground locks up whatever moisture is left, and the roots can’t replace it. That winter drought stress shows up months later as die-back you blame on cold, when the real problem was thirst.
I learned to water deeply in late fall, after leaves drop but before the first hard freeze.
A slow soak to the root zone matters more than frequency. For perennials, that means letting the hose trickle until the soil is wet eight to twelve inches down.
Trees take longer; I move the sprinkler in a wide circle under the drip line and let it run for a couple of hours, especially for anything planted in the last two seasons.
New roots sit shallow and haven’t found the deep reserves yet.
If a warm spell thaws the soil midwinter, another round of watering helps, though only when the ground isn’t frozen solid.
I’ve skipped this step on evergreens and regretted it come March, when brown needles told me the plant had been drying out since December.
Prepare Tools and Equipment
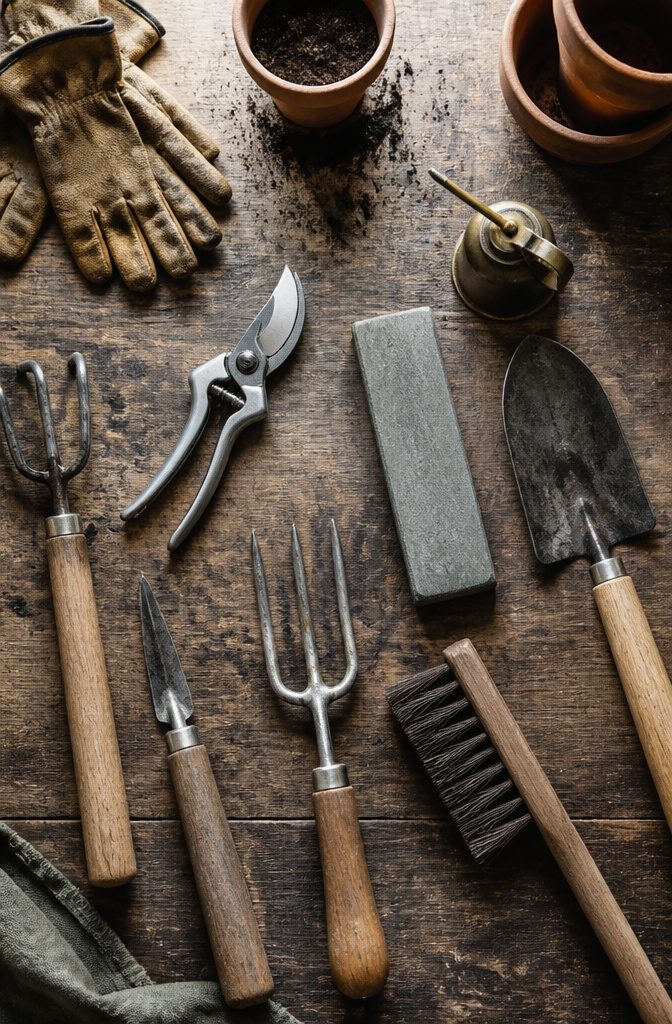
A wire brush and a few hours in vinegar will take rust off steel tools, but the real mistake is stopping there.
I left a set of pruners clean one fall, skipped the oil, and found the blade pitted come March. That light coat of machine oil seals the metal from oxygen; without it, you are storing problems, not tools.
Sharpening means different angles for different edges. A mill file works for hoes and shovels, but pruners want a whetstone or a file held at 20 to 25 degrees, one direction only, on the beveled side.
Disassemble the pruners if the design allows, clean the blade first, then oil before you reassemble. The interior parts matter too; a drop on the spring and pivot keeps the action smooth.
Hoses drain, trowels wipe down, everything gathers in one place. The half hour of organizing now buys you that first spring day back in dirt without a trip to the hardware store.
I have made that trip. It costs more than the oil would have.
Protect Sensitive Plants
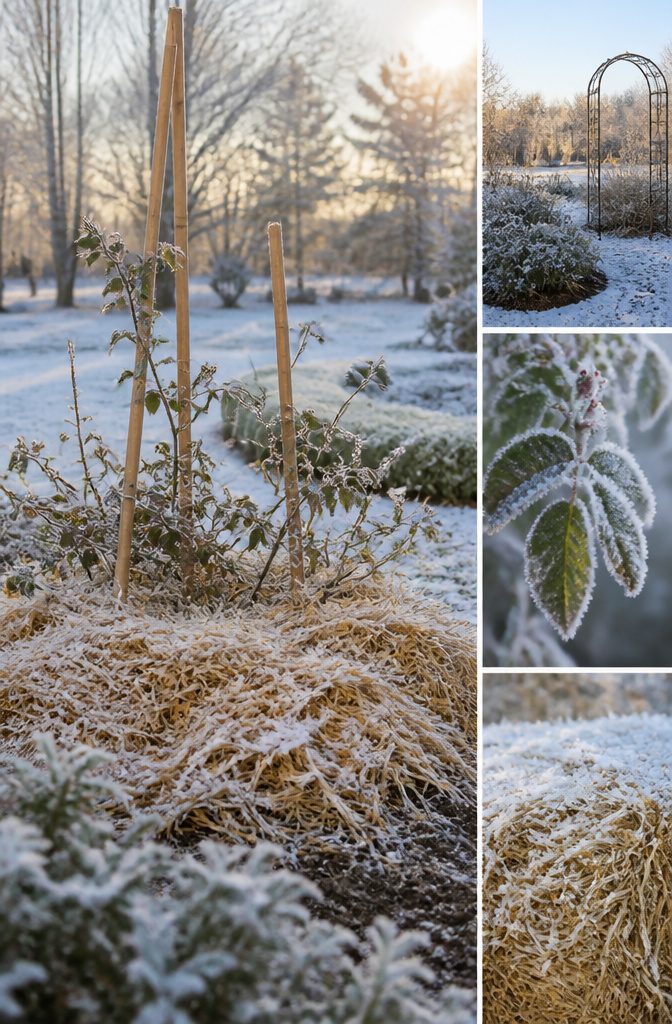
Some plants in the garden need more than a standard mulch layer to get through a hard freeze. Roses and butterfly bushes fall into this group; their roots handle extra mulch better than their stems handle wind and ice.
I pile four to six inches of wood chips or straw over the root zone, keeping the mulch back from the crown so the aboveground parts do not rot.
For brassicas that are still producing into December, a frost cover beats extra mulch. The cover blocks wind chill and the moisture that does the real damage, letting the plant’s own natural anti-freeze do its work.
I have had less luck with burlap on vegetables; it sheds water poorly and can freeze stiff against the leaves.
Burlap works better wrapped around shrubs or the base of young trees, where air circulation matters less and the structure keeps the fabric from sitting flat.
Tender perennials like rosemary or dahlias are not worth the outdoor gamble in my experience.
Repotting them and bringing them inside to a sunny spot saves the plant and the worry. Strawberries are the exception that stays put; they need that thick straw layer to survive, while sage and thyme manage with little or none.
Plan for Next Season
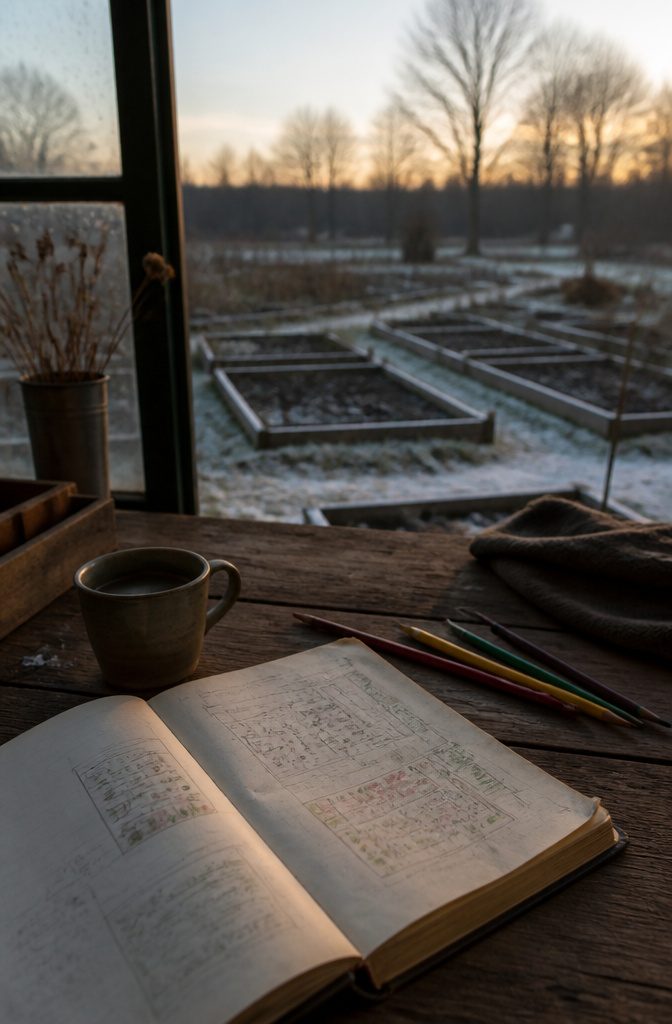
The beds look bare once the frost hits, and that emptiness makes it easy to think you’ll remember every lesson by spring. Last year I told myself the tomato spacing was fine, no notes needed.
By March I had convinced myself the blight came from the neighbor’s yard, not the cramped airflow I created. Writing it down while the failure is still fresh saves that spiral.
A single page works. I sketch the bed layout, mark what variety went where, and add two columns: "repeat" and "avoid."
The avoid column for my 2023 season held "three zucchini plants" after I spent August drowning in fruit that went to the compost pile still firm.
The repeat column got "Provider bush beans" after they produced through a dry stretch that shut the pole beans down.
Soil fertility, moisture levels, and plant placement are all adjustable, but only if you record what actually happened rather than what you think happened.
Weather will take credit for some failures and blame for others; the notes help you sort which is which.
I keep mine in a cheap composition notebook that lives in the shed, not a spreadsheet, because the shed is where I am when the memory matters.
Late winter, that notebook becomes the plan. Moving the basil to the sunnier corner, swapping the underperforming paste tomato for a different variety, adding a late pea crop where the early lettuce came out.
The list of spring tasks gets prioritized now, while the ground is frozen and time feels abundant. It never is, but the plan means I know which job to start with when the thaw finally arrives.
Composting Healthy Plant Material
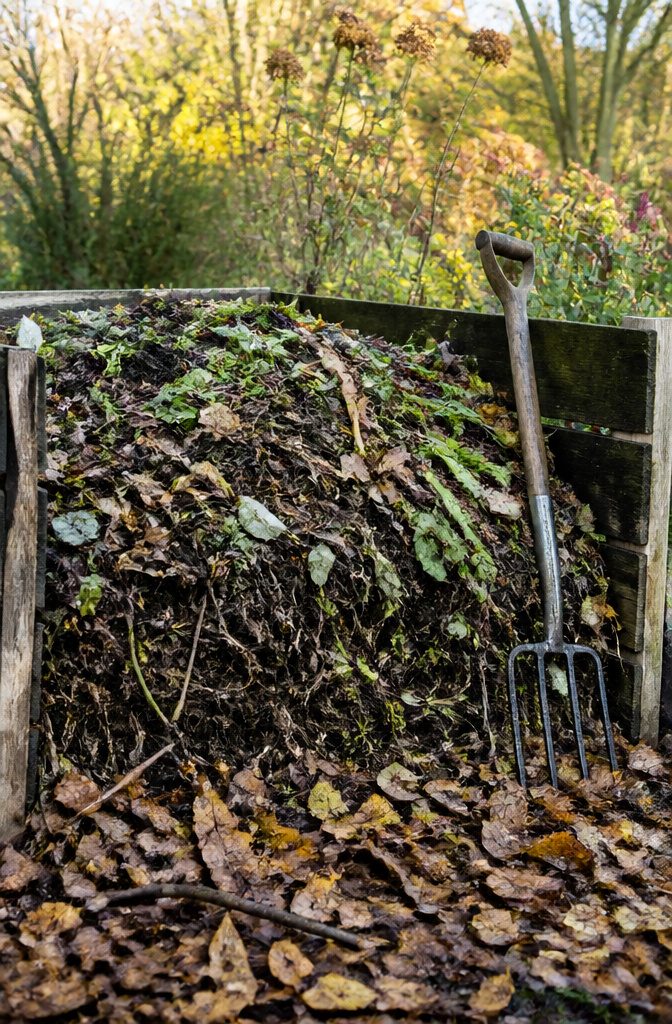
Healthy plant material from fall cleanup belongs in a compost pile, not the trash.
The mix matters more than the volume. Green stuff, kitchen scraps and fresh trimmings, needs brown stuff, dried leaves and small twigs, layered alternately and kept moist but not soggy.
Turn it with a pitchfork every week or two, and by spring the microorganisms will have broken it down into the dark, crumbly compost you spread on beds.
What stays out is just as important.
Diseased plants and weeds go in the garbage, not the pile. Home compost rarely hits temperatures high enough to kill weed seeds or plant diseases, so bagging them protects next year’s garden.
I learned this the hard way after spreading finished compost and watching the same fungal spot reappear on my tomatoes. The beautiful dried plants, though, those can become a wreath or arrangement before the rest hits the bin.
Soil Testing Before You Amend
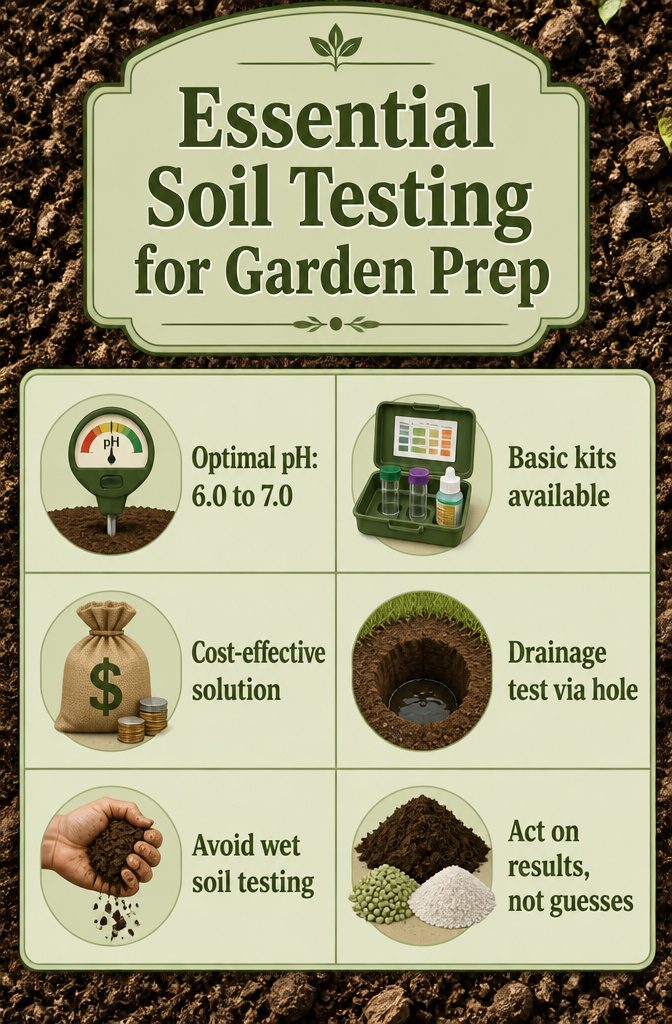
Soil tests belong at the start of winter garden prep, not after you’ve already hauled bags home. I learned that the hard way one February after dumping compost on beds that turned out to need sulfur instead.
The pH came back alkaline, and that organic matter I’d spread was only locking nutrients away from whatever I’d plant in spring.
Most plants pull best from slightly acidic to neutral ground, around 6.0 to 7.0.
A basic kit from any garden center will tell you where you stand. The same test flags drainage trouble: dig a hole about a foot deep, fill it with water, and watch what happens.
Water that vanishes too fast means sandy soil starving for organic matter. Water that sits means clay crying out for aeration.
Wait for the ground to dry enough to crumble when squeezed before you test or till. Wet soil compacts under a spade and ruins the structure you’re trying to fix.
Once you have numbers, act on them directly. Low nitrogen calls for aged manure.
Off pH needs sulfur or lime, not more compost hoping to cover the problem. One season of testing saves the cost of amendments your beds cannot even use.
Organic Mulch Options Compared
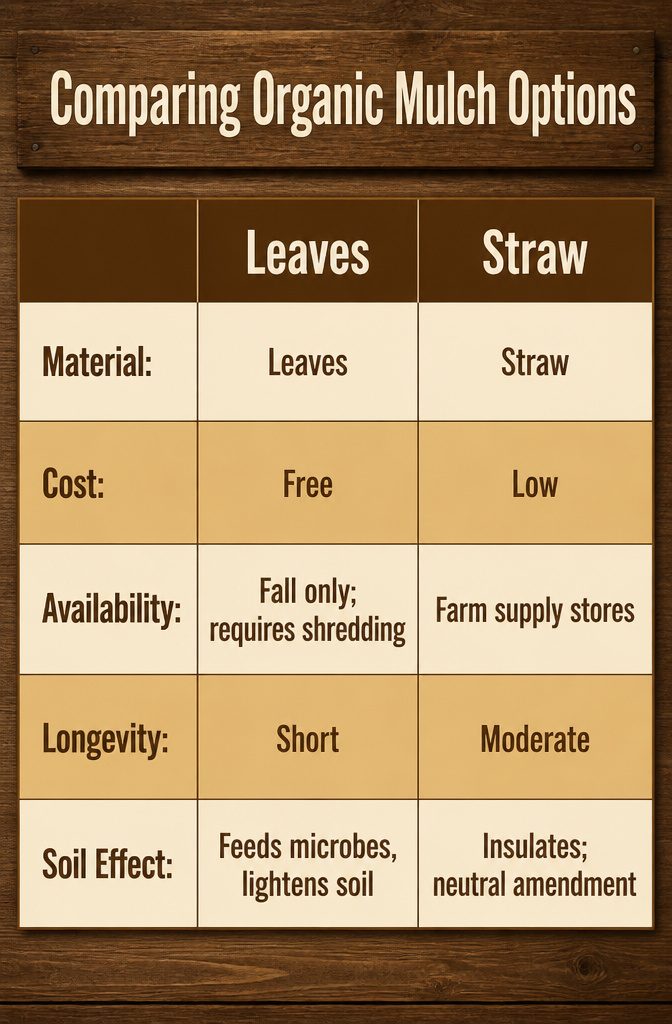
Leaves, straw, and wood chips each carry their own math for winter garden prep. I have moved between all three over the years, and the shift has been toward whatever I can source without driving.
Shredded leaves cost nothing if you have deciduous trees and a mower. They break down fast, which feeds earthworms and lightens heavy soil, but that same speed means you will replace the layer by late winter.
Straw runs cheap at farm supply stores and insulates well, though it can harbor rodents if packed right against plant stems.
Wood chips last the longest and suppress weeds better than the others, yet they tie up nitrogen as they decompose and you must keep them pulled back from tree bark or perennial crowns to avoid rot and vole damage.
| Material | Cost | Availability | Longevity | Soil Effect |
|---|---|---|---|---|
| Leaves | Free | Fall only; requires shredding | Short | Feeds microbes, lightens soil |
| Straw | Low | Farm supply stores | Moderate | Insulates; neutral amendment |
| Wood chips | Low to moderate | Municipal piles, landscape supply | Long | Suppresses weeds; temporary nitrogen draw |
I used to default to wood chips for neatness.
After watching a bed of strawberries struggle where chips were too thick, I switched to straw for perennials and saved chips for paths and around shrubs, never deeper than 3 to 4 inches and always a few inches clear of stems.
Leaves now cover my vegetable beds in fall, since the quick breakdown suits annual ground.
Frost Protection Methods That Work
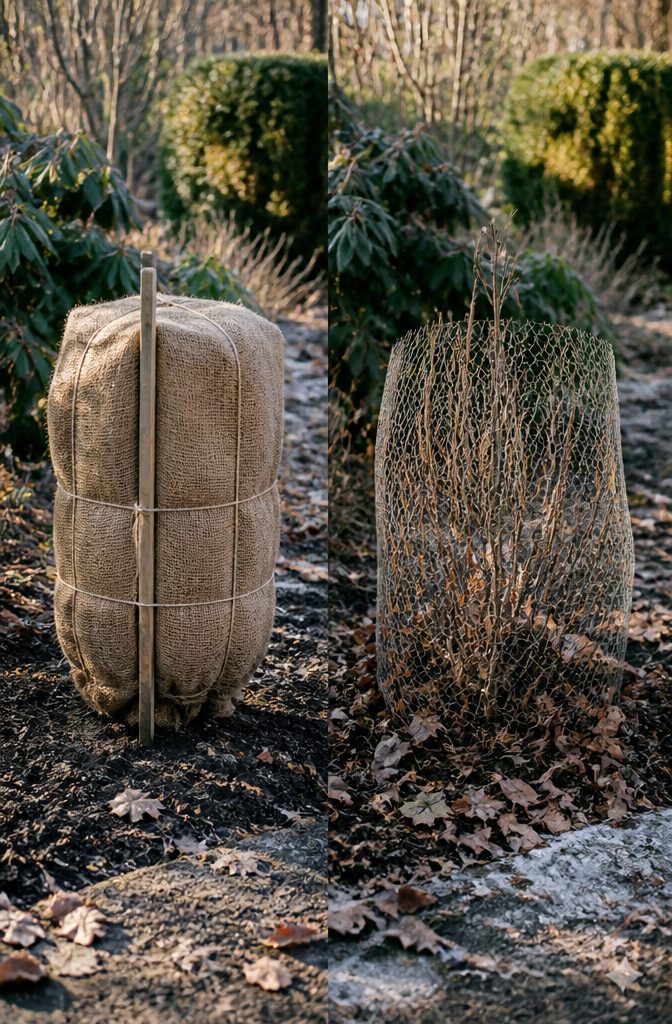
Frost covers, burlap, and extra mulch each handle cold differently, and the price gap between them is wider than most people expect.
The table below lays out what each option costs, how long it takes to get in place, and which one actually kept my plants alive when the temperature dropped hard.
| Method | Typical cost | Install time | Hard freeze survival |
|---|---|---|---|
| Frost cover (lightweight fabric) | $15–30 for a 10×12 ft piece | 10–15 minutes per plant | Good for brief dips; 28°F and below can push through |
| Burlap wrap | $20–40 for a 3×50 ft roll | 20–30 minutes per shrub | Better insulation, especially with stakes to keep it off foliage |
| Extra mulch (3–4 in layer) | $4–8 per bag, 2–3 bags for most beds | 30–45 minutes total | Protects roots, not top growth; needs combining with cover for tender plants |
Burlap won for me on the plants that mattered. I wrapped two hydrangeas and a young fig after a forecasted 24°F night, using tomato stakes to hold the burlap clear of the leaves so moisture would not freeze against them.
Both hydrangeas came back in spring; the fig took damage on branch tips but recovered from the root.
Frost covers went on faster and cost less, but a sustained freeze below 25°F burned the lantana they were supposed to protect. Extra mulch alone would not have saved anything above ground that night.
For renters or anyone watching dollars, the move is burlap on the few plants you cannot replace, frost covers on the rest, and mulch as insurance for the root zone, not the whole strategy.
What I Learned From Skipping Steps
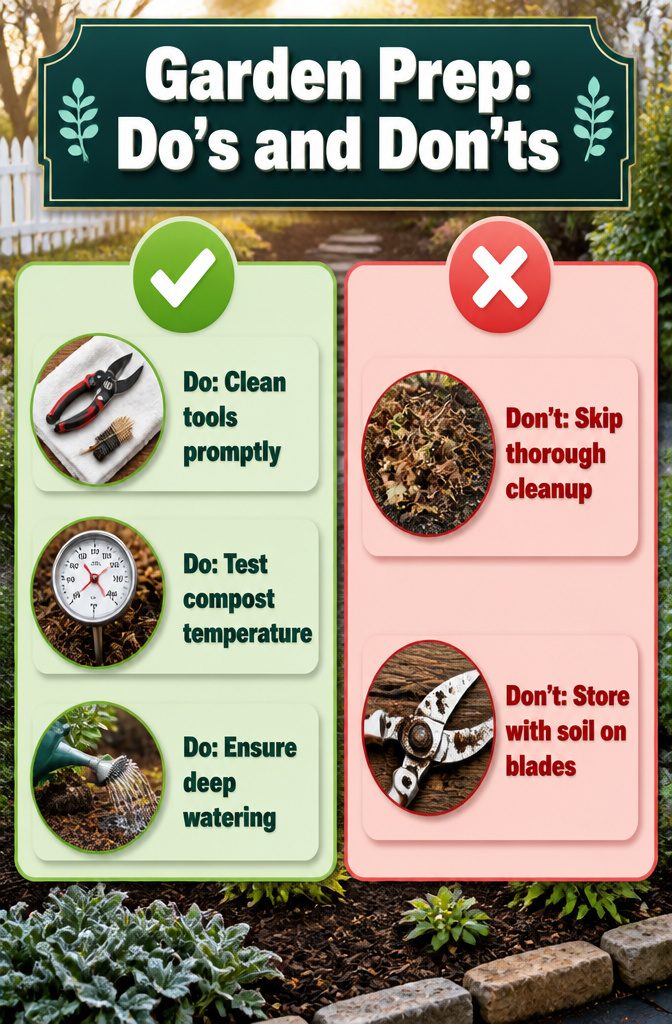
A few years back, I figured winter garden prep was mostly suggestion.
The beds looked fine under snow, and spring would sort itself out. It did not.
- Pest outbreaks from half-done cleanup. I left dead tomato vines in the corner bed because they were frozen solid and I was cold. Come March, cutworms had overwintered in that debris and spread through the whole row. Lost six pepper seedlings and spent two weekends rebuilding, not planting.
- Tool rust from lazy storage. My pruners went into the shed with soil still on the blade. By April the pivot was seized with rust. A vinegar soak and wire brush got them moving again, but the beveled edge never held a 20–25 degree sharpening the same after. Replaced them mid-season, $40 I had not planned.
- Plant loss from skipped watering. I assumed a hard freeze meant I could skip the deep watering for my young arborvitae. The dry winter wind desiccated the roots through frozen ground I had not mulched properly. Two of the three died. The replacement cost was minor; the two years of growth was not.
Now I clean every blade, oil it, and check the compost pile temperature before I call the season done. The extra hour in November buys back weekends in spring.
Frequently Asked Questions
What should I do with dead plants in the garden?
Pull them out and dispose of them.
Diseased material goes in the trash or gets burned, not the compost, since home piles rarely get hot enough to kill spores and pathogens. Healthy annuals and vegetable plants can head to the compost pile instead.
How do I prepare my garden soil for winter?
Spread about an inch of finished compost across beds after your last harvest, then scratch it in shallowly.
Add bone meal for phosphorus if the bed held heavy feeders like peppers or squash. Cover with mulch so winter rains do not wash nutrients below the root zone.
What are the best cover crops for winter?
Winter rye and legumes like clover or field peas work well.
Sow rye about a month before your first hard freeze so it establishes without bolting. Turn it under in spring after mowing or crimping it first, then wait about two weeks before planting.
How do I protect my plants from frost?
Pile four to six inches of mulch over the root zone of sensitive plants like roses, keeping it back from stems and crowns.
For plants still producing, drape frost cover fabric over them to block wind chill. Burlap wrapped around shrubs and held off foliage with stakes handles harder freezes better than fabric alone.
When should I water my garden before winter?
Water deeply in late fall, after leaves drop but before the first hard freeze.
Let a hose trickle until soil is wet eight to twelve inches down for perennials; run a sprinkler under the tree drip line for a couple hours for trees.
Give evergreens and new plantings another round if a warm spell thaws the soil midwinter.
What month do you start a winter garden?
For cover crops, aim to sow about a month before your first hard freeze, which varies by region.
What are common mistakes in winter sowing?
It does warn against applying fresh manure in fall, since nitrogen stays locked in decomposition and seedlings will yellow; aged manure or finished compost only.