
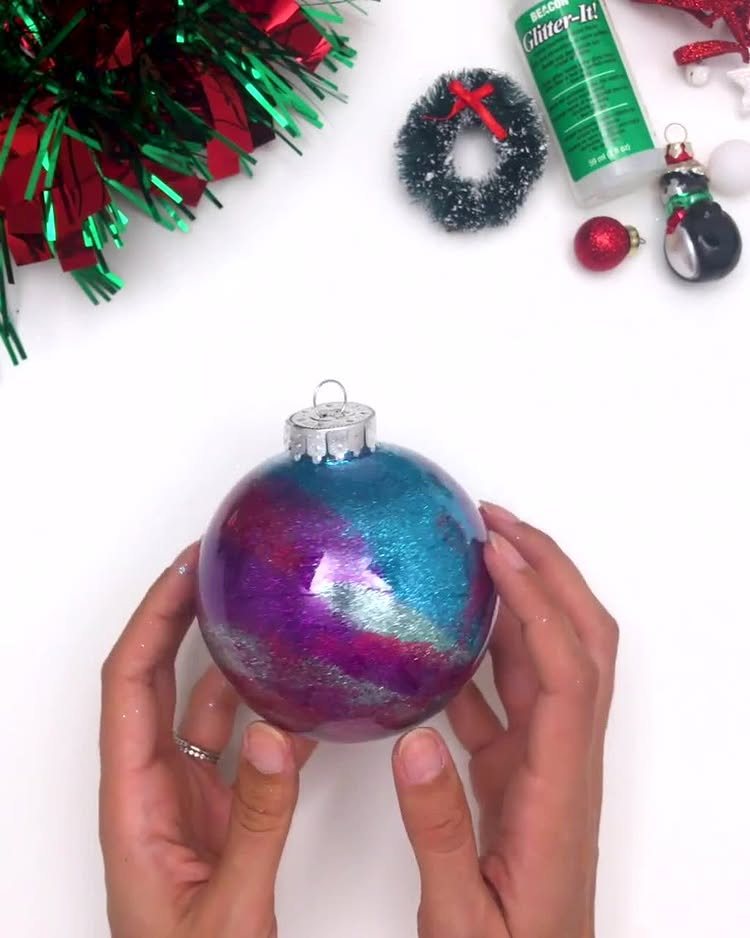
These ideas run from a quick afternoon fill-and-shake to a careful two-coat finish with drawn details on top, so the deciding factor is how much handling the ornament will see and whether you want control over the pattern or a happy accident.
The swirl method with polycrylic inside a clear plastic shell, poured back into the can through a tray, gives marbled streaks no brush could repeat.
1. Clear Plastic Ornaments
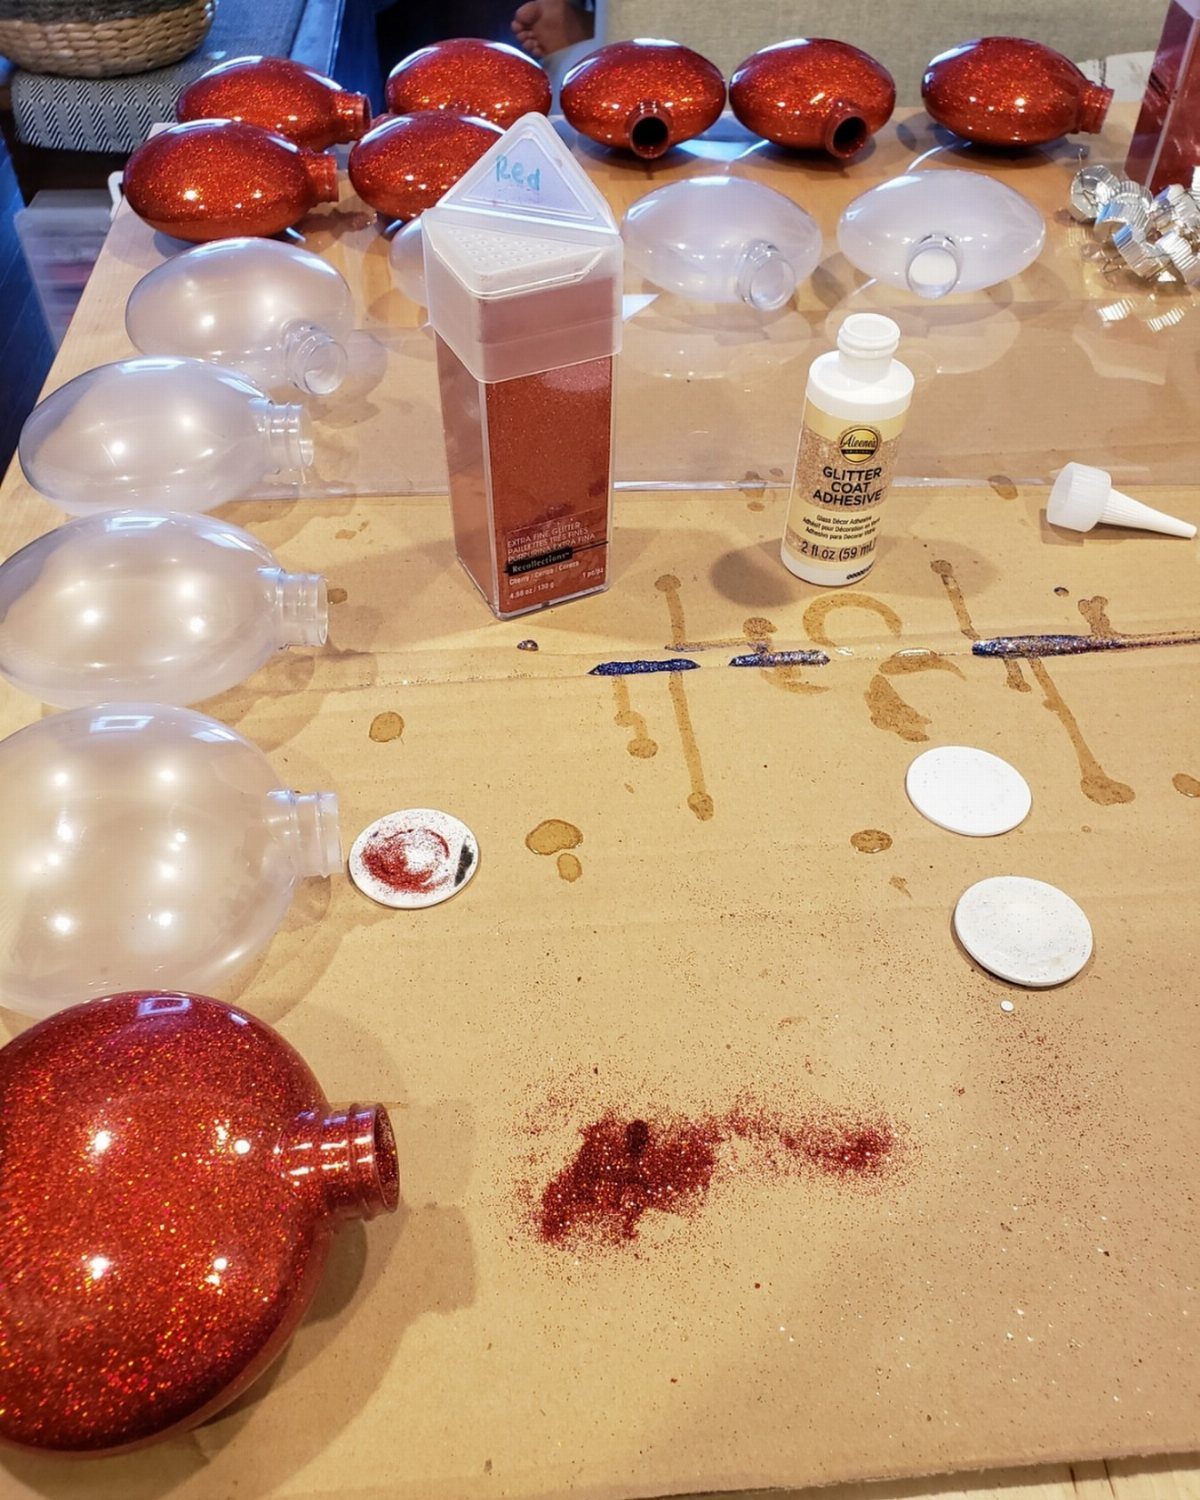
Clear plastic ornaments take a beating if they slip off the table, which matters when kids are at the craft table or when you’re working in tight quarters.
Glass gives a truer sparkle and feels heavier in the hand, but I’d reach for plastic unless the ornament is going straight onto a high shelf.
The round shape is the easiest to coat evenly; onion and disc shapes look interesting on the tree but take more patience to cover without bare spots.
Any clear shell works with the same basic move: pop the cap, pour in your adhesive, swirl, add glitter, and shake. DuraClear Gloss Varnish or Polycrylic both grip the glitter without the foggy finish you get from white craft glue.
Check that the opening is wide enough to pour glitter straight from the container, or you’ll be cutting paper funnels all afternoon.
2. Fine Glitter
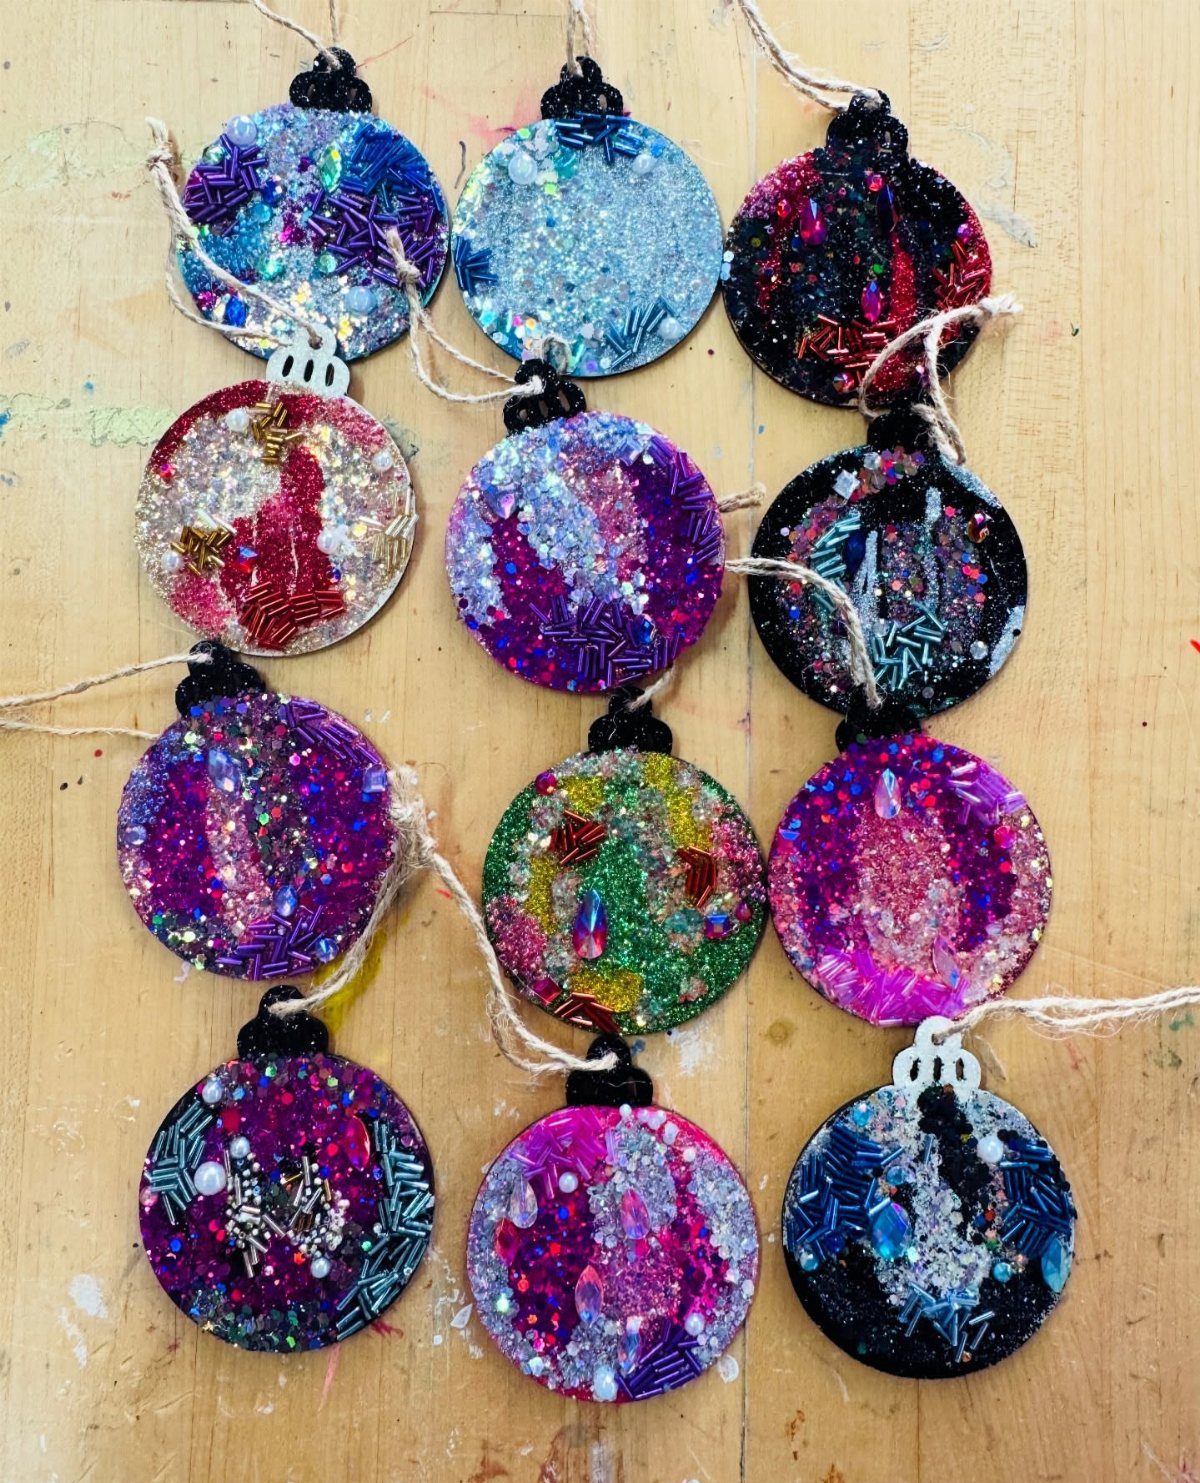
Extra fine glitter catches light like frost on a window; fine glitter throws it back like a disco ball.
Both stick fine once the inside is coated with adhesive, so the choice is mostly about what you want hanging near your lights.
I keep both on hand because the effect changes so much with the bulb color behind it. Extra fine works better in soft white light or near a window; fine glitter pops under colored LEDs.
The Arteza bottles pour neatly through a standard ornament opening, which saves more mess than it sounds like.
Coverage is forgiving either way, but if you want a solid wall of color rather than scattered sparkles, go finer and use a second coat after the first dries.
3. Use of Paint Pens
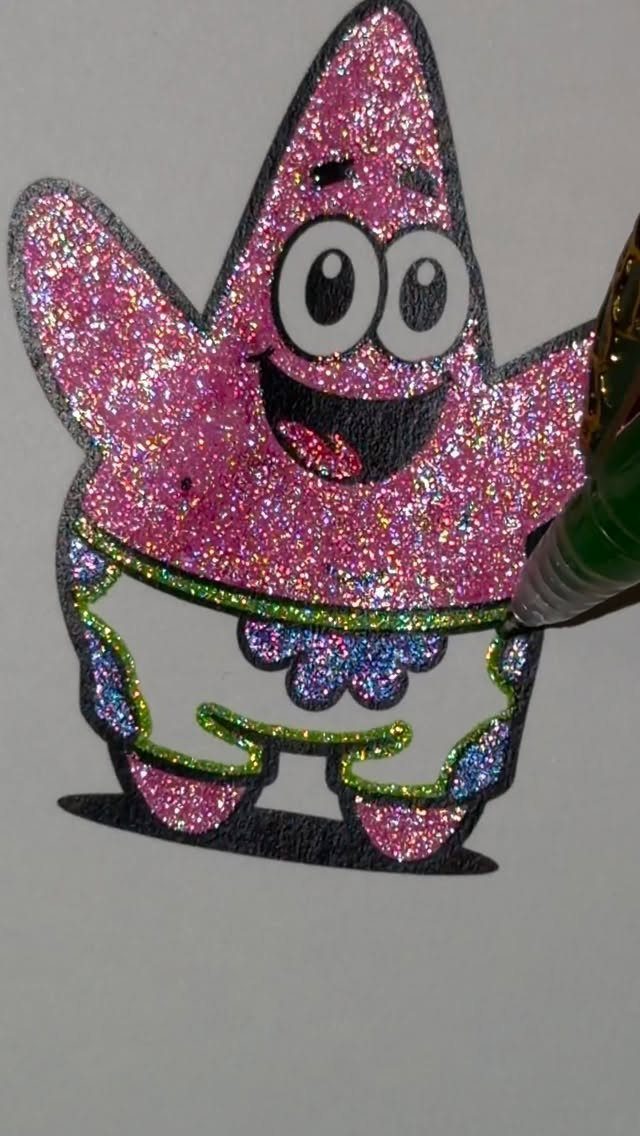
Paint pens let you draw straight onto a glittered surface without brushing loose sparkle everywhere, which is the main reason I keep a set with the Christmas supplies.
The ink sits on top rather than soaking in, so your lines stay crisp even over a textured finish.
Light pens on dark glitter, dark pens on light; the contrast carries the design more than the color itself.
I’d tape off any area I wanted to stay clean, work in one direction so my hand doesn’t drag through fresh ink, and let it dry flat for an hour before hanging.
Oil-based pens last longer but need ventilation; water-based ones are safer around kids and clean up with a damp cloth when you press too hard and slip.
4. Cupcake Liner Drying
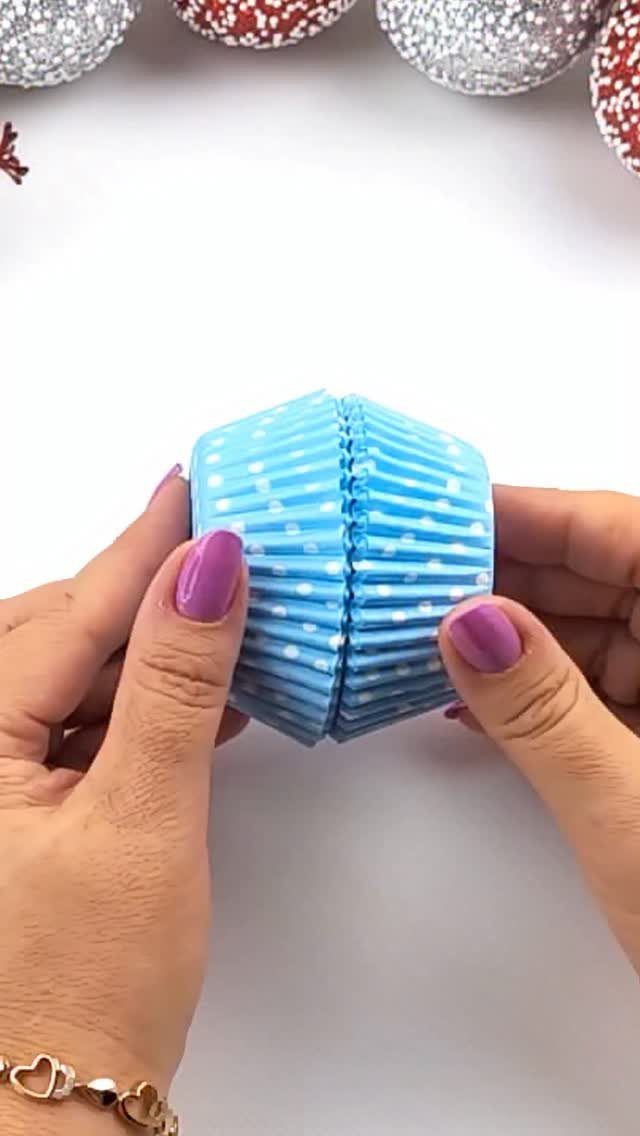
A cupcake liner folded into a little cradle catches the stray glitter that falls while an ornament dries, and the ridged paper keeps the round shape from rolling onto the floor.
I set out a muffin tin’s worth when I’m working in batches; the liners are cheap enough to toss, and the polka dots make the drying station look intentional rather than improvised.
Press the pleats flat and the liner stands on its own while the glue sets; no need to stand there holding it open.
Excess polycrylic drips through the paper rather than pooling, and the ornament dries in about 15–20 minutes depending on how thick the coat was.
I’d still wait a full hour before packing them into tissue, but that’s the difference between "dry to the touch" and "ready to survive a cardboard box."
5. Swirl Method
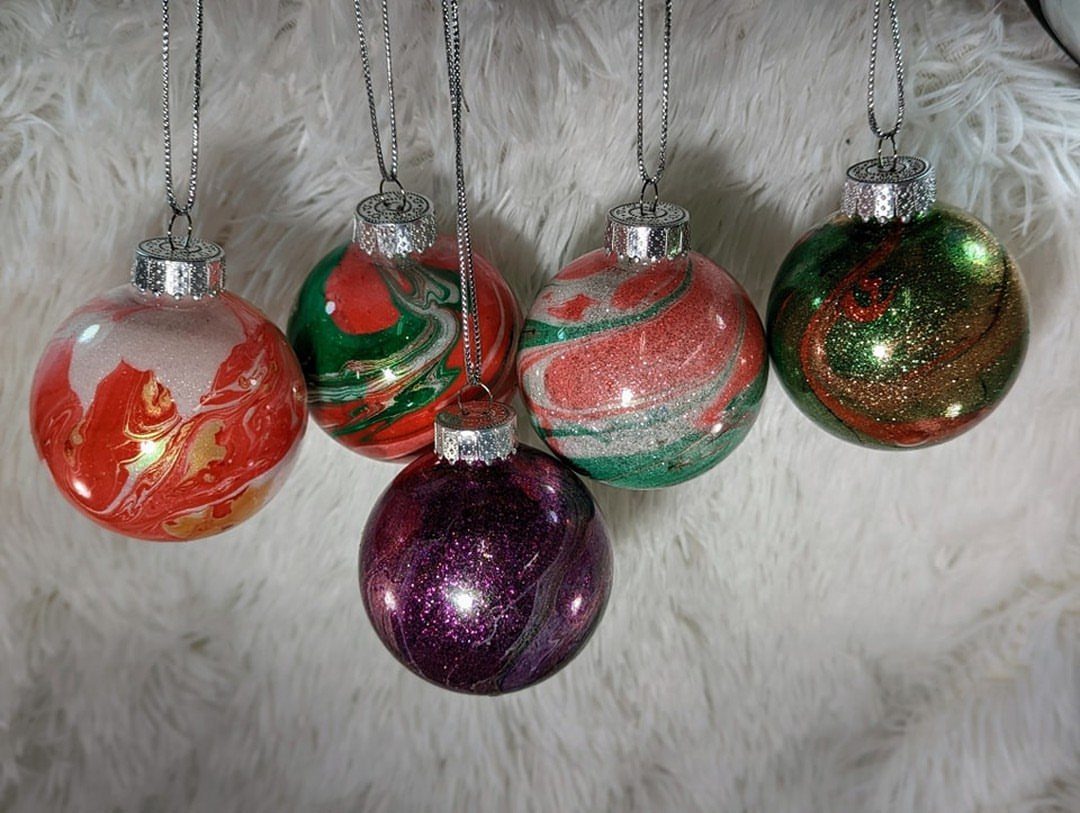
The swirl method is where clear ornaments earn their keep: you pour in a thin adhesive like polycrylic, turn the shell slowly until every inside surface is wet, then dump in glitter and swirl again so it sticks in streaks and patches rather than one flat coat.
The liquid left in the ornament keeps moving the sparkle around until it sets, so no two come out identical.
A standard round ornament takes only a small pour of polycrylic; too much and you’ll be draining forever, too little leaves dry spots near the top. I work over a tray and pour the excess back into the can.
A piece of paper over the opening lets you shake the last loose glitter into place without losing it across the floor.
The marbled effect gives you handmade character without having to paint freehand; you lose some control, since the swirl decides the pattern, not you.
Best Glues for Glitter
Polycrylic is what most people reach for first, and for good reason. A small can lasts through dozens of ornaments and spreads thin enough that you don’t waste half of it on the first batch.
DuraClear Gloss Varnish runs a close second; it grips glitter without turning cloudy once it sets, which matters more than it sounds when your lights hit the ornament from behind.
Beacon’s Glitter-It! is made for this exact job, though I’ve noticed it leaves more splotches where the coat didn’t level out.
Craft glue and Mod Podge both work in a pinch, but they tend to frost the inside of the shell and dull the sparkle. Floor wax shows up in older tutorials; skip it.
The fumes aren’t worth saving a few dollars, especially in a basement or a room without a window cracked open.
Mess Control Tips
Glitter travels. I work over a rimmed baking tray when I’m coating more than two ornaments at once; the sides catch what misses the paper, and I can funnel the overflow back into the jar at the end.
Parchment paper underneath means I lift the whole sheet, fold it in half, and pour the loose sparkle back into the bottle instead of chasing it across the table with a damp paper towel.
For gradient ornaments, less is the only way to stay in control. Start with barely any glitter at the bottom, swirl, check where it landed, then add more.
You cannot pour excess back out once it’s in, so stop before you think you have enough.
A plastic cup tipped upside down catches the ornament while you shake out the last loose grains; the cup’s rim holds the shell steady and keeps your hands free.
Drying Time
Polycrylic dries to the touch in about 15–20 minutes if the coat was thin, which is when the cupcake liner trick stops being necessary. That is not the same as ready to pack.
I wait a full hour before I move an ornament into tissue paper, and if I’m adding vinyl or paint pen details on top, I give it overnight.
A 3-inch plastic shell holds enough polycrylic that the inside stays wet longer than you’d expect; the pooled liquid in the bottom keeps moving the glitter around until it sets.
A plastic cup turned upside down makes a good drying rack; any excess drips through the opening instead of settling into one thick puddle at the bottom.
If you’re working in batches, line up the cups on the tray and you have a drying station that doesn’t need babysitting.
Safety Precautions
Polycrylic and DuraClear both carry fumes you don’t want to breathe all afternoon.
I open the window and run a fan if I’m doing more than a handful of ornaments, and I wear nitrile gloves so I’m not scrubbing adhesive off my fingers later.
A mask is worth it too; the smell doesn’t hit you right away, but it accumulates.
Oil-based paint pens need the same ventilation. Water-based pens are safer around kids, though they still need that hour of drying flat before anyone hangs them.
The cap on a clear ornament pops off easy, which is convenient until you knock one over and the adhesive splashes. Work on a surface you can wipe down, and keep the tray between you and the carpet.
Frequently Asked Questions
What kind of glue do you use for glitter inside ornaments?
Polycrylic or DuraClear Gloss Varnish both work better than white craft glue, which dries foggy and can dull the sparkle. Polycrylic stays clear and thin enough to swirl around the inside of a round ornament without pooling.
Arteza’s bottles have a narrow spout that fits the ornament opening without spilling, so the mess stays on the inside where it belongs.
Can you use Mod Podge to put glitter in ornaments?
Mod Podge works, but it dries with a cloudy finish that mutes the light coming through the ornament.
Polycrylic or DuraClear Gloss Varnish stay transparent and grip the glitter just as well, so I’d reach for one of those unless I already had Mod Podge open for another project.
Water-based options are safer around kids; oil-based pens and adhesives need ventilation.