These eight ideas run from a free Saturday with reclaimed brick and a brother-in-law to built-in stone that costs serious money and needs permits.
What decides which one is yours is whether you own the place or rent it, because renters need rolling carts and temporary pits while owners can sink footings and run gas lines.
1. Sheltered BBQ Area
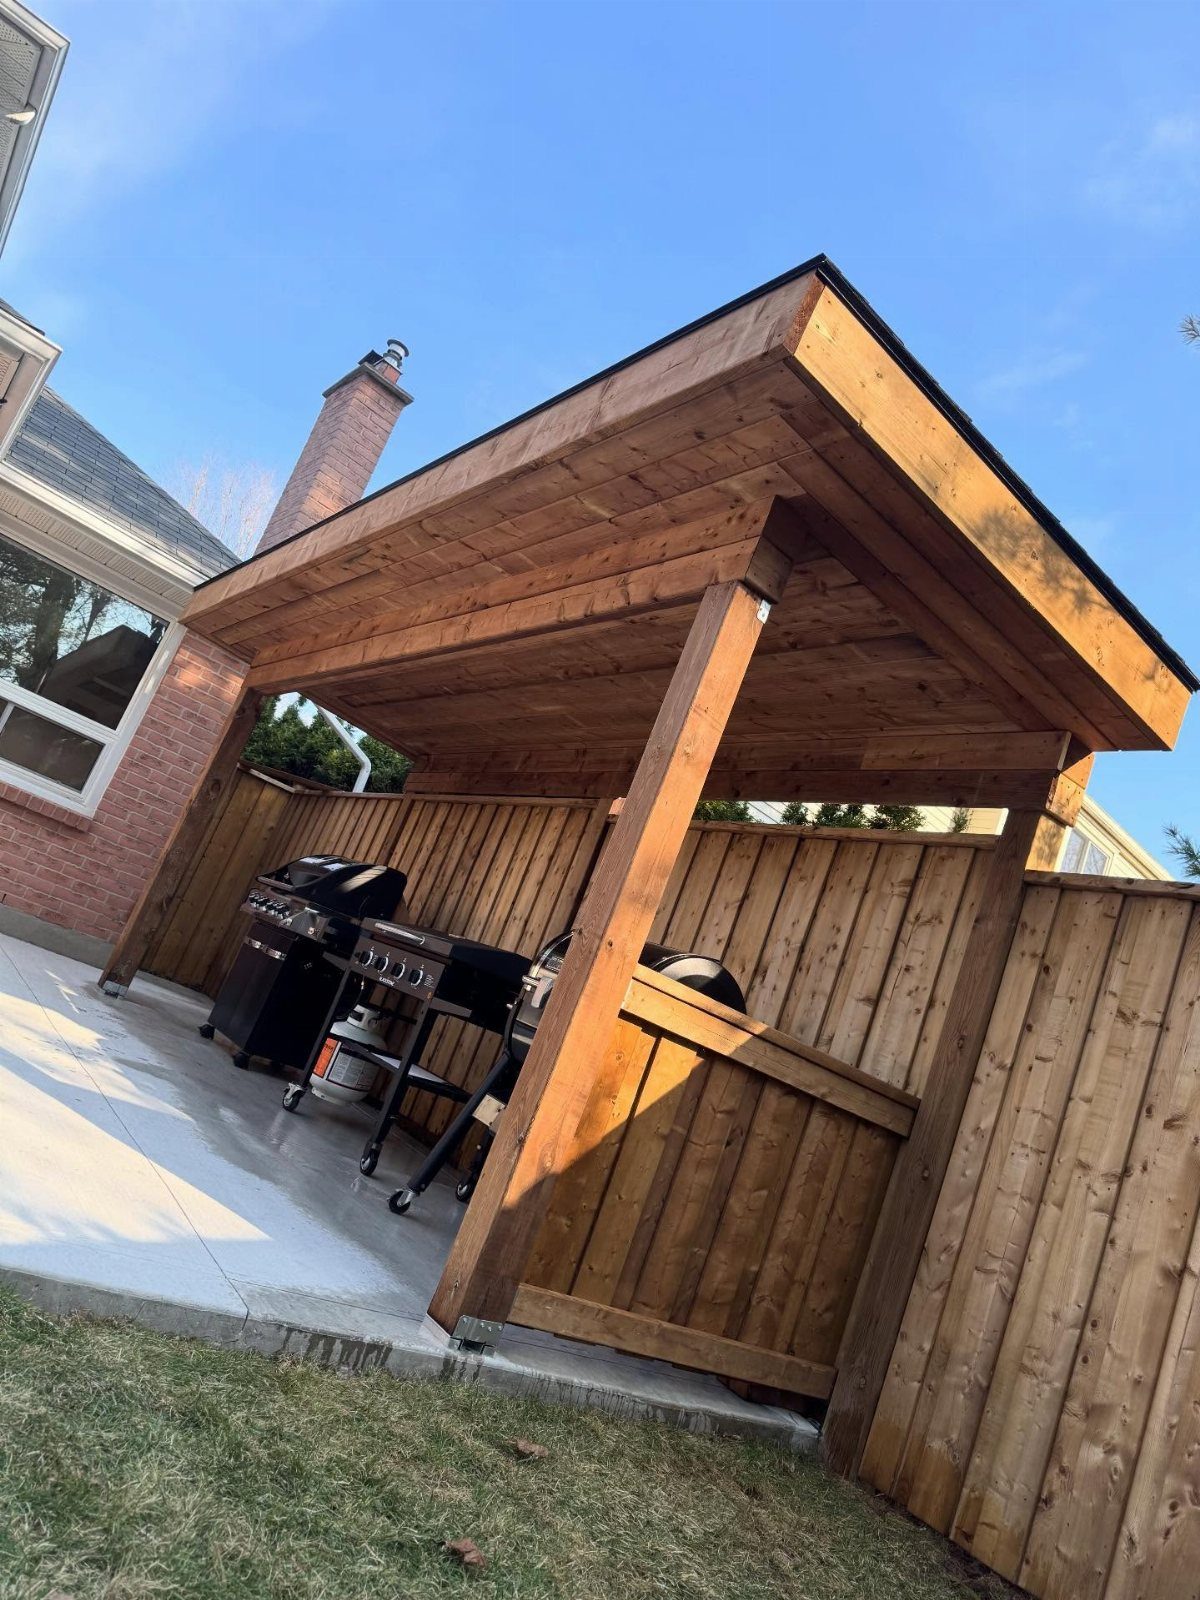
A roof over your grill buys you cooking days you would otherwise lose to drizzle or August sun.
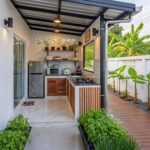
What changes the answer is what your yard already gives you. A fence close behind, like here, means you anchor two posts to existing structure and only sink two footings.
No fence means more posts and more concrete.
Check whether your grill runs on propane or natural gas; a fixed shelter over a propane tank needs clearance on at least one side for tank swaps, and that shapes where the door goes.
I would build the roof with a slight pitch toward the back, away from where you stand. Water runs off behind you, smoke rises through open sides, and you stay dry without walls that trap heat.
Full outdoor kitchens with counters and storage are the next step up, but they also multiply the budget and the permit questions.
Start with the roof if you cook outside regularly; add cabinets later when you know what you actually reach for.
2. Outdoor BBQ Area
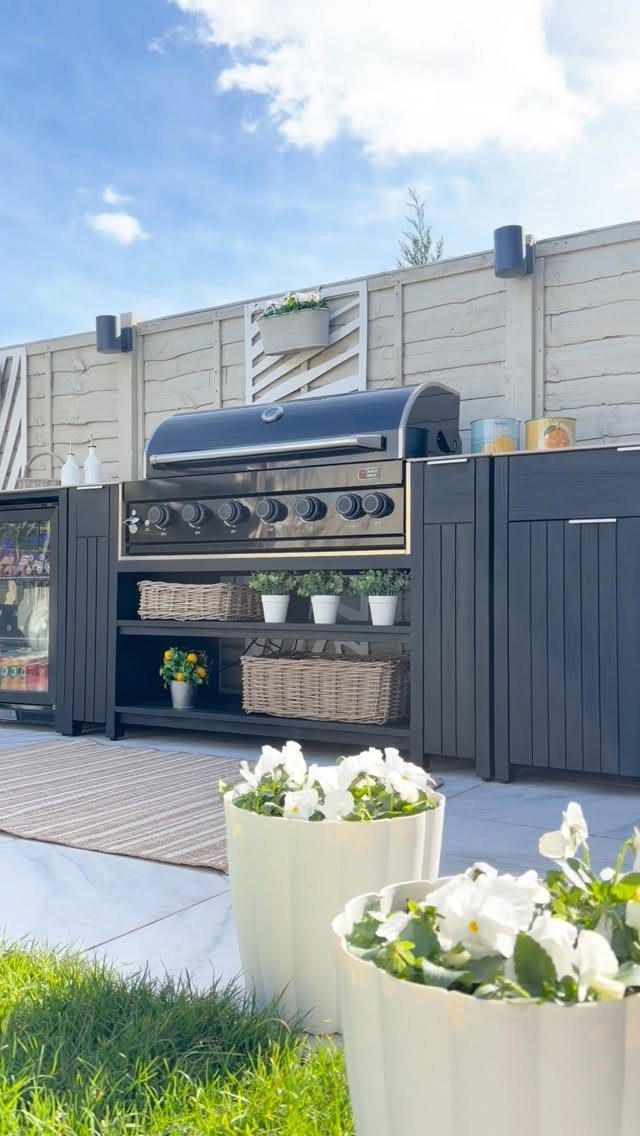
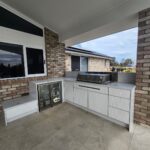
This setup treats the grill as one appliance in a line of them, the way your indoor kitchen works.
The black cabinets and grey fence behind give it a deliberate, finished look that reads as built-in even though the units likely rolled in on a pallet.
Stone or brick underfoot handles grease and spark better than wood decking, and the same logic applies to the counter.
The drink fridge and open baskets here say someone thought about the full meal, not just the fire: cold beer within arm’s reach, tongs and foil in a basket you can lift out to clean.
That is the difference between a grill on a patio and an outdoor kitchen that earns its name.
Budget shapes whether you buy the island pre-built or frame it yourself with cement board and tile.
Pre-built units in this size run higher but arrive weather-sealed; DIY saves money if you have a dry weekend to seal every edge yourself. Either way, leave access to the gas line or electrical conduit.
I have seen too many handsome islands with the fridge dead because someone tiled over the junction box.
3. DIY BBQ Area
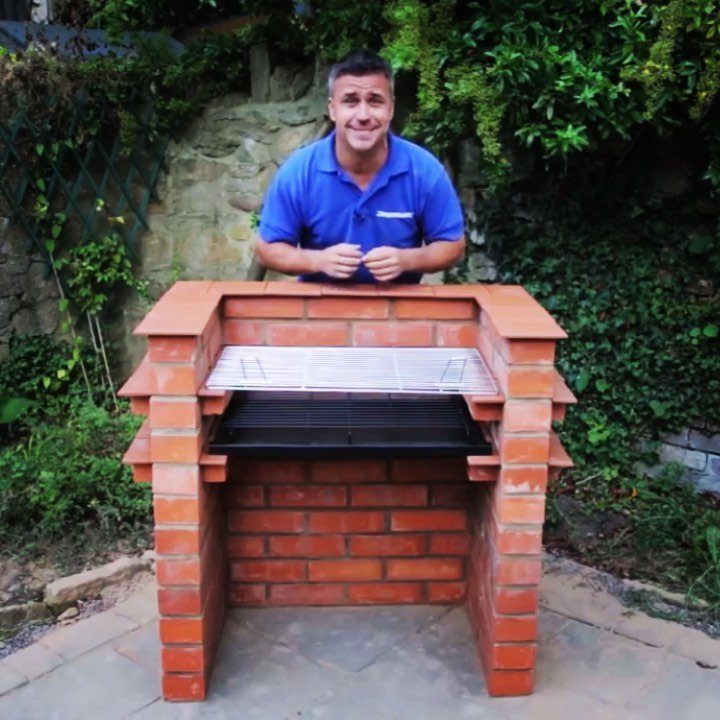
Red brick and a metal grate, built by hand on a stone patio: this is the version you make when the hardware store quotes a price that makes you blink and you have a free Saturday, a pile of reclaimed brick, and a brother-in-law who owes you.
Cinder blocks work faster and cost less, though they look rougher; old pallets and corrugated sheet metal give a different mood entirely.
The material sets the style, but the function stays the same: a box to hold charcoal or wood, a grate at cooking height, and some way to adjust airflow.
This brick version has mass on its side, absorbing heat and holding temperature steady for longer cooks.
What goes wrong is the foundation. Brick on bare ground shifts with frost and settles unevenly; stone or concrete under it, like here, keeps everything square.
Check your local code, too. Some towns care about open fires less than they care about permanent structures close to property lines.
A freestanding cinder block pit on gravel reads as temporary; mortared brick on a slab does not.
4. Pergola BBQ Area
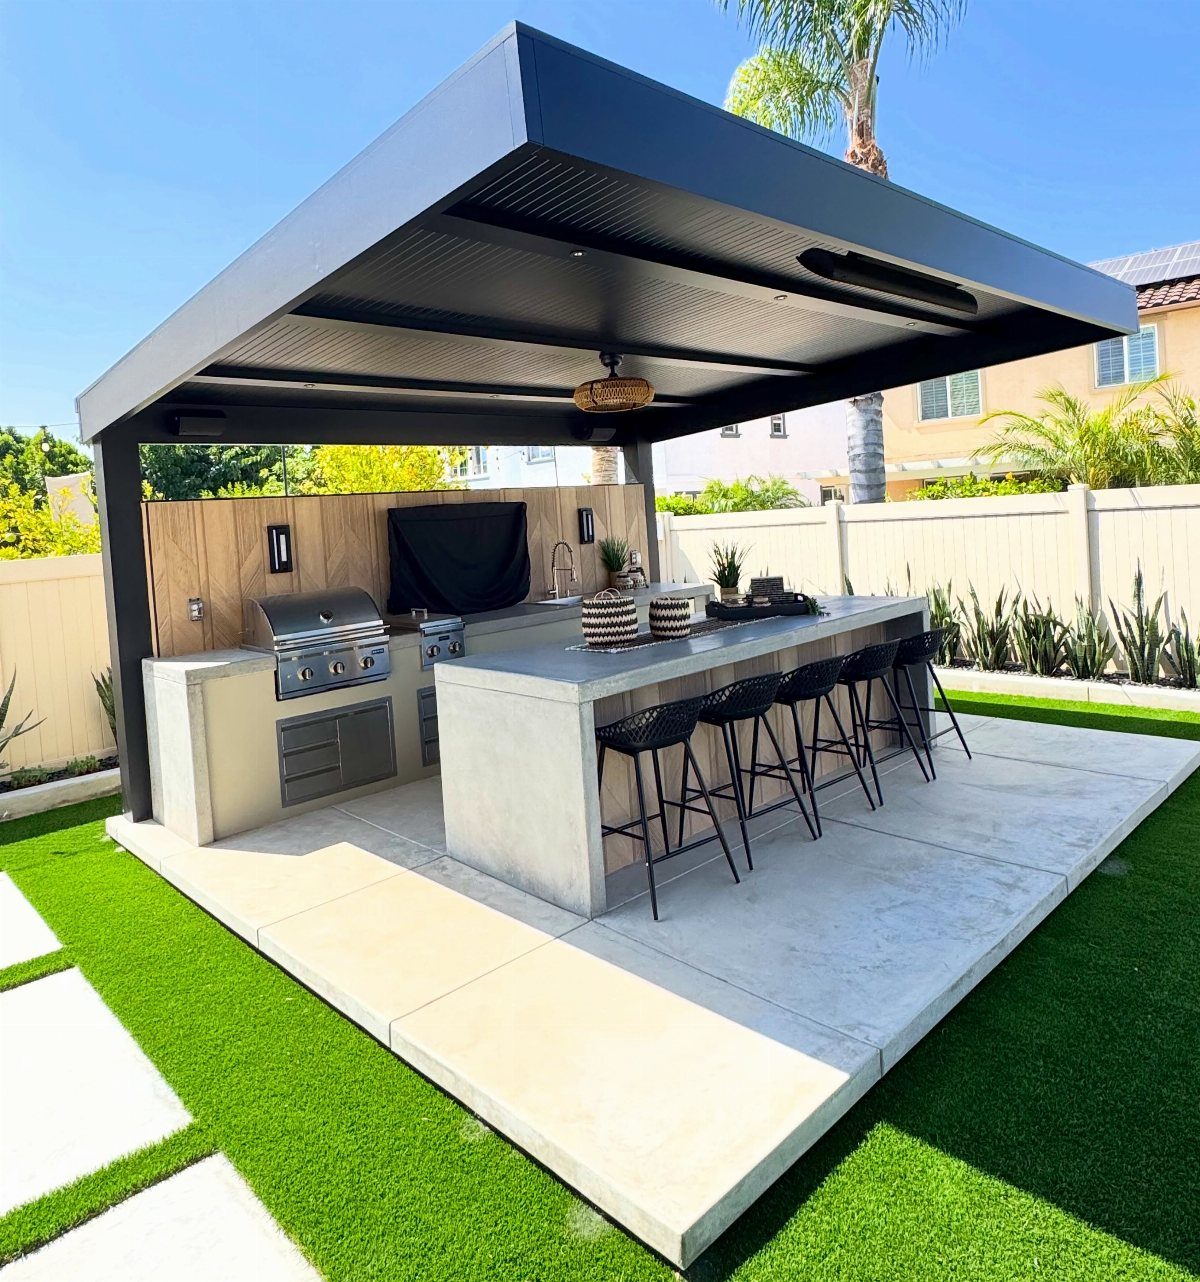
Louvered slats let you angle shade where you need it, and when they close entirely you have a solid roof against sudden rain.
That adjustability is what separates a pergola from a fixed shelter, and it matters if your patio faces west and catches brutal late-day sun.
Wood pergolas cost less upfront but need regular staining in most climates; aluminum or steel like this runs higher and stays black. Climbing plants on the posts soften the industrial edge, though they also drop leaves on your prep surface.
Fabric panels or a retractable canopy over the slats add another layer you control.
I would put the money into the frame and add the canopy later if the afternoon glare proves unbearable. A pergola without some kind of top shading is just a sculpture; pretty, but you will still squint at the grill.
5. Built-in BBQs
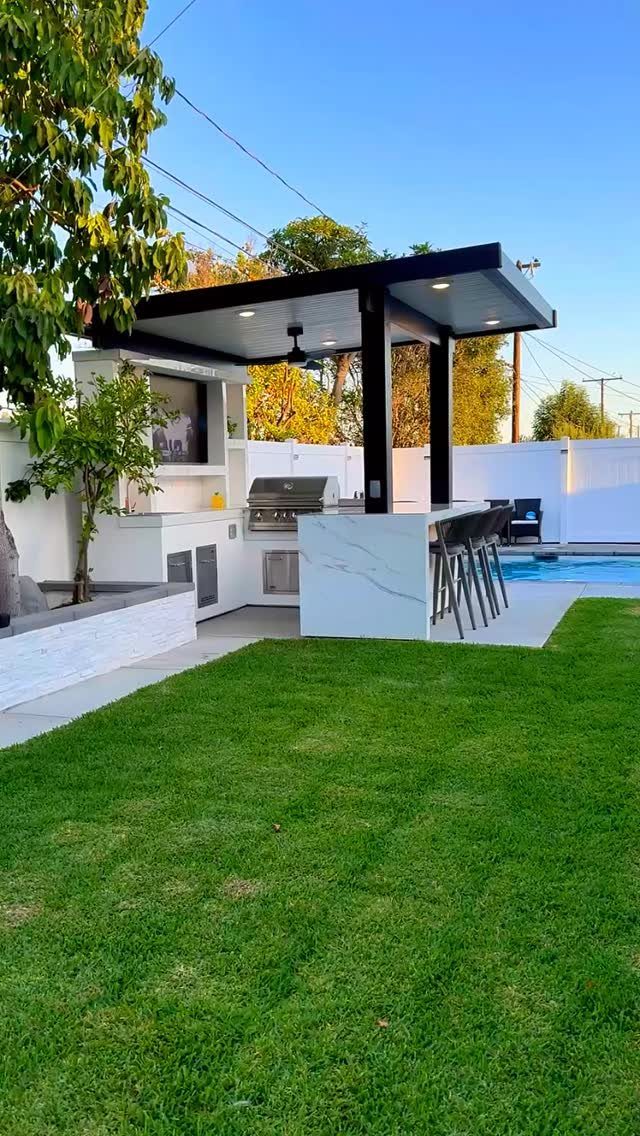
Stone or concrete surrounding the grill makes it part of the yard instead of furniture sitting on it.
The white marble-patterned island here runs straight to the pool edge, and that continuity is the point: this looks like it grew there.
Built-in units save the space a rolling cart would eat in a narrow yard. They also lock you into one layout.
The grill head drops into a cutout sized for it, so replacing it down the road means finding another with identical dimensions or re-cutting stone.
Plan for that by leaving the surrounding counter at a standard depth and by running utility lines in conduit you can fish new wire through.
The TV mounted on the back wall says this is for hosts who entertain while they cook.
I would skip that and put the money into a side burner or a small refrigerator; guests gather near the fire and the prep surface, not a screen they cannot see in daylight.
6. Vertical Planters
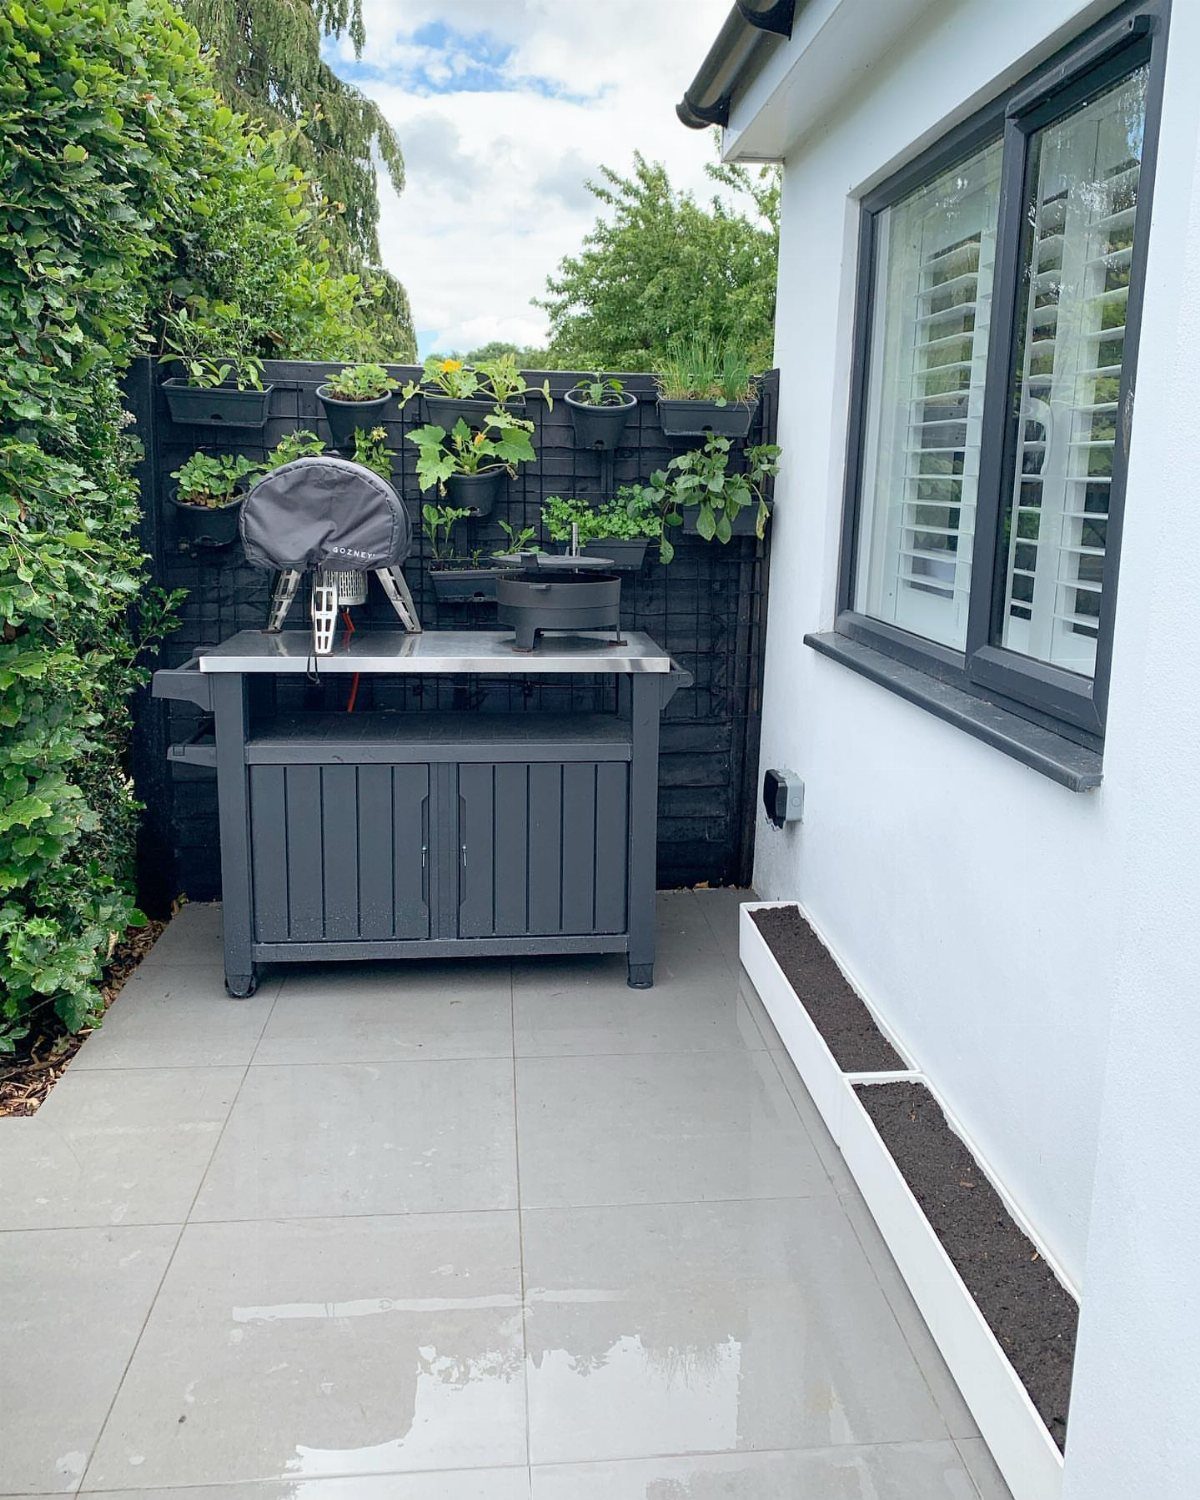
Black planters mounted on a fence turn the wall behind your grill into a garden that never steals floor space.
The dark color recedes, so the green reads as texture rather than clutter, and the height puts herbs at arm’s reach while you stand at the cart.
Railings, posts, or any vertical surface works if it sees sun half the day.
I would fill the lowest row with mint, basil, and cilantro, the things you grab by the handful; higher rows with trailing thyme or small peppers that do not mind drying out. Drainage matters more than soil quality.
Each pot needs a hole, and the fence behind needs clearance or stain-resistant backing, or you will be scrubbing herb water off wood every July.
Ground planters in a small patio force you to choose between walking space and greenery. Vertical ones let you have both, and the herbs pay rent in flavor you cannot get from dried jars.
7. Outdoor Bar
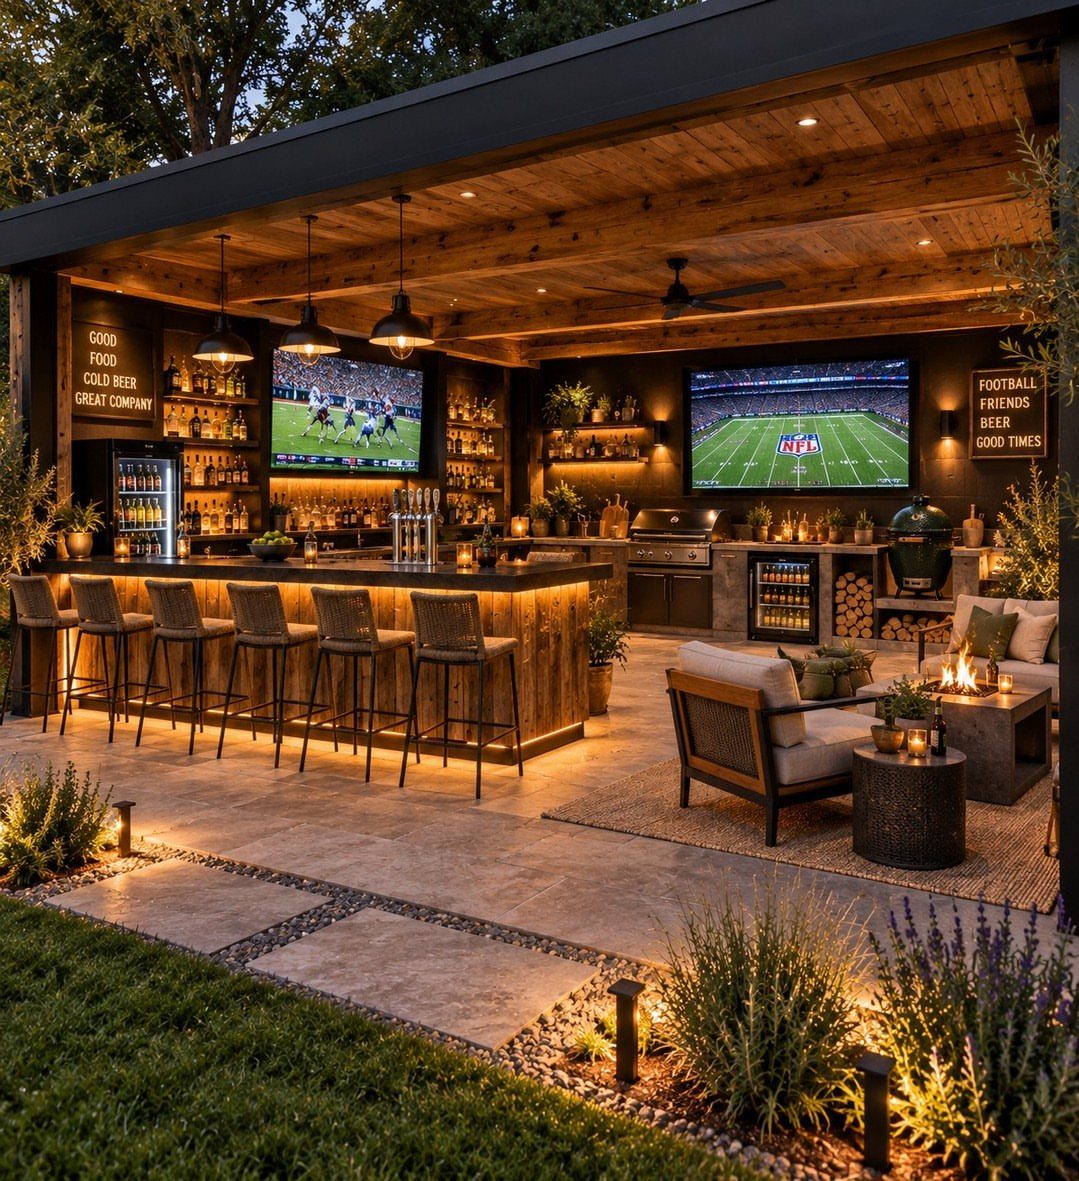
An outdoor bar lets guests refill their own drink while you tend the grill, which matters more than it sounds when the kitchen is far enough away that you miss the conversation.
A basic setup with a mini fridge under the bar and a cooler bin for ice works fine for most renters.
What changes the answer is whether you have gas lines nearby for taps, or electrical for a fridge, because extension cords across a patio get old fast. I would check the outlet situation before planning anything permanent.
A bar counter also eats space a small patio cannot spare. If your area is tight, skip the stools and build a pass-through window from the kitchen instead; the social effect is similar and you keep the floor clear.
In a larger garden, a barbecue area could include an outdoor kitchen, which can be around 3-4m long, including work surfaces, plus a seating area for guests.
8. Shed BBQ Area
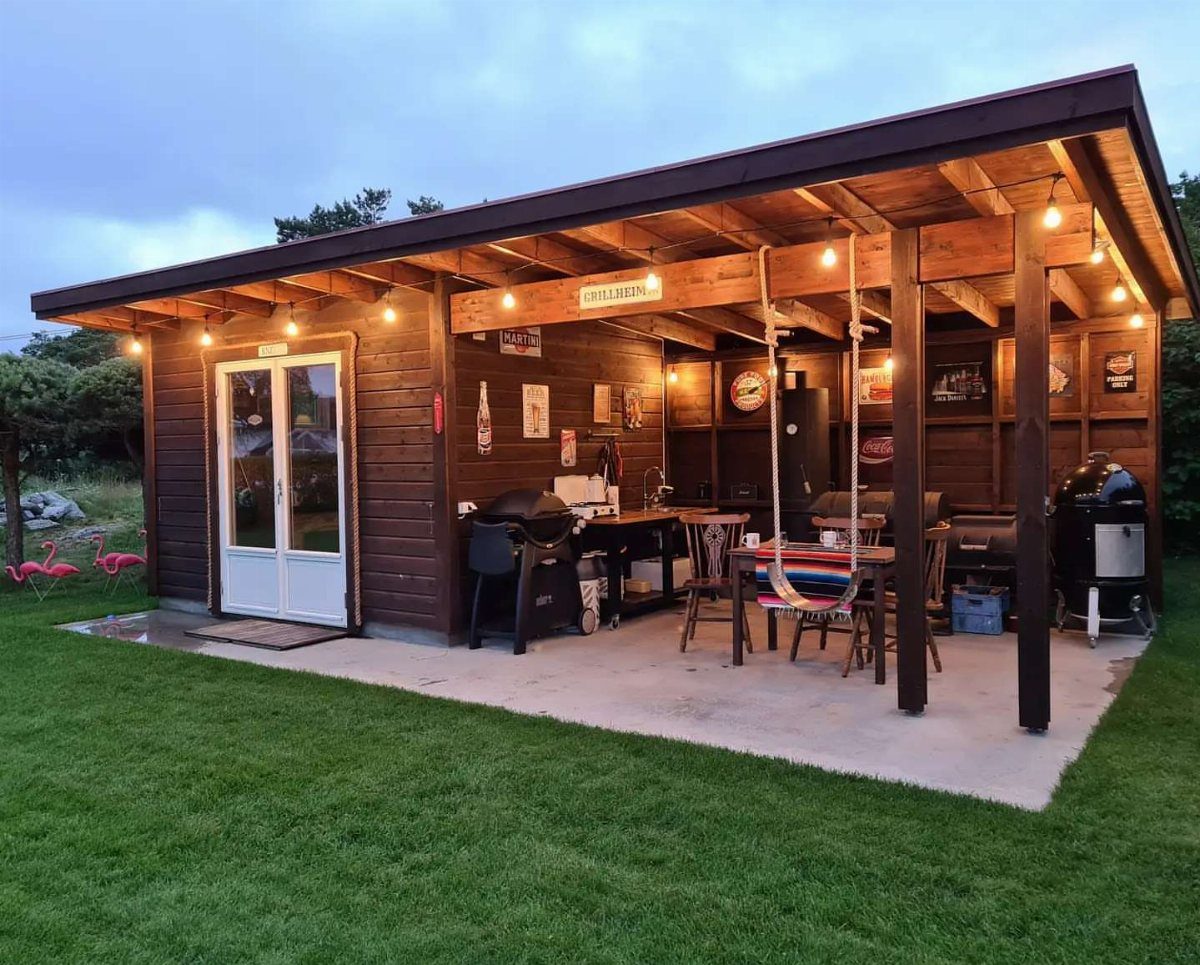
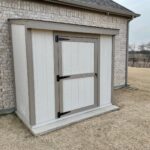
A shed you already own becomes a BBQ station for the cost of a covered overhang and some outlets, which beats building from scratch if the structure is sound.
The core idea is simpler than it looks: store the grill and furniture inside, roll them out to cook, roll them back when rain hits. That alone extends the life of a mid-range gas grill by several years.
What changes the answer is the shed’s condition and its distance from the house, because running water and power to a back corner gets expensive fast.
I would only fully enclose the cooking area if the shed sits well away from windows and neighbors; smoke needs somewhere to go.
For most lots, an open overhang off the shed wall is the safer choice and costs far less.
Choosing the Right Location
Ten to fifteen feet from the back door is the distance that saves you from smoke indoors without turning a rainy cookout into a sprint.
I would check that spot for wind tunnels before sinking any posts; a steady breeze that feels pleasant on bare arms becomes a problem when it blows ash across your prep surface or steals heat from a charcoal bed.
Low branches overhead are easy to miss in winter planning and impossible to ignore once they catch.
A level surface matters more than it looks: grease runs with gravity, and a tilted grill sends drippings where you do not want them.
Material Selection
Stone handles grease and spark without complaint, though it can stain if you let sauce sit. Brick costs less and weathers in; the patina is part of the point.
Both beat wood underfoot, which warps and holds grease stains you will never fully lift.
For counters, granite and stainless steel take heat without flinching. A salvaged slate slab works if you seal the edges where grease collects.
I would spend on the counter before the shelter; a polycarbonate roof or even a large patio umbrella shades you fine, but a scorched or cracked prep surface ruins every cook.
Safety Considerations
Three feet of clear space around the grill is the minimum I would accept, more if children use the yard. That means no chairs, no coolers, no herb planters within that ring while the fire is live.
A fire extinguisher belongs somewhere you can reach without stepping through the hot zone; behind the grill is worse than useless.
Gas and electric units throw serious heat from their backs, so hedge rows and window frames need more clearance than the sides. Face the grill perpendicular to prevailing winds so smoke rises past you instead of into you.
String lights look festive but belong outside that three-foot ring; melting plastic drips where you stand.
Maintenance Tips
Clean the grates with a wire brush after each cook, while the metal is still warm enough to loosen residue but not so hot the bristles weaken.
Grease trays need monthly attention; let them go and you risk flare-ups that char your food and test your paint.
Pressure washing stone or concrete before summer and again before winter keeps grime from setting into pores.
A covered grill lasts years longer than one left to rain; the cover belongs on the same day you shut the valve for the season.
Cushions and fabric come inside before the first freeze, or you will be shopping for replacements in April with a mildew headache.